Revive Your Orchids: 5 Magical Tips for Instant Transformation!
Revive Your Orchids with These 5 Essential Tips
- Understanding Orchids
- Common Mistakes to Avoid
- Reviving Your Orchids
- Ongoing Care for Healthy Orchids
- FAQ
Understanding Orchids
You may be surprised to find that your orchids, which are known for their beauty, can be a bit temperamental. Each variety has unique needs, and understanding these can be crucial for their survival. By taking the time to learn about their specific requirements, you can save your orchids from wilting and ensure they thrive again. This section provides insights into what makes these stunning plants special.
Different Types of Orchids
There are over 25,000 species of orchids, each with its own specific needs. Popular varieties include:
- Phalaenopsis: Known as moth orchids, they thrive in warm environments.
- Cattleya: Famous for their large blooms, they require more light.
- Dendrobium: These orchids often prefer cooler nights.
Signs of Distress in Orchids
Recognizing the signs of distress early can save your plants. Look for:
- Yellowing or dropped leaves
- Dry, shriveled pseudobulbs
- Stunted growth
Common Mistakes to Avoid
Even seasoned plant lovers can make mistakes when caring for orchids. Here are some errors to watch out for:
Overwatering
One of the most common issues is overwatering. Orchids prefer to dry out between waterings, so always check the potting medium.
Insufficient Light
Orchids need an appropriate balance of light. Placing them in direct sunlight can scorch the leaves, while too little light may stunt growth.
Incorrect Potting Soil
Using standard potting soil can suffocate the roots. Opt for a special orchid mix that promotes drainage.
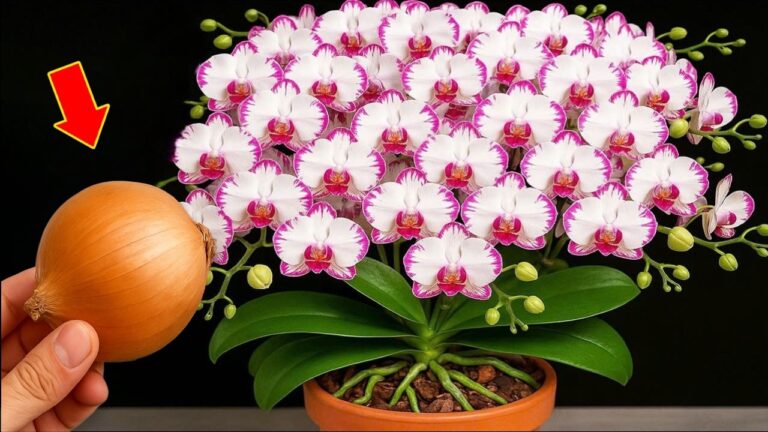
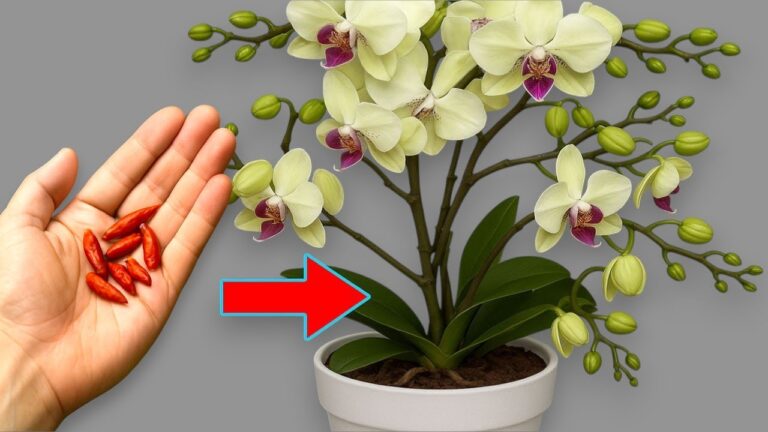
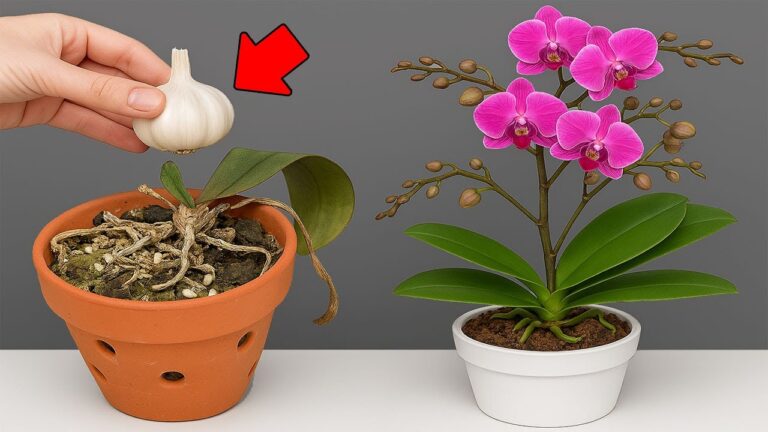
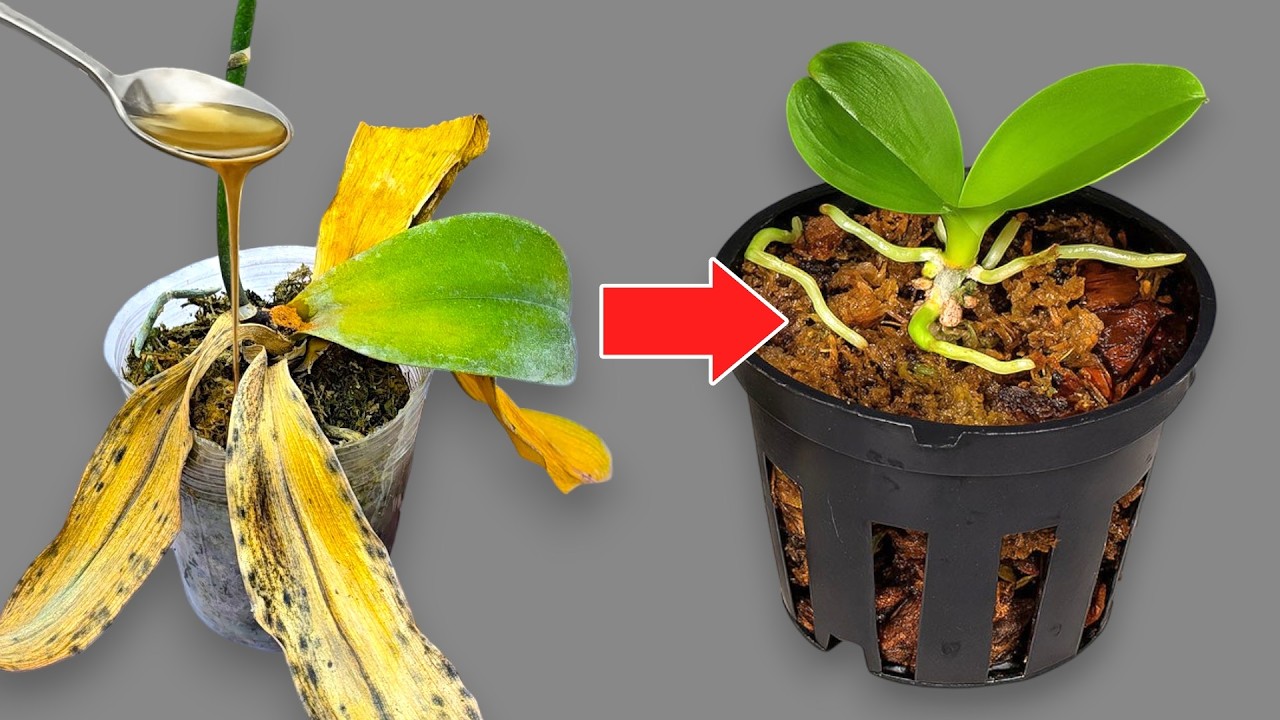
Reviving Your Orchids
Now that you have a grasp of the challenges, here are five practical tips to help you revive your orchids.
1. Adjust Watering Schedule
- Check the moisture level of the potting medium. You can do this by sticking your finger into the soil.
- If it’s dry an inch down, water thoroughly until it drains out the bottom.
- Reduce frequency if the medium remains damp.
2. Optimize Lighting Conditions
Ensure your orchids are receiving the right amount of light:
- Place them near a bright window but avoid direct sunlight.
- Use sheer curtains to diffuse bright light.
3. Repot as Necessary
If your orchids are in poor potting medium, consider repotting:
- Remove the orchid from its pot and clean the roots.
- Choose a fresh orchid mix.
- Replant the orchid and water lightly.
4. Fertilize Carefully
Using the right fertilizer can help encourage growth:
- Select a balanced orchid-specific fertilizer.
- Fertilize every 2-4 weeks during the growing season.
5. Create Humidity
Increasing humidity can improve overall health:
- Place a humidity tray filled with water beneath the pots.
- Use a room humidifier, particularly in dry months.
Ongoing Care for Healthy Orchids
Once your orchids have been revived, ongoing care will be crucial. Establishing a routine can ensure they remain healthy.
Water Maintenance
Makin g a consistent watering schedule helps keep orchids thriving:
- Water your orchids weekly or bi-weekly in the growing season.
- Reduce watering in the winter months.
Optimal Fertilization
Continue using orchid fertilizer, but adjust based on growth patterns:
- Feed during growth; cut back during dormancy.
- Monitor for nutrient deficiencies like yellowing leaves.
FAQ
How often should I water my orchids?
Water your orchids every week or two, depending on the environment, ensuring the growing medium dries out between watering.
What do the leaves look like when an orchid is healthy?
Healthy orchid leaves are firm, plump, and green. Yellow or wrinkled leaves often indicate trouble.
Can orchids survive with no light?
Orchids need some light to survive, although they should not be placed in direct sunlight which can harm them.
Conclusion
By following these tips, you can successfully revive your orchids and keep them thriving. What challenges have you faced with your orchids, and how did you overcome them?