Transform Your Orchids: 1 Monthly Secret for Stunning Blooms!
Transform Your Orchids: The Monthly Secret for Stunning Blooms
Introduction
Are your orchids not blooming as vibrantly as they should? It’s a common frustration for many plant lovers. You may be nurturing your orchids with attention but still see lackluster results when it comes to their stunning blooms. Understanding the secrets to keeping your orchids healthy and flourishing can be the difference between a lifeless plant and a spectacular display of flowers. Let’s explore how you can transform your orchids into blooming beauties with a simple monthly care secret.
Understanding Orchids
Before diving into the monthly care routine, it’s essential to grasp the unique needs of your orchids.
Types of Orchids
Orchids belong to a vast family and come in various species, each with unique requirements. Learning about your specific type ensures optimal care. Common types include:
- Phalaenopsis: The most popular, thriving indoors.
- Oncidium: Known for its fragrant blooms.
- Cattleya: Appreciated for vibrant colors and larger flowers.
Basic Needs of Orchids
Orchids require specific conditions to bloom well. Here’s what to keep in mind:
- Light: Bright, indirect sunlight; avoid harsh direct rays.
- Humidity: They thrive in environments with at least 50% humidity.
- Water: Water weekly, allowing the roots to dry slightly between waterings.
Monthly Care Routine
A dedicated monthly care routine is crucial for ensuring your orchids thrive and produce beautiful blooms. Here’s how to incorporate it into your schedule:
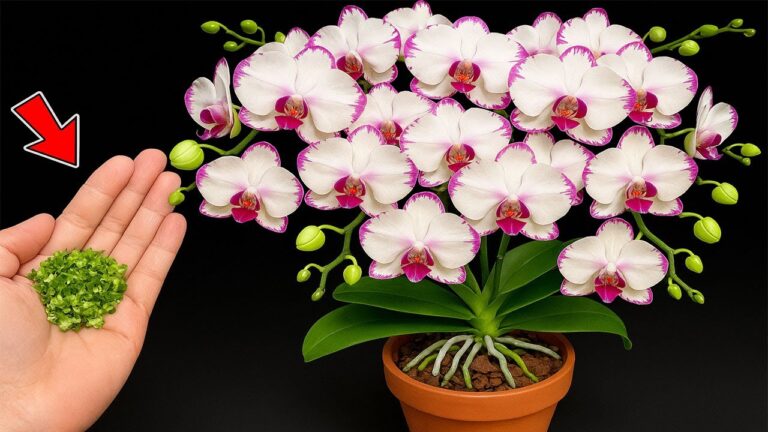
Step 1: Fertilizing
Feeding your orchids is vital for their growth. Follow these steps:
- Choose a fertilizer: Use a balanced orchid fertilizer, diluted to half strength.
- Frequency: Fertilize every two weeks during the growing season (spring and summer).
- Technique: Apply the fertilizer to moist soil, ensuring even distribution.
Step 2: Repotting
Orchids benefit from repotting every 1-2 years. Consider the following:
- Choose a reputable orchid mix; it usually contains bark and charcoal.
- Repot in spring after blooming to minimize stress.
- Carefully remove dead roots and place in a new pot without compacting the mix.
Step 3: Pruning
Regularly trimming your orchids encourages growth. Here’s how to do it:
- Inspect: Check for dead or yellowing leaves and spent flower spikes.
- Cut: Use sterilized scissors to trim spent spikes just above the node.
- Discard: Remove dead leaves to prevent pests and disease.
Common Mistakes
Even with the best intentions, mistakes happen. Here are some common pitfalls to avoid:
- Overwatering: This can lead to root rot; always allow roots to dry slightly before the next watering.
- Too much sun: Direct sunlight can scorch leaves; ensure your orchids are in bright, indirect light.
- Ignoring humidity: Orchids prefer humidity; consider using a humidity tray or misting them regularly.
FAQ
What is the best fertilizer for orchids?
A balanced orchid fertilizer, ideally one specifically formulated for orchids, is recommended. Dilute it to half strength during application.
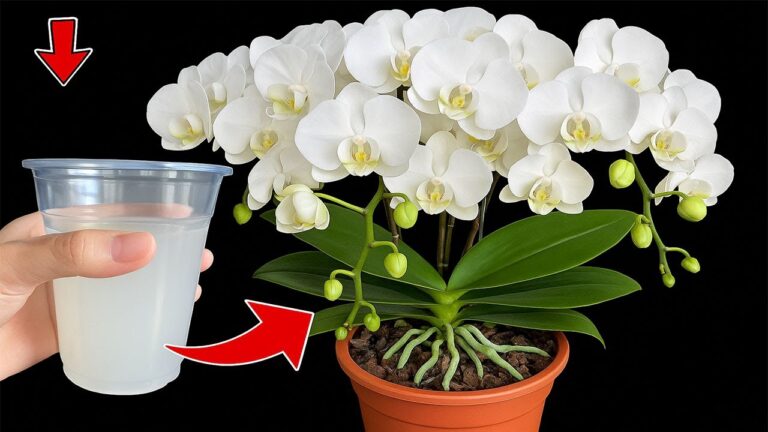
How often should I water my orchids?
Water your orchids once a week, ensuring the soil dries slightly between waterings to prevent root rot.
When is the best time to repot orchids?
The best time to repot orchids is in the spring after blooming, as this minimizes stress on the plant and encourages new growth.
Conclusion
By following a simple monthly care routine, you can transform your orchids into stunning blooms that grace your home. Paying attention to their specific needs will make all the difference in their health and beauty. What has been your experience with orchid care? Share your insights in the comments below!