Transform 5 Plastic Bottles into a Stylish Spice Box DIY Kitchen Organizer
Transform 5 Plastic Bottles into a Stylish Spice Box DIY Kitchen Organizer
- Introduction
- Choosing Your Bottles
- Preparing the Bottles
- Creating Your Spice Box
- Common Mistakes to Avoid
- FAQ
- Conclusion
Introduction
Have you ever found yourself rummaging through your kitchen drawers, struggling to locate that one spice you need for a recipe? Frustrations in the kitchen often arise from clutter. If you’ve been searching for an effective way to store your spices while also being environmentally conscious, you’re in the right place. This article will guide you through transforming ordinary plastic bottles into a stylish and practical spice organizer that fits seamlessly into your kitchen. Keep reading to discover how you can elevate your kitchen’s organization.
Choosing Your Bottles
The first step in creating your DIY spice box is selecting the right plastic bottles. Here’s what to consider:
1. Types of Plastic Bottles
- Look for bottles that have a wide mouth, such as juice or soda bottles, making it easier to fill with spices.
- Choose clear or semi-transparent bottles to easily see your spices without opening them.
- Ensure they are made from food-safe materials, usually marked with recycling codes #1 or #2.
2. Quantity and Size
You will need five bottles for this project. Consider varying sizes, especially if you have different types of spices that require more or less storage space.
Preparing the Bottles
Once your bottles are chosen, it’s time to prepare them for use. This process ensures your containers are clean and ready for your spices.
1. Cleaning Your Bottles
- Rinse each bottle thoroughly with warm water to remove any residue.
- Wash the bottles using mild dish soap and a bottle brush to reach inside corners.
- Dry them completely—hanging them upside down helps remove excess water.
2. Removing Labels
If your bottles have labels, you’ll want to remove them to create a clean look. You can soak the bottles in warm, soapy water for a few minutes, then gently peel off the labels. For any sticky residue, use a mixture of baking soda and cooking oil to scrub it away.
Creating Your Spice Box
Now that your bottles are prepped, it’s time to assemble your spice box.
1. Cutting the Bottles
- Measure the height you want for each spice container—around 3 to 4 inches is ideal.
- Mark a line around the bottle to indicate where to cut.
- Use a utility knife to carefully cut along the marked line. Smooth any sharp edges with sandpaper.
2. Assembling the Box
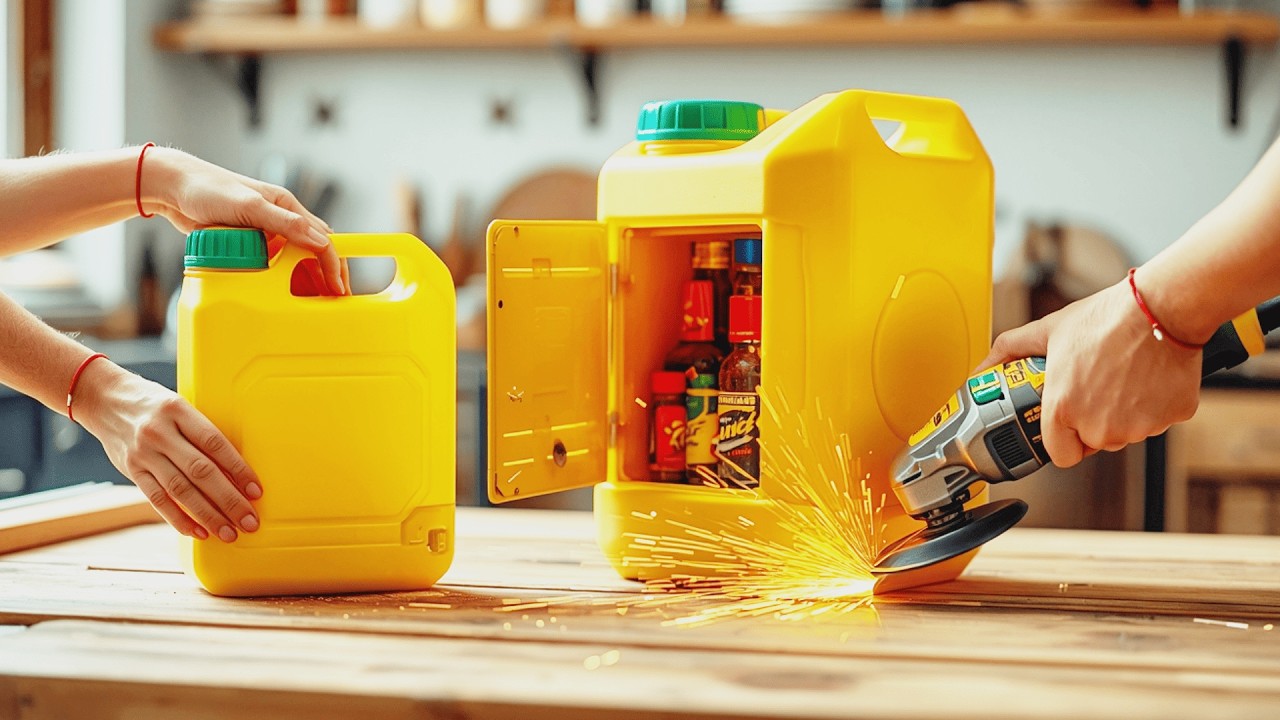
To create the box, you can either glue the bottoms of the bottles together or use a sturdy cardboard base. Arrange the bottles in a way that maximizes space and appears visually pleasing. You can also paint or decorate the bottles to personalize your spice box.
Common Mistakes to Avoid
- Using Non-Food Safe Bottles: Always check the recycling codes; avoid bottles not intended for food storage.
- Ignoring Size Management: Failing to account for varying spice sizes can lead to clutter.
- Overloading Bottles: Keep the amount of spice manageable to prevent spillage when accessing.
FAQ
What type of spices work best in plastic bottles?
Most dry spices, like herbs, peppers, and salts, do well in plastic bottles. Avoid using liquid spices as they may leak.
How can I label my spice bottles effectively?
You can use washable markers or removable labels to keep track of your spices. Just ensure the labels are secure and easy to read.
Can I use different bottle materials for this project?
While plastic is recommended for ease of use, glass or metal containers could also work if you prefer a different look.
Conclusion
Transforming plastic bottles into a functional spice box is a rewarding DIY project that breathes new life into your kitchen and helps you stay organized. It’s an excellent way to incorporate creative recycling into your home. What spices would you love to store in your new spice box? Share your thoughts in the comments!