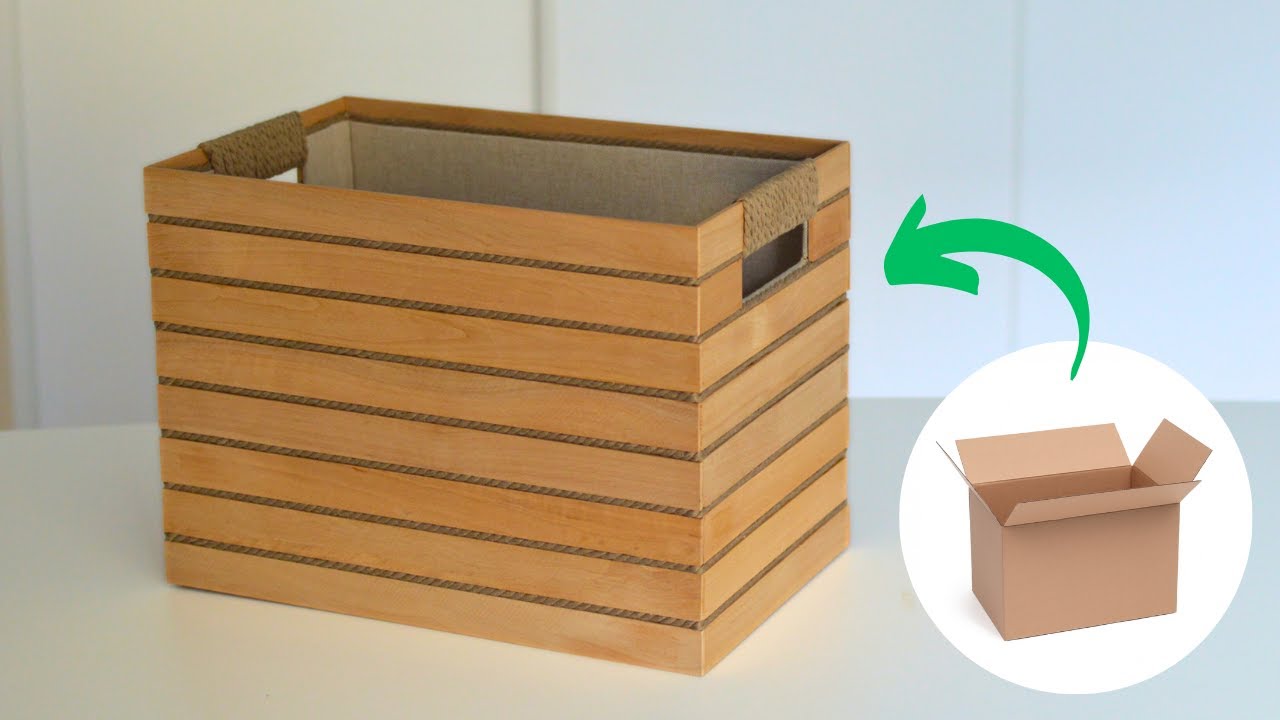
Transform 1 Cardboard Box into 5 Stylish Storage Baskets!
Transform One Cardboard Box into Five Stylish Storage Baskets
- Introduction
- Required Materials
- Step-by-Step Process
- Creative Variations
- Common Mistakes to Avoid
- FAQ
- Conclusion
Introduction
Have you ever found yourself overwhelmed by clutter in your home? That lone cardboard box may seem like trash, but it holds potential for creative storage solutions. Many people overlook how easily a simple box can be transformed into stylish and functional storage baskets. Giving your space an organized feel doesn’t require expensive purchases. You can repurpose items you already have. Dive into this guide to uncover how you can transform that cardboard box into something beautiful and useful.
Required Materials
Before getting started on your transformation, gather the necessary materials. Here is your list:
- 1 sturdy cardboard box
- Scissors or a box cutter
- Glue or a hot glue gun
- Fabric or wallpaper for lining
- Rope or ribbon for handles
- Paint (optional)
Having everything ready will make the process smoother, and you’ll be able to see your vision come to life.
Step-by-Step Process
This step-by-step guide will take you through the process of creating five different storage baskets from a single cardboard box.
- Choose a cardboard box with good structure. Make sure it has no damage.
- Cut the box into five equal parts. Use scissors or a box cutter to ensure clean edges.
- Shape each piece into a basket form by folding up the sides to create walls.
- Line the insides with fabric or wallpaper to add durability and style. Apply glue to secure the lining.
- Add handles by gluing rope or ribbon to the sides. This will make your baskets easy to carry.
Personalizing Your Baskets
Feel free to paint your baskets with colors that match your decor or print simple patterns on them. Using eco-friendly paint can make your project even more sustainable.
Final Touches
Consider using a layer of varnish or sealant on the exterior if you desire a more polished look. This will also protect your baskets from wear and tear.
Creative Variations
These baskets can serve various functions. Here are some creative variations you can try to enhance your home organization:
- Colorful Combinations: Combine various colors and fabrics for a more eclectic look.
- Themed Baskets: Create baskets for specific items like toys, books, or crafting supplies.
- Labeling: Use labels to identify the contents clearly. Painted wooden tags can add charm.
Adding Liners
If you prefer a soft touch, consider using different types of liners, such as fleece or quilted fabric, to create a cozy feel.
Using Decorative Items
Embellishing your baskets with decorative elements like beads or embroidery can make them truly unique.
Common Mistakes to Avoid
While transforming a cardboard box into stylish baskets can be a rewarding project, there are some pitfalls to watch out for:
- Using weak cardboard: Ensure the cardboard is sturdy enough to hold its shape.
- Skipping measures: Not measuring the dimensions correctly can affect how well the baskets fit in your space.
- Failing to secure linings: Make sure the fabric or wallpaper is well secured; loose edges can have an unfinished look.
- Overloading baskets: Remember that these are not designed to carry heavy items. Avoid overstuffing them.
- Ignoring aesthetics: Don’t overlook the importance of visual appeal; styling can make a functional item look elegant.
FAQ
How do I ensure my baskets are durable? Choose a sturdy cardboard box and secure the linings well to add strength.
Can I use paint on cardboard baskets? Yes, eco-friendly paint works great and can enhance the aesthetic of your baskets.
What kind of glue is best for this project? A strong craft glue or a hot glue gun will work effectively to hold your materials together.
Conclusion
Transforming a cardboard box into five stylish storage baskets is a simple and rewarding project. With some creativity and the right materials, you can declutter your space beautifully. What items do you plan to organize with your new baskets? Share your ideas in the comments!