Transform 1 Plastic Can into a DIY Watering Can: Easy Garden Hack!
Transform a Plastic Can into a DIY Watering Can: Easy Garden Hack
Introduction
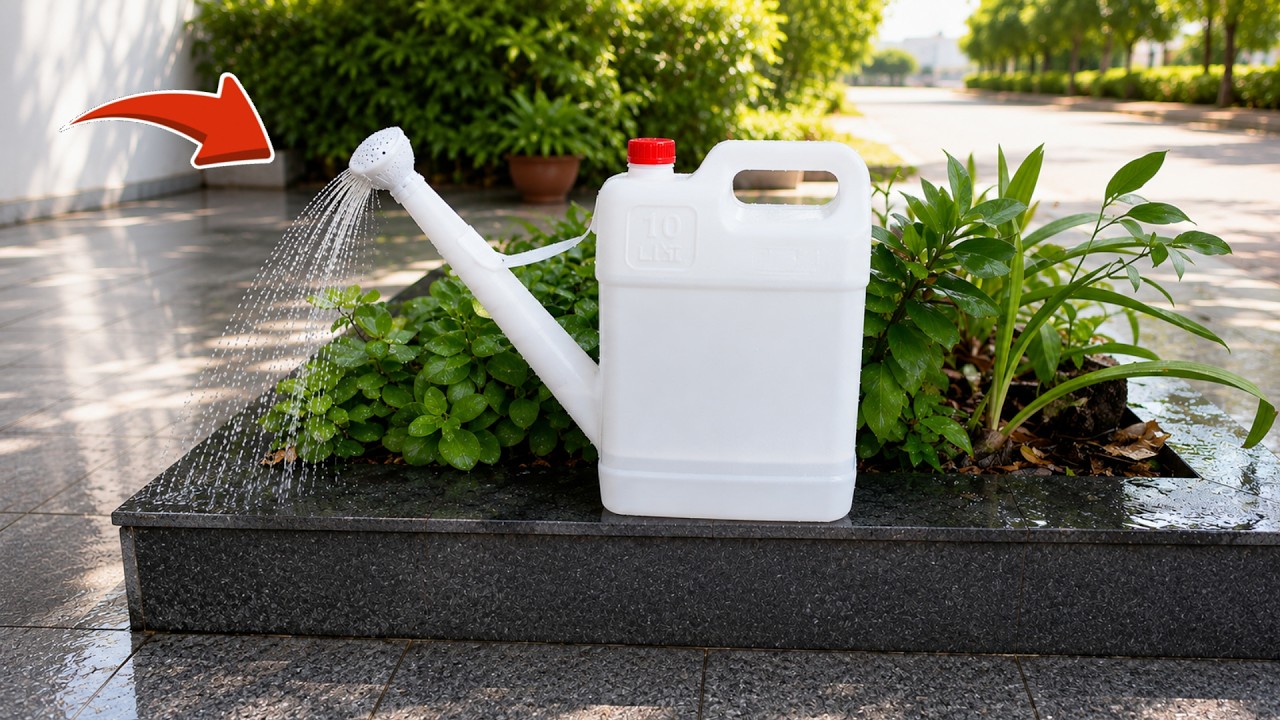
Picture yourself in the garden, watching your plants thrive under the sun. Suddenly, you realize you need a watering can, but you’re not keen on spending money on a new one. Instead of rushing to the store, why not look around your home? With just a little creativity, you can make a practical watering can from something as simple as a plastic can. Read on to explore how you can easily transform discarded materials into useful garden tools.
Required Materials
To create your DIY watering can, gather the following items:
- 1 plastic can (like a milk jug or detergent bottle)
- Drill or sharp object to puncture holes
- Scissors (if needed, for adjustments)
- Marker for marking holes
Ensure your plastic can is clean and dry before starting the project.
Step-by-Step Guide
Transforming a plastic can into a watering can involves just a few simple steps. Follow this guide to get started:
1. Prepare the Can
- Clean the plastic can thoroughly to remove any residues.
- Remove the cap and set it aside. You may use the opening for watering.
2. Create a Spout
- Decide where you want the spout. The top of the bottle or the side works best.
- Carefully puncture small holes in the desired area with your drill or a sharp object. Start with a few and add more if needed.
3. Personalize Your Watering Can
Make your watering can uniquely yours:
- Add a splash of color using non-toxic paint for a cheerful look.
- Use decorative stickers to personalize it further, making watering a fun task.
Common Mistakes
While creating your DIY watering can, avoid these common pitfalls:
- Skipping the cleaning step, which can cause odors and attract pests.
- Puncturing holes that are too large, leading to excessive water flow.
- Not testing the holes before using the can, which may result in unwanted mess.
FAQ
Can I use any plastic can for this project?
Yes, any sturdy plastic can, like a milk jug or an empty detergent bottle, will work well.
How many holes should I make for the spout?
Start with about five small holes and adjust based on how much water you want to flow out during use.
Is it safe to paint the plastic can?
Use non-toxic paints if you choose to add color to ensure it’s safe for your plants.
Conclusion
Creating a DIY watering can from a plastic can is a simple way to save money and reduce waste. With just a few steps, you can have a functional tool that reflects your style. What creative projects have you undertaken with recycled materials? Share your thoughts in the comments!