3 Stunning Embroidery Methods Everyone Will Want to Know!
3 Beautiful Embroidery Techniques You Should Try
Introduction
Perhaps you’ve spent a leisurely afternoon scrolling through social media, enchanted by vibrant embroideries showcased by fellow crafters. Each stitch seems to tell unique stories and add charm to otherwise mundane items. You might feel the allure of enhancing your home decor or personalizing garments, yet the thought of mastering embroidery can be daunting. Understanding some effective techniques can transform your approach and instill confidence in your creative abilities. Let’s explore these beautiful embroidery methods together.
Embroidery Methods
Embroidery not only beautifies fabrics but also allows you to express your creativity. Here are three methods that can elevate your crafting skills, each offering unique results.
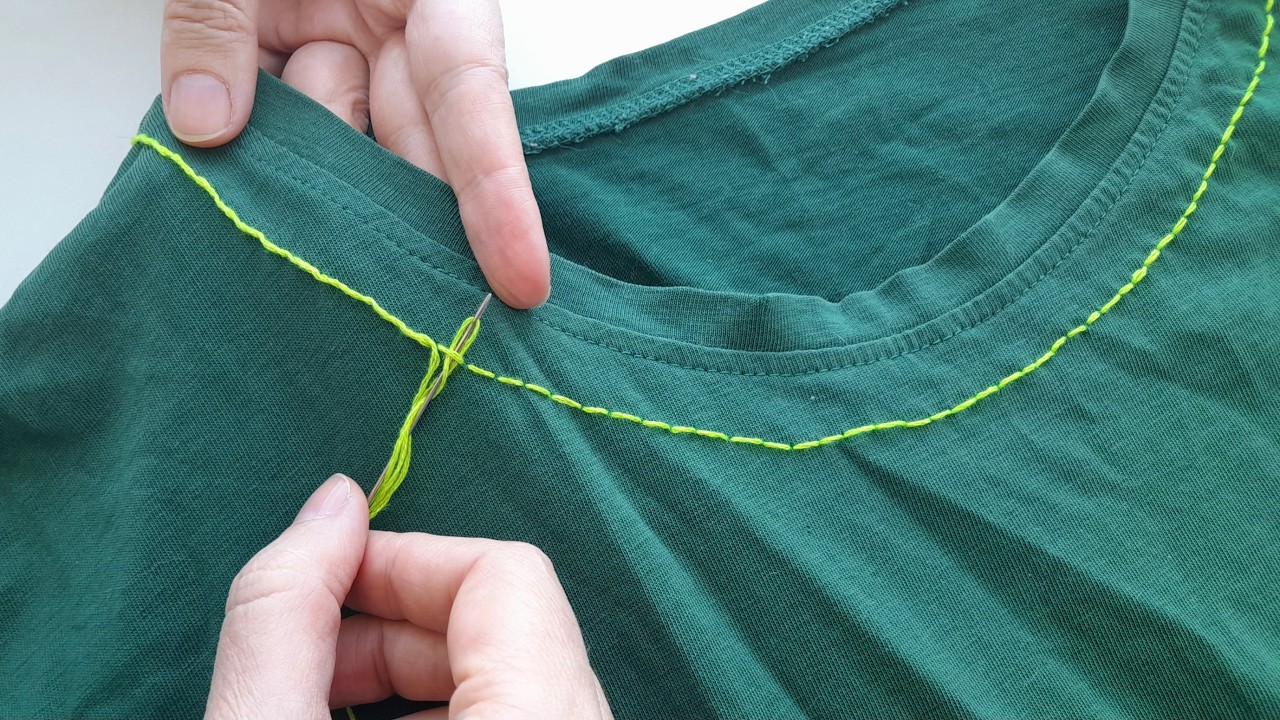
1. Chain Stitch
The chain stitch is simple yet impactful, making it a favored choice among beginners and seasoned embroiderers alike.
- Thread your needle with embroidery floss, typically six strands for a fuller look.
- Start from the back of the fabric, pulling the needle through to the front.
- Create a small stitch and, before pulling the thread completely tight, form a loop.
- Insert the needle back into the fabric, near the starting point, to hold the loop.
- Repeat these steps, adjusting the loop length for your desired effect.
This technique is perfect for outlining shapes or adding a decorative border to your projects. Picture a sunflower where the petals are outlined with delicate chain stitches, making it pop.
2. Satin Stitch
The satin stitch creates an eye-catching, smooth finish that fills shapes beautifully. It’s ideal for larger areas such as letters or motifs.
- Secure your fabric in an embroidery hoop to keep it taut.
- Start at one edge of the shape you wish to fill; bring your needle to the front.
- Insert the needle close to the previous stitch, creating a line of stitches that sit side by side.
- Continue this till the entire shape is filled, ensuring each stitch is even and close to create that sleek look.
For an enchanting touch, consider using a gradient of colors within the fills to bring your project to life. Imagine a butterfly with satin-stitched wings that shift in hue.
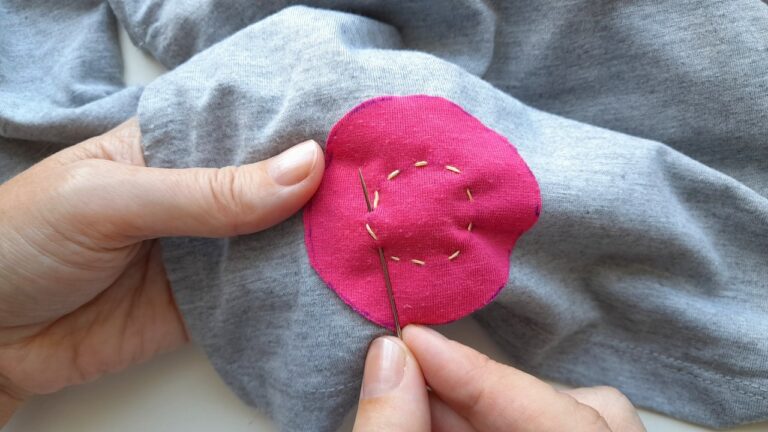
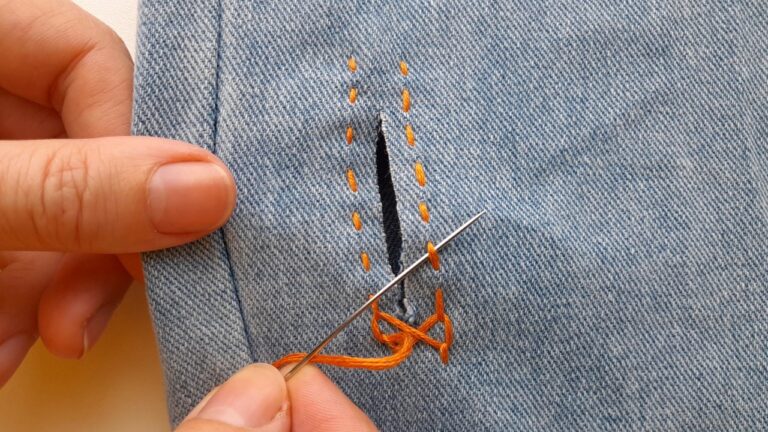
3. French Knot
The French knot adds texture and dimension to your embroidery, perfect for creating flowers or accents.
- Bring your needle up from the back of the fabric to the front.
- Wrap the thread around the needle, usually twice, adjusting based on the knot size you desire.
- Insert the needle back into the fabric close to where it first emerged while holding the wrap with your fingers.
- Pull the thread taut, and as you do, complete the knot.
- Repeat in desired locations to create a cluster or scattered dots.
Consider using multi-colored threads for added vibrancy. Visualize a meadow sprinkled with French knots, each representing blooming flowers.
Common Mistakes to Avoid
- Skipping fabric tension: Not securing your fabric can lead to uneven stitching.
- Overthreading your needle: Using too many strands can make stitches bulky and difficult to manage.
- Ignoring consistent stitch lengths: Uneven stitches disrupt the overall appearance of your work.
- Neglecting to test your stitches: Always practice on a scrap piece before working on your project.
FAQ
What type of thread is best for embroidery? Generally, embroidery floss made of six strands is ideal for most projects, offering versatility and a rich finish.
Can beginners easily learn these techniques? Yes! Each of these methods is accessible for beginners and can be mastered with practice.
How can I incorporate embroidery into my home décor? Consider creating decorative pillowcases, table runners, or wall hangings featuring your stitched designs.
Conclusion
These three embroidery techniques can enhance your crafting toolbox, allowing you to create stunning pieces. Which technique are you eager to try first? Share your thoughts below!