This simple technique transforms yarn into adorable birds… you’ll want to try it now!
This Simple Technique Transforms Yarn into Adorable Birds… You’ll Want to Try It Now!
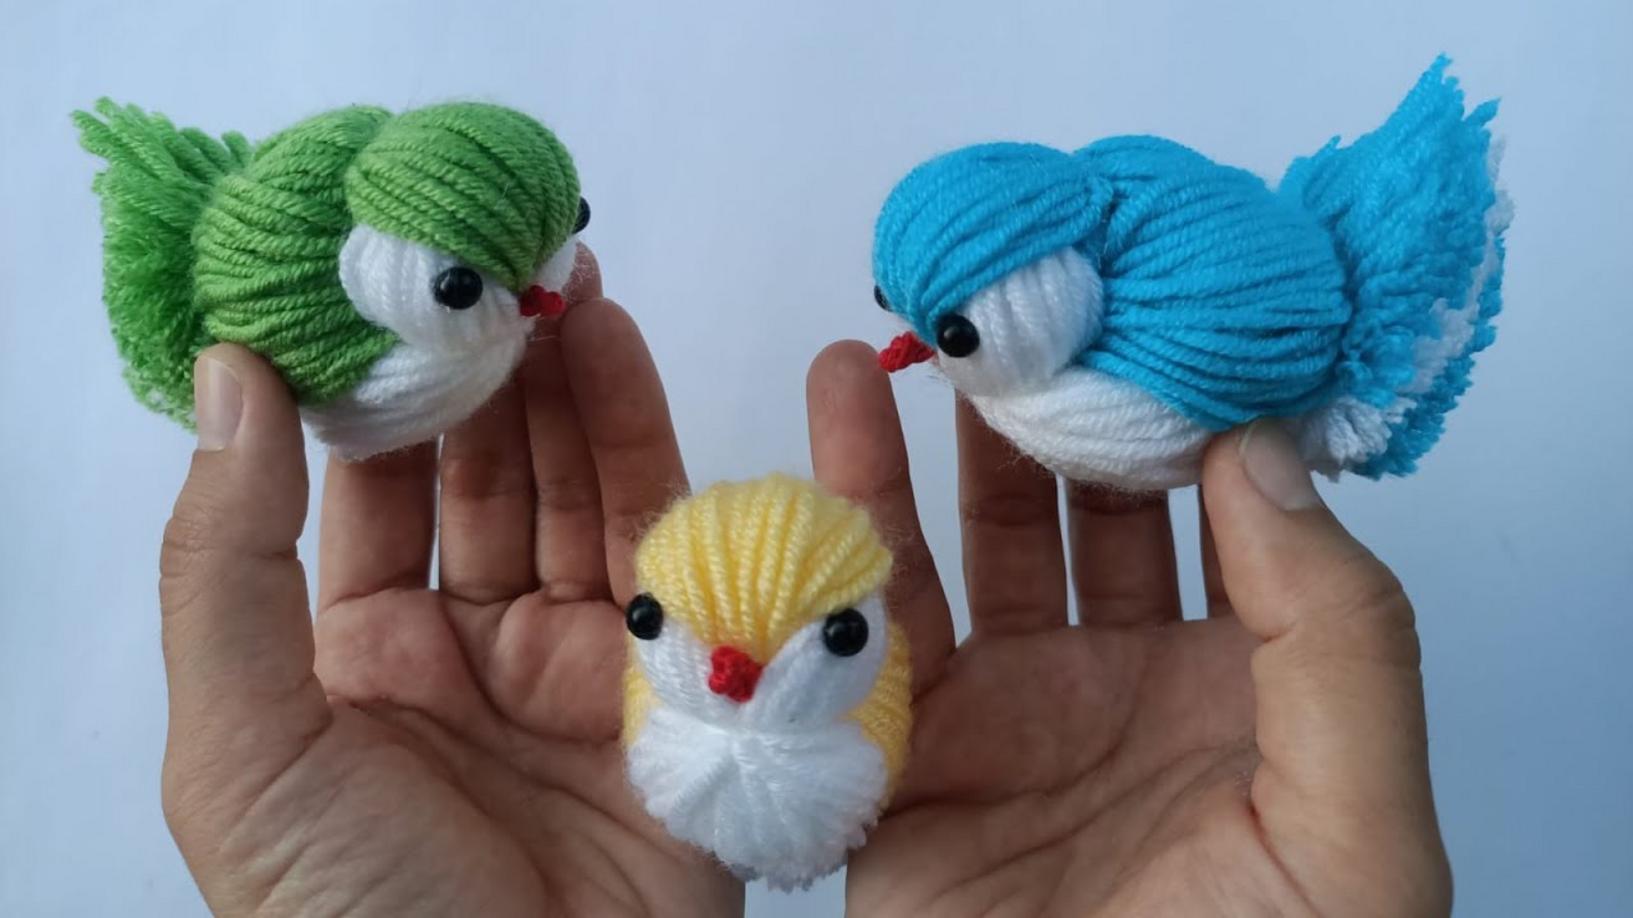
Have you ever looked at leftover **yarn** and wondered what you could create? This simple yet delightful technique allows you to turn yarn into adorable birds! Not only is it a joy to make, but it also adds a pop of color to your space. Let’s dive into how you can whip up these charming yarn birds in just a few steps!
Materials You’ll Need
- **Yarn** (any color you prefer)
- **Scissors**
- **Cardboard** (to create the circle template)
- **Googly eyes** (optional)
- **Glue** (for decoration)
- **Felt** (for wings and beaks)
Step-by-Step Guide to Making Yarn Birds
1. Create Your Yarn Circle
Start by cutting two circles out of the **cardboard**. The size will depend on how large you want your bird. A good beginner size is about 4 inches in diameter. Lay the two circles together and secure them with a small piece of tape.
2. Wrap the Yarn
Take your chosen **yarn** and begin wrapping it around the cardboard circles. Ensure you cover the entire area, creating a thick layer. The more you wrap, the fluffier your bird will be! Make sure to keep your wraps tight.
3. Secure the Yarn
Once you’re satisfied with the amount of yarn, carefully cut the yarn around the edges of the cardboard. Use another piece of yarn to tie a tight knot around the middle of the wraps to secure everything in place. Carefully remove the **cardboard** circles.
4. Shape Your Bird
Now, gently fluff out your yarn to give it a round shape. You can trim any uneven bits to ensure your bird has a neat appearance. This is the fun part! You can adjust the fluffiness as per your preference.
5. Add Features
Using **felt**, cut out shapes for the wings and beak. Glue them securely onto your yarn bird. If you’ve got **googly eyes**, now is the time to stick them on to give your bird personality!
Practical Tips Based on Experience
- Choose Bright Colors: Using bright, playful colors can make your yarn birds really stand out.
- Mix and Match: Try using **different yarn textures** for a more unique look.
- Use Up Scraps: This project is perfect for **stashing** away leftover yarn scraps from other projects!
Common Mistakes to Avoid
- Too Little Yarn: If you don’t wrap enough yarn, your bird may end up looking sparse.
- Unsecured Wraps: Make sure your knots are tight; otherwise, the yarn will come apart!
- Skip the Fluffing: Fluffing is crucial to achieve the adorable round shape of your bird!
Conclusion: Get Crafting!
This simple **yarn** technique not only gives you a chance to flex your creative muscles but also results in adorable decorations you can use or gift. Now that you have the steps, it’s time to gather your materials and start crafting! Show off your creations on social media and inspire others to join in the fun. Happy crafting!