7 Amazing Ways to Use This Simple Hole Mending Trick Everywhere!
7 Effective Ways to Use the Simple Hole Mending Trick
- Introduction
- Repairing Clothing
- Patching Up Furniture
- Sealing Walls and Surfaces
- Common Mistakes
- FAQ
- Conclusion
Introduction
You’ve probably found yourself frustrated when noticing a small hole in your favorite piece of clothing or the damage on your beloved furniture. Such situations can lead to dismay, especially when you want to keep your items looking their best without spending a fortune. While tossing the damaged item might cross your mind, there’s a simple solution waiting to be explored. By implementing the simple hole mending trick, you can breathe new life into your belongings. Let’s uncover the various ways you can utilize this technique effectively.
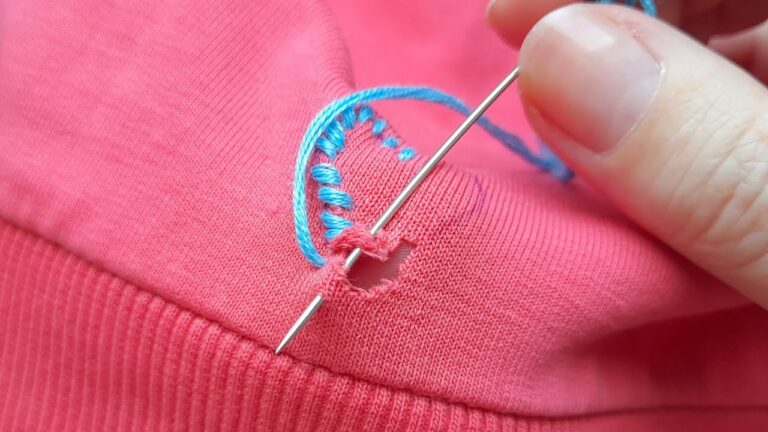
Repairing Clothing
Clothing is often one of the first areas where holes appear, especially in active households. Thankfully, using the simple hole mending trick can make a huge difference.
1. Gather Your Materials
Before diving in, you’ll need a few essential supplies:
- Needle and thread (matching your fabric color)
- Patching fabric (if necessary)
- Scissors
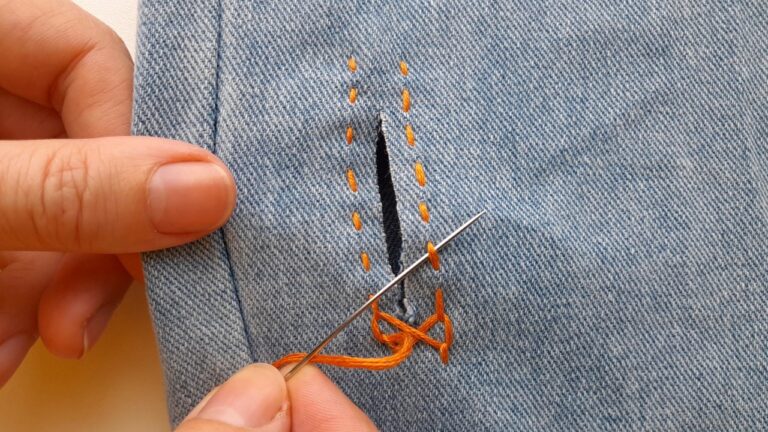
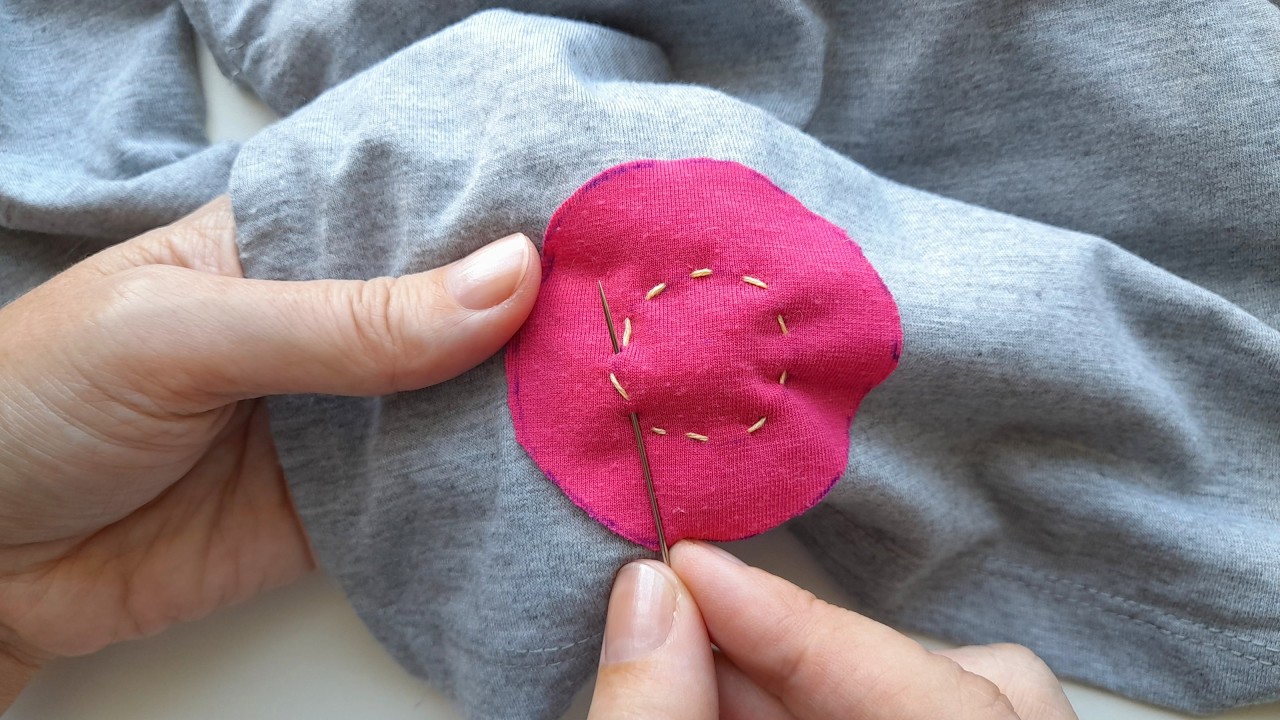
2. Steps for Repair
- Locate the hole and assess whether it requires patching.
- If patching, cut a piece of fabric slightly larger than the hole.
- Thread your needle and secure the patch over the hole.
- Stitch around the edges of the patch to secure it firmly in place.
3. Tips for a Seamless Finish
To ensure your repair is discreet:
- Choose a thread color that closely matches your fabric.
- Use small, tight stitches for a cleaner look.
Patching Up Furniture
Holes and tears in furniture can be unsightly, but the simple hole mending trick can help give your pieces a second chance.
1. Identify the Damage
Take note of the size and type of hole in your furniture. This will determine the method you’ll use for repair.
2. Simple Repair Techniques
- Choose a suitable fabric or leather patch that matches your furniture.
- Cut the patch to size, ensuring it covers the hole completely.
- Apply a strong adhesive around the edges of the patch.
- Press the patch firmly onto the damaged area.
3. Make It Stylish
Consider using fabric patterns or colors to create a unique design rather than just a functional repair. This adds character to your furniture!
Sealing Walls and Surfaces
Holes in your walls can compromise both safety and aesthetics. The simple hole mending trick can provide a neat solution.
1. Gather Your Supplies
You’ll need:
- Spackle or joint compound
- Putty knife
- Sandpaper
2. Mending Steps
- Clean the area around the hole, removing any loose material.
- Apply spackle or joint compound with your putty knife, filling the hole completely.
- Smooth the surface with the knife.
- Once dry, sand it down to create a flush finish with the surrounding wall.
3. Final Touches
After sanding, make sure to paint over the repaired area to match the rest of your wall for a seamless look.
Common Mistakes
When using the simple hole mending trick, it’s easy to make a few missteps that can hinder your repair efforts. Here are some common mistakes to watch out for:
- Not cleaning the surface properly before applying adhesive or spackle.
- Choosing the wrong patch material that doesn’t match.
- Using too much adhesive, which can lead to visible residue.
- Rushing the drying process, resulting in an unfinished look.
FAQ
What materials do I need for mending holes in clothing?
You will typically require a needle, thread, patching fabric if necessary, and scissors for cutting.
Can I use the hole mending trick for leather furniture?
Yes, the simple hole mending trick works well for leather furniture; just be sure to use adhesive designed specifically for leather.
How long should I wait for repairs to dry?
Drying times can vary, but it’s generally best to allow at least 24 hours before handling the repaired item.
Conclusion
Utilizing the simple hole mending trick effectively can breathe new life into your clothing, furniture, and even walls. By following the outlined methods and avoiding common pitfalls, you can enjoy beautifully repaired items for years to come. What mending projects have you tackled recently that made a significant difference?