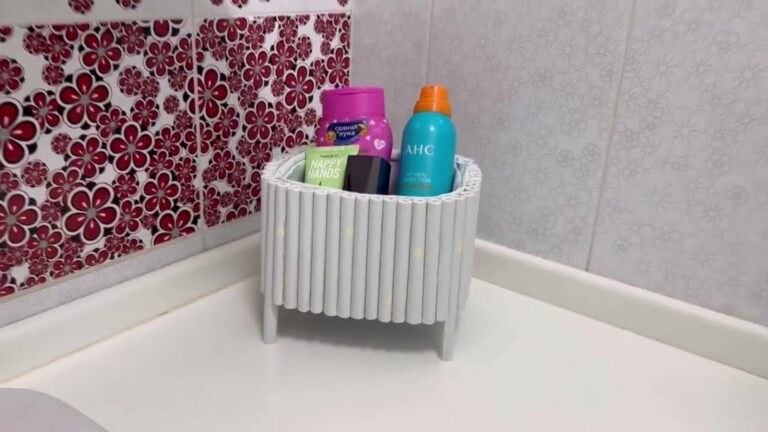
7 Simple Steps to Create a Budget-Friendly Cardboard Shoe Rack
DIY Cardboard Shoe Rack: A Step-by-Step Guide
Introduction
Have you ever found yourself tripping over shoes in your entryway, searching for a quick solution to tidy up your space? A cluttered area can be overwhelming, and you may be seeking a stylish yet affordable way to organize your footwear. Creating a cardboard shoe rack could be your answer. With just a few materials and some creativity, you can transform your space into a neat and inviting area. Let’s explore how to get started on this fun DIY project!
Required Materials
Before diving into the project, gather the following supplies to ensure a smooth process:
- Cardboard boxes of various sizes
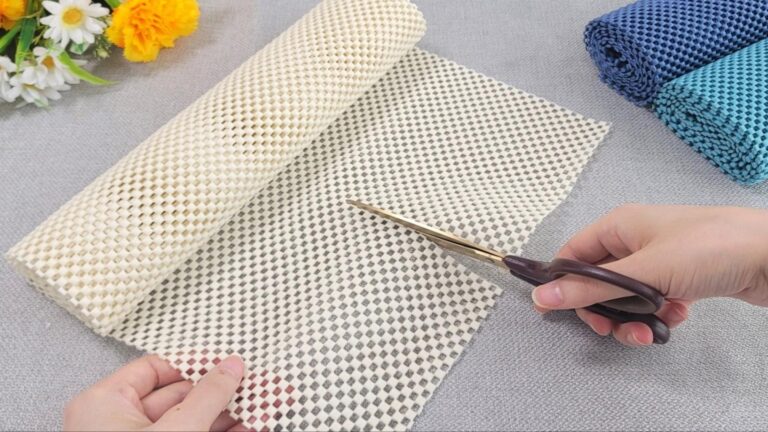
- Craft knife or scissors
- Ruler or measuring tape
- Pen or pencil for marking
- Strong adhesive or tape
- Decorative paper or paint for finishing touches (optional)
DIY Process
Now that you have gathered your materials, let’s break down the steps to create your own cardboard shoe rack.
Step 1: Measure Your Space
Begin by determining the dimensions of the area where you plan to place your shoe rack. This step will help you decide how large or small your rack should be.
Step 2: Cut the Cardboard
- Use a ruler to measure and mark your cardboard sheets according to your desired dimensions.
- Carefully cut the cardboard using your craft knife or scissors to create the base, shelves, and sides of the rack.
Step 3: Assemble the Rack
Before attaching, lay the pieces out to ensure they fit together properly. Use your adhesive or tape to assemble the pieces:
- Attach the sides to the base first, making sure they are secure.
- Add the shelves at your preferred heights.
Step 4: Reinforce Your Shoe Rack
For added stability, consider the following:
- Add additional layers of cardboard at the joints for extra support.
- Use a larger cardboard piece at the back for added structure.
Step 5: Personalize Your Rack
This is where you can get creative! You can:
- Decorate with decorative paper or paint to match your home decor.
- Label each section if you have multiple family members sharing the space.
Common Mistakes to Avoid
While creating your cardboard shoe rack, watch out for these common pitfalls:
- Not measuring the space accurately, which can lead to an awkward fit.
- Using cardboard that is too flimsy, compromising the structure.
- Skipping the reinforcement step, resulting in a rack that may not hold up well.
- Neglecting to allow adhesive to cure properly before using the rack.
FAQ
How long will a cardboard shoe rack last?
Your cardboard shoe rack can last for several months, especially if it’s kept in a dry, indoor environment.
Can I make my shoe rack waterproof?
Applying a layer of clear spray paint can help make it more resistant to moisture.
Is this rack suitable for heavy shoes?
For heavier shoes, it’s best to limit the weight per shelf and reinforce the joints for added support.
Conclusion
Creating a practical and budget-friendly cardboard shoe rack is a rewarding project that not only organizes your footwear but also adds a personal touch to your space. What unique designs or colors will you choose for your new shoe rack? Feel free to share your ideas in the comments below!