10 Easy Steps to Create a DIY Watering Can from Plastic Containers
10 Easy Steps to Create a DIY Watering Can from Plastic Containers
- Introduction
- Required Materials
- Step-by-Step Guide
- Personalization Ideas
- Common Mistakes
- FAQ
- Conclusion
Introduction
Have you ever found yourself struggling to water your plants effectively? A traditional watering can might be hard to handle or even too heavy for your garden tasks. Using a repurposed plastic container could be the solution you need, making it easier to take care of your garden. In this guide, you’ll discover how to create a simple yet practical DIY watering can that not only simplifies your gardening routine but also helps reduce waste.
Required Materials
To create your own DIY watering can, gather the following items:
- 1 large plastic container (like a milk jug or detergent bottle)
- Scissors or a sharp utility knife
- Small nail or screwdriver
- Marker
- Paint or decorative materials (optional)
These materials are easy to find and often available at home, allowing you to get started right away.
Step-by-Step Guide
Let’s walk through the process of creating your DIY watering can in just a few easy steps.
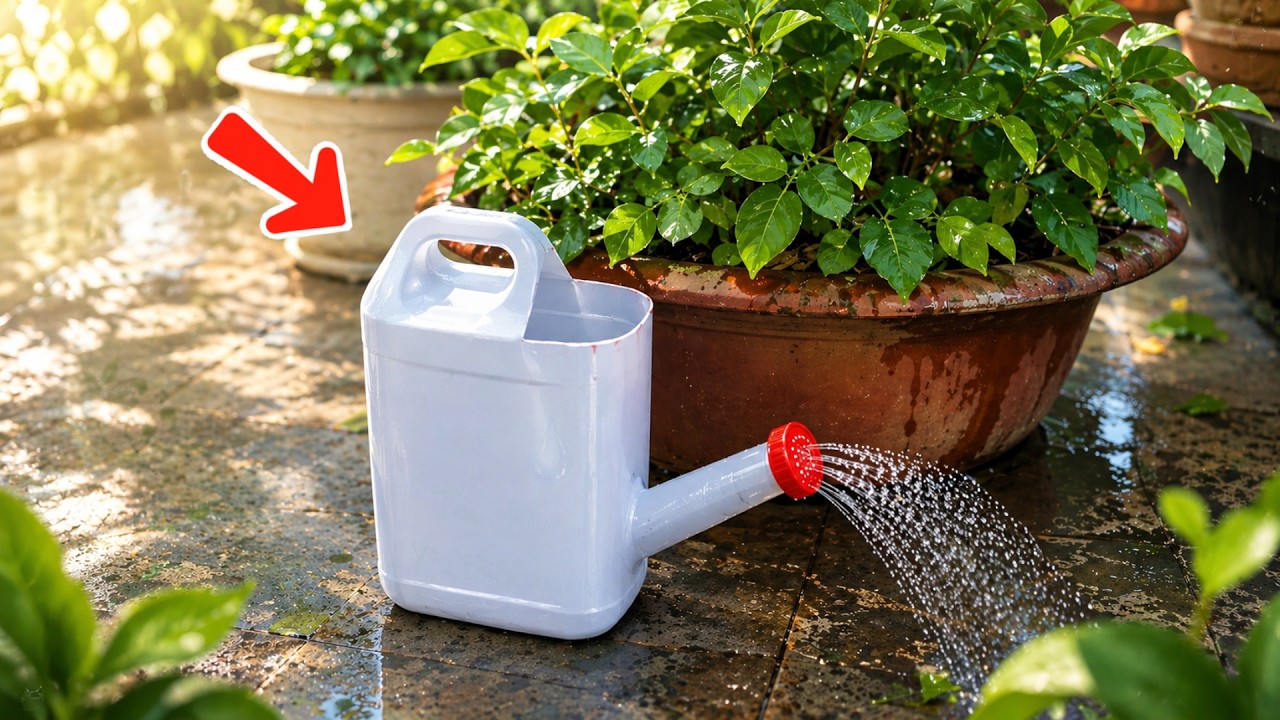
1. Prepare your container
- Clean the plastic container thoroughly with soap and water to remove any residues.
- Once dry, remove the label and any stickers for a cleaner finish.
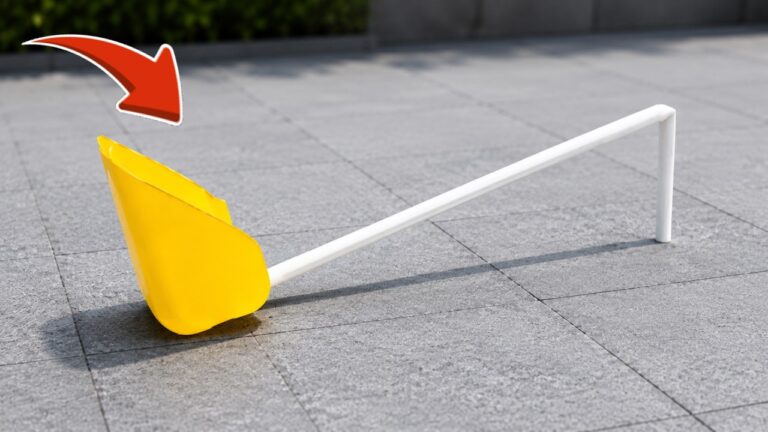
2. Create a watering spout
- Use the marker to mark holes on the lid or at the top of the container, spaced evenly apart.
- Carefully poke holes using the nail or screwdriver to create a spout that allows water to flow out easily.
3. Customize your watering can
- If you wish to add a personal touch, use paint or decorative materials to embellish your watering can.
- Consider using eco-friendly paints or even a simple design that matches your garden’s aesthetic.
Personalization Ideas
Once your DIY watering can is ready, you might want to customize it further. Here are some ideas:
- Color theme: Choose colors that blend with your garden decor.
- Add labels: Use stickers or a label maker to identify which plants need watering.
- Decorative designs: Paint flowers or leaves on the container for a whimsical touch.
These ideas can transform your practical tool into a delightful garden accessory.
Common Mistakes
When creating your DIY watering can, here are some common mistakes to avoid:
- Neglecting proper cleaning: Failing to clean the container thoroughly may introduce chemicals to your plants.
- Poking too few holes: Not having enough holes on the lid may lead to water pouring out too quickly or not at all.
- Choosing a poor container: Some plastic containers are too fragile, leading to breakage during use.
FAQ
What size container is best for a DIY watering can?
A medium to large-sized container is ideal. A one-gallon jug is typically manageable and provides ample capacity.
Can I customize my watering can’s design?
Yes, you can personalize it with paint, stickers, or other decorations to match your style or garden theme.
Is this DIY project eco-friendly?
Absolutely! Repurposing plastic containers helps reduce waste and provides a sustainable solution for your gardening needs.
Conclusion
Creating a DIY watering can from plastic containers is a practical and eco-friendly project that enhances your gardening experience. By following these simple instructions, you can make gardening more enjoyable and sustainable. What creative touches will you add to your watering can? Share your ideas in the comments below!