10 Essential Tips to Build Your DIY Portable Tool Cart for Electricians
10 Essential Tips for Building Your DIY Portable Tool Cart
- Introduction
- Planning Your Cart
- Choosing Materials
- Assembly Steps
- Common Mistakes to Avoid
- FAQ
- Conclusion
Introduction
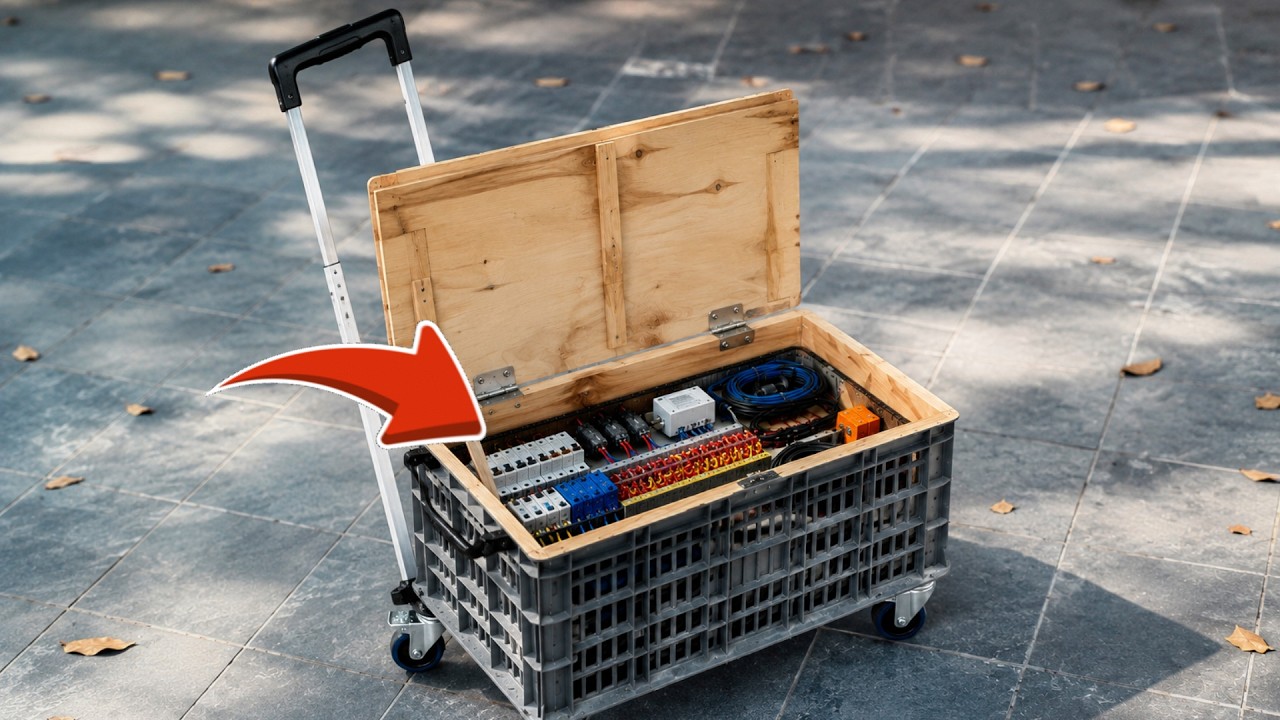
Have you ever found yourself frustrated by the clutter in your garage or workspace, struggling to find the tools you need for your latest project? Building your own portable tool cart can help you keep everything organized and easily accessible. Not only can you customize it to fit your specific needs, but you can also use it for various DIY projects around your home or garden. Let’s explore the essential tips for creating a tool cart that works best for you.
Planning Your Cart
Before diving into construction, it’s crucial to plan your tool cart carefully. This initial stage will save you time and materials down the line.
Determine the Size and Dimensions
Consider how much space you have available and what tools you wish to store. A compact design may be ideal for small spaces, while larger models can accommodate additional equipment. Sketch a basic outline of your cart, including its height, width, and depth.
List the Tools and Accessories
Make a comprehensive list of the tools you want to include. Think about dividers or compartments you might need:
- Hand tools: wrenches, screwdrivers, etc.
- Power tools: drills, saws, etc.
- Accessories: screws, tape measures, etc.
Identify Additional Features
Consider incorporating features like a pull-out drawer or an integrated work surface. These elements can make the cart more functional and tailored to your needs.
Choosing Materials
Once you’ve mapped out your design, the next step is selecting the right materials for your portable tool cart.
Wood vs. Metal
The choice between wood and metal will impact both the durability and design of your cart. Wood is typically easier to work with and can be finished beautifully, while metal offers increased sturdiness.
Recommended Hardware
Consider using robust casters for mobility. Look for options that provide:
- Swivel action for maneuverability
- Locking mechanisms to keep the cart stable
- Weight capacity suitable for your tools
Finishes and Safety
If you opt for wood, a weather-resistant finish will prolong its life. Ensure that all edges are sanded down to avoid any sharp surfaces that could cause injury during use.
Assembly Steps
With your materials ready, it’s time to assemble your tool cart. Follow these steps to achieve the best results:
1. Prepare Your Workspace
Clear a large area where you can lay out your tools and materials. This will help you organize everything before you start building.
2. Cut the Wood or Metal
- Measure each piece precisely, making sure to follow your design specifications.
- Cut all the necessary pieces, ensuring you wear safety goggles and gloves.
3. Assemble the Frame
Join the components using screws or brackets, depending on your chosen materials. Be cautious to ensure the frame is square before securing everything tightly.
4. Attach Casters
Add your casters to the base of the cart, ensuring they are securely fastened. It’s often beneficial to mount them to the corners for better balance.
5. Final Touches
Add any dividers, drawers, or a work surface as planned, and finish with a coat of paint or sealant if desired.
Common Mistakes to Avoid
As you embark on creating your DIY portable tool cart, steer clear of these common pitfalls:
- Skipping the planning stage, which can lead to a poorly designed cart.
- Choosing materials that are too heavy, making the cart difficult to move.
- Underestimating space requirements, resulting in overcrowded compartments.
- Neglecting safety features like durable wheels and finishes, which may compromise usability.
- Rushing the assembly, which can lead to structural weaknesses.
FAQ
What materials are best for a DIY tool cart? Wood and metal are both excellent choices. Wood is generally easier to work with, while metal provides more durability.
How do I make my tool cart mobile? Use high-quality casters that can swivel and lock in place for stability. Make sure they are rated for the weight of your tools.
Can I customize the size of my cart? Absolutely! Ensure to measure your space and tools carefully to create a cart that fits your needs.
Conclusion
Building your DIY portable tool cart is a rewarding project that can enhance your workspace organization. With careful planning and selection of materials, you can create a cart that meets your specific needs. What features are you considering for your tool cart? Share your thoughts in the comments below!