3 Genius Hacks to Shorten Any Sleeve in Minutes! Discover How Now!
3 Simple Hacks to Shorten Any Sleeve in Minutes
- Introduction
- Essential Tools for Sleeve Shortening
- Step-by-Step Methods for Shortening Sleeves
- Common Mistakes to Avoid
- FAQ
- Conclusion
Introduction
Have you ever found yourself trying on a shirt or dress only to realize that the sleeves are too long? This can be frustrating, especially when you love the piece but find it just doesn’t fit quite right. Instead of letting those garments sit in the back of your closet, there are quick and simple hacks you can use to shorten any sleeve in just minutes. Read on to discover these techniques that can save your favorite outfits.
Essential Tools for Sleeve Shortening
Before diving into the hacks, it’s important to gather your materials. Here’s a quick list of what you’ll need:
- Tailor’s chalk or fabric marker for marking
- Scissors for cutting the fabric
- Needle and thread or fabric adhesive for securing the new hem
- A sewing machine (optional) for quicker results
Having these tools ready will make the process smoother and more enjoyable.
Step-by-Step Methods for Shortening Sleeves
There are various methods to shorten sleeves, each with its own benefits. Below are two effective techniques you can choose from, depending on your comfort level with sewing.
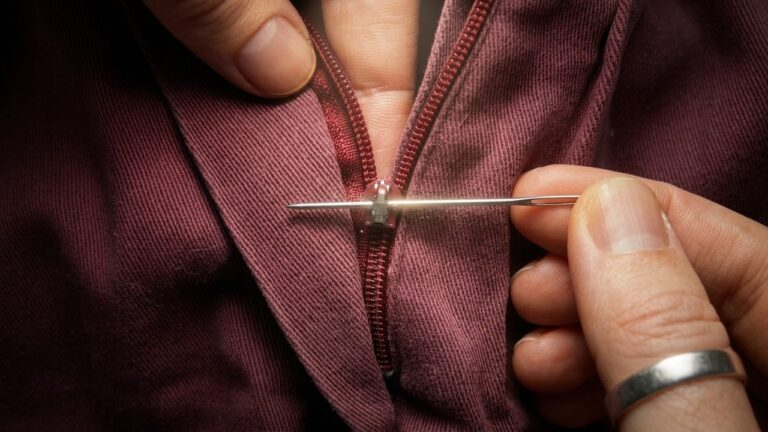
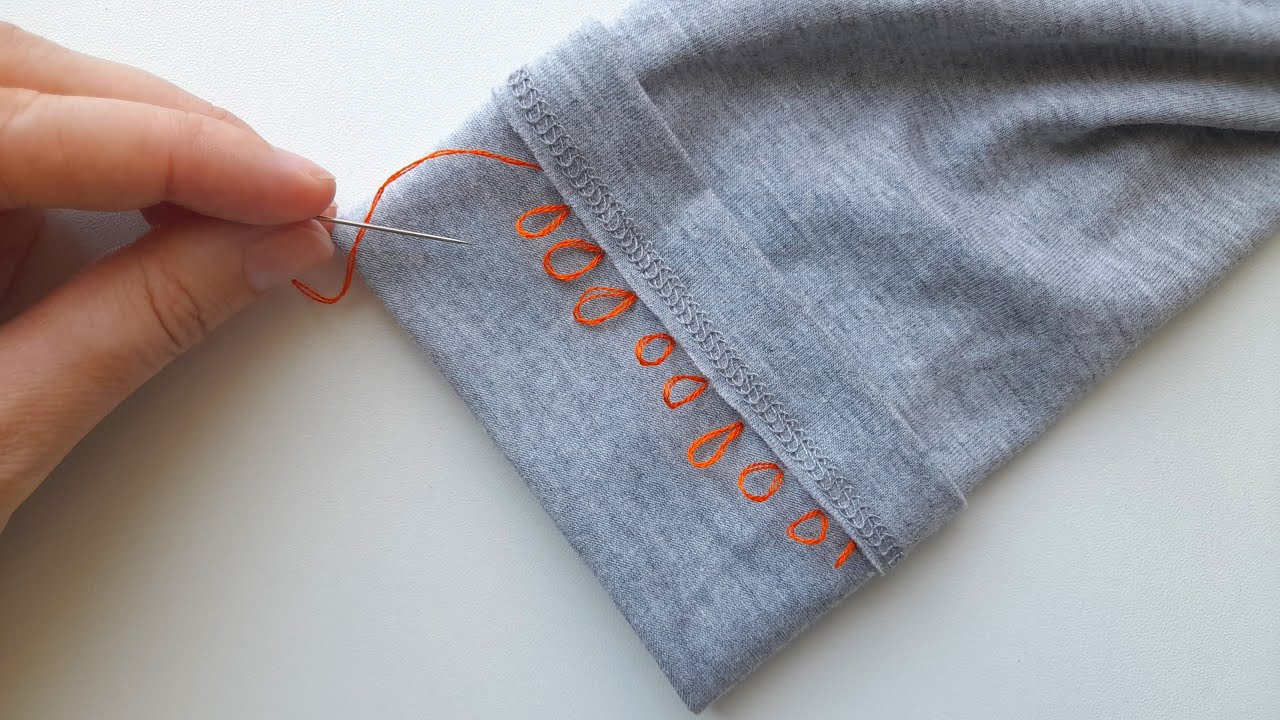
1. The Sewn Hem Method
- Try on the garment and determine how much you want to shorten the sleeves.
- Use tailor’s chalk to mark the desired length on both sleeves. Be sure to add a little extra for the hem.
- Cut the sleeves along the marked line, leaving about half an inch for the hem.
- Fold the hem up, pressing it with an iron for a neat finish.
- Sew along the folded edge using a needle and thread or a sewing machine.
- Finally, press the hem again for a polished look.
2. The Fabric Adhesive Method
If you’re looking for a no-sew option, fabric adhesive is a fantastic choice.
- Mark the desired sleeve length with tailor’s chalk as before.
- Cut the fabric, leaving extra for the hem.
- Fold up the hem and use fabric adhesive along the edge to hold it in place.
- Press firmly to ensure it’s secure. Let it dry according to the product instructions.
Both methods are quick and effective, allowing you to customize your wardrobe without spending too much time or effort.
Common Mistakes to Avoid
While shortening your sleeves can be straightforward, a few common missteps can lead to frustrating results. Here are mistakes to steer clear of:
- Not trying on the garment first: Always try on the piece to see how it will look when altered.
- Cutting too much fabric: Measure twice, cut once to avoid losing too much length.
- Skipping pressing: Failing to press the fabric can leave the hem looking uneven and unprofessional.
- Using the wrong adhesive: Ensure you’re using fabric adhesive specifically designed for textiles to avoid damaging your clothing.
FAQ
What if I accidentally cut the sleeves too short?
If you cut the sleeves too short, consider adding lace or fabric at the cuff for a stylish finish.
Can I shorten sleeves on lined garments?
Yes, you can shorten sleeves on lined garments, but you’ll need to adjust the lining accordingly to match the new sleeve length.
How can I ensure my sleeves stay in place after shortening?
To keep your sleeves looking great, always secure the hem with quality stitching or fabric glue, and consider reinforcing the edges with a zig-zag stitch for added durability.
Conclusion
Shortening your sleeves doesn’t have to be a daunting task. With the right tools and methods, you can quickly transform any garment to fit your style. Have you ever tried shortening sleeves yourself? Share your experience in the comments below!