10 Creative Ways to Craft a DIY Storage Basket with Lid from Cardboard!
10 Creative Ways to Craft a DIY Storage Basket with Lid from Cardboard
- Introduction
- Creative Ideas for Your Basket
- Step-by-Step Crafting Guide
- Tips for Personalization
- Common Mistakes to Avoid
- FAQ
- Conclusion
Introduction
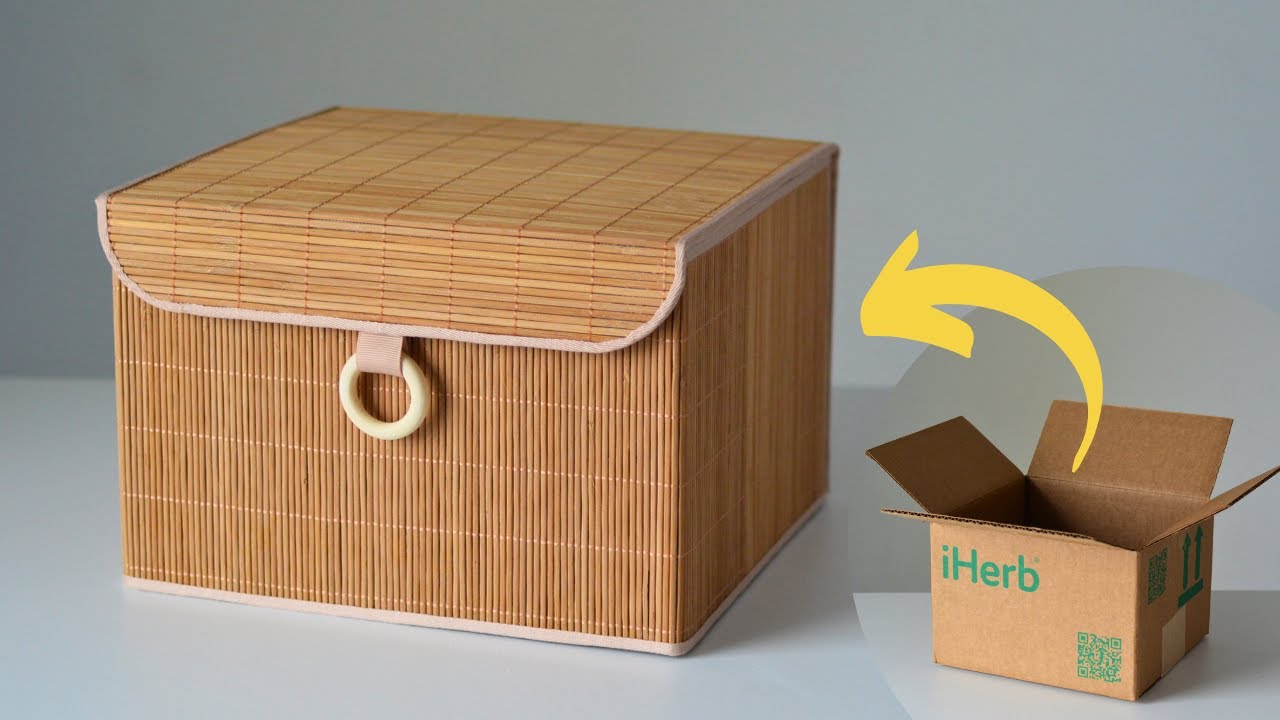
You’ve just finished a big project, and now you have piles of cardboard left over. Instead of tossing it in the recycling bin, why not turn it into something functional and beautiful? Cardboard can easily be transformed into a DIY storage basket with a lid that adds charm and organization to any room. From crafting tutorials to creative ideas, there are countless ways you can craft this versatile storage solution. Continue reading to discover how to make the most of your cardboard!
Creative Ideas for Your Basket
Transforming cardboard into a storage basket gives you an opportunity to express your creativity. Here are some imaginative ways to customize your creation:
1. Functional and Decorative Designs
- Mix different cardboard textures!
- Incorporate colorful paper or fabric for a unique touch.
- Add handles for easy transportation.
2. Thematic Baskets
Consider crafting themed baskets for specific rooms:
- Create a kitchen basket for utensils.
- Design a nursery basket for toys.
- Build an entryway basket for mail and keys.
3. Eco-Friendly Decor
Use eco-friendly options like organic paints or natural dyes to decorate your basket. This can enhance its aesthetic appeal while promoting sustainability.
Step-by-Step Crafting Guide
Required Materials
Gather these materials before you start:
- Cardboard boxes
- Glue or a hot glue gun
- Paint or decorative paper
- Scissors
- Ruler and pencil
Crafting Process
- Cut your cardboard into the desired shapes for the basket’s base and sides.
- Assemble the structure using glue, ensuring everything is secure.
- Attach a lid by cutting an additional piece of cardboard.
- Decorate your basket with paint or wrapping paper for a polished look.
Customizing Your Basket
Personalize your basket by adding embellishments like ribbons or stencils. You can also add compartments inside for better organization.
Tips for Personalization
Personalizing your DIY storage basket makes it uniquely yours. Here are some tips to consider:
1. Use Unique Patterns
Opt for patterned paper or fabric to cover your cardboard. This can add flair and help your basket stand out in any room.
2. Try Different Shapes
While rectangular is common, consider experimenting with round or oval baskets. Different shapes can serve various functions.
3. Experiment with Color
Choose a color scheme that complements your home decor. A cohesive look brings harmony to your space.
Common Mistakes to Avoid
Here are a few pitfalls you may encounter when crafting your storage basket:
1. Using Weak Glue
Make sure to choose a strong adhesive like hot glue to ensure the structure holds up over time.
2. Skipping the Measurements
Always measure twice and cut once. This step is crucial for achieving a balanced and aesthetically pleasing design.
3. Neglecting the Finish
A well-finished basket looks professional. Don’t skip decorating or sealing your project to prevent wear and tear.
FAQ
Can I make a storage basket without a lid?
Yes, you can definitely create a basket without a lid. Just assemble the sides and base, and you’re set!
How long will a cardboard basket last?
A well-made and properly treated cardboard basket can last several months, especially if kept in a dry area. Consider using a sealant for longevity.
Can I waterproof my cardboard basket?
Absolutely! Use a waterproof sealant or acrylic spray to protect it from moisture.
Conclusion
Creating a DIY storage basket with a lid from cardboard is not only sustainable but also an opportunity to showcase your creativity. Remember to personalize it to fit your style and function. What designs are you excited to try? Share your thoughts in the comments below!