60 Years of Experience: 7 Essential Electrical Wire Tying Tips You Can’t Ignore
7 Essential Electrical Wire Tying Tips You Can’t Ignore
- Why Proper Tying Matters
- Essential Tools for Wire Tying
- Step-by-Step Techniques for Tying Wires
- Common Mistakes to Avoid
- FAQ
Why Proper Tying Matters
When you’re tackling a DIY home project, you might find yourself overwhelmed by the number of electrical wires needing attention. As wires can become tangled and compromised over time, using ineffective tying methods can lead to hazards including short circuits and electrical fires. It’s important to keep your work tidy and secure to ensure safety and functionality in your projects. Discovering effective tying techniques can make your tasks easier and enhance the longevity of your electrical work.
Essential Tools for Wire Tying
Before diving into the various techniques, having the right tools at your disposal is crucial. Here are some essentials you should gather:
- Wire Cutters: To help you trim wires to the desired length.
- Wire Strippers: These make the process of exposing wire ends safe and efficient.
- Electrical Tape: A reliable option for securing ties effectively.
- Heat Shrink Tubing: A professional choice for creating a secure bond once wires are tied.
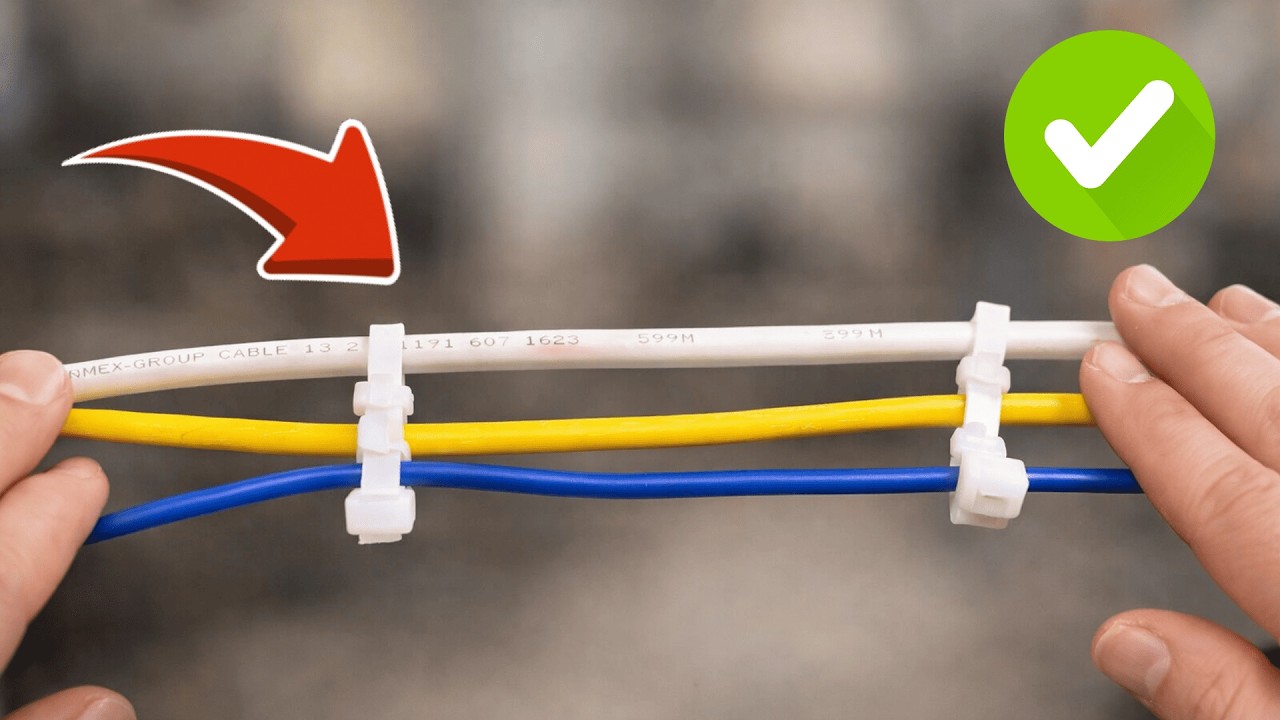
- Zip Ties: An excellent solution for bundling wires together neatly.
Step-by-Step Techniques for Tying Wires
Mastering a variety of tying techniques can greatly enhance your projects. Here are some effective methods to consider:
1. Twisting Wires Together
- Strip: Start by stripping the insulation off both wire ends, exposing about half an inch of the copper conductor.
- Align: Position the wire ends next to each other, ensuring they overlap slightly.
- Twist: Using pliers, twist the wires together in a clockwise direction until tightly bound.
2. Using Electrical Tape
- Once wires are twisted, wrap the joint with electrical tape, overlapping each layer slightly.
- Continue wrapping until the wire joint is fully covered to prevent exposure.
3. Employing Heat Shrink Tubing
- Cut: Choose a piece of heat shrink tubing that is larger than the connected wires.
- Slide: Place the tubing over the connection before tying the wires.
- Heat: After securing the wires, apply heat evenly to make the tubing shrink snugly around the joint.
Common Mistakes to Avoid
Even with the best intentions, it’s easy to make mistakes while tying electrical wires. Here are some pitfalls to steer clear of:
- Ignoring Insulation Levels: Not stripping enough or damaging the wire can lead to weak connections.
- Overusing Tape: Relying too heavily on electrical tape can create complications; it’s best used in conjunction with other methods.
- Neglecting to Secure Loosely Bundled Wires: Leaving wires loosely tied can cause tangling and damage over time.
- Using Non-Electrical Tape: Using general-purpose tape instead of electrical tape can pose safety hazards.
FAQ
What is the best method for tying electrical wires?
Twisting wires together, using electrical tape, or employing heat shrink tubing are all effective methods, depending on your project’s needs.
Can I use regular tape to tie wires?
No, using regular tape can lead to safety issues. Always opt for electrical tape which is designed to handle electrical connections.
What should I do if my wires become loose?
Inspect the connections and consider re-tying them using the steps outlined above. Ensuring secure ties can prolong the life of your wiring.
Conclusion
Understanding and applying proper electrical wire tying techniques not only promotes safety but also enhances the overall quality of your projects. By avoiding common mistakes and utilizing the right tools, you can ensure your DIY tasks are both efficient and secure. What methods have you found effective for tying wires in your projects?