Transform 1 Old Bike Chain into a Powerful DIY Pipe Wrench You Need to Try!
Transform an Old Bike Chain into a DIY Pipe Wrench
- Introduction
- Required Materials
- Step-by-Step Guide
- Personalization Ideas
- Common Mistakes
- FAQ
- Conclusion
Introduction
Have you ever found yourself struggling with a stubborn pipe that just won’t budge? Perhaps you’ve used several tools, yet nothing seems effective. You might even be considering a trip to the hardware store. However, what if I told you that you could create an effective solution from something as simple as an old bike chain? This DIY project not only recycles materials but also equips you with a useful tool for your home. Let’s explore how to transform that bike chain into a powerful DIY pipe wrench.
Required Materials
Before diving into the project, gather the following materials. This list will ensure you have everything you need to successfully create your DIY pipe wrench.
- Old bike chain
- Pipe or adjustable wrench
- Strong scissors or wire cutters
- Measuring tape
- Sandpaper (optional)
Step-by-Step Guide
Follow these steps to transform your old bike chain into a functional pipe wrench.
- Measure the length of your bike chain. You need a piece long enough to fit around the pipe you’re working with.
- Cut the bike chain to the desired length using your strong scissors or wire cutters.
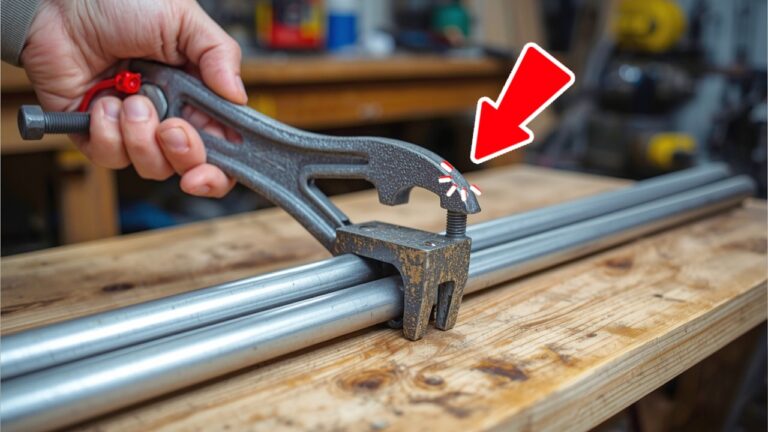
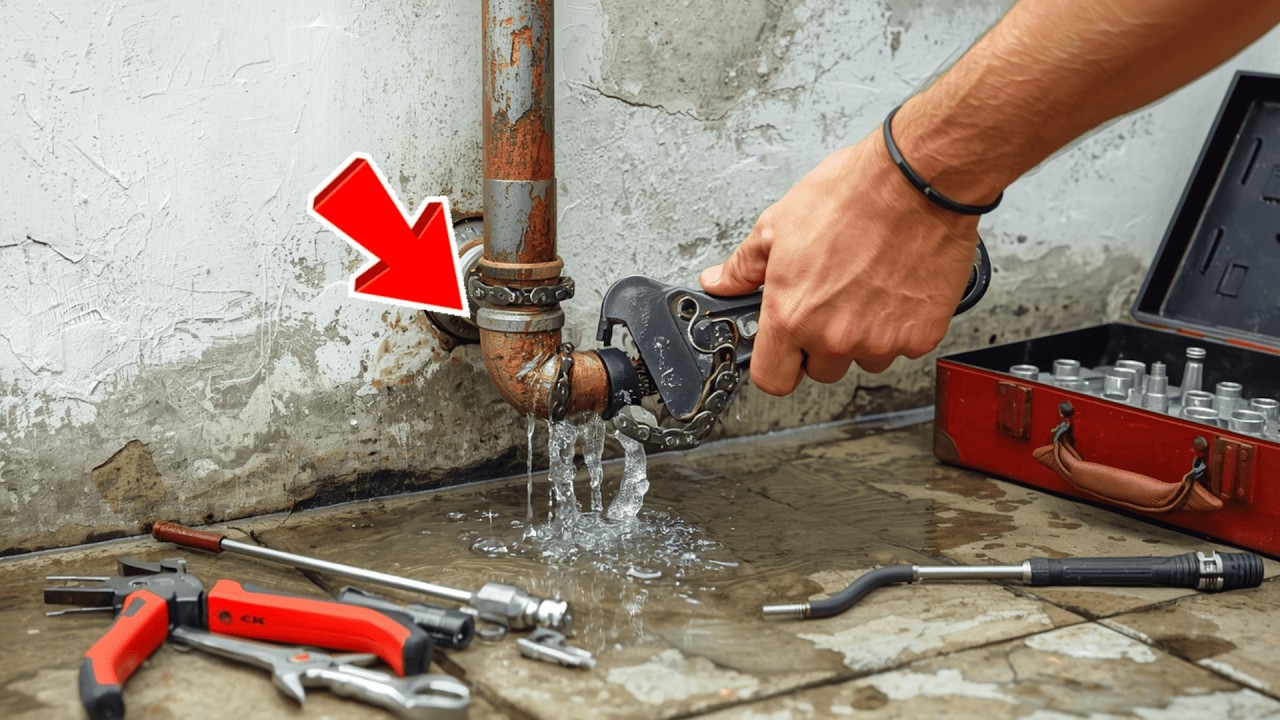
- Wrap the bike chain around the pipe. Make sure it’s snug and comfortable for gripping.
- Use your hand to twist the chain around the pipe, applying pressure as you turn. This will give you a secure grip.
- Adjust the chain to achieve the grip you need for different pipe sizes. The more you twist, the tighter the grip.
Practical Tips for Using Your DIY Pipe Wrench
Here are some practical pointers to help you make the most of your new tool:
- Always check that the bike chain is securely wrapped before applying excessive force.
- If the bike chain feels rough, consider using sandpaper to smooth it out for better handling.
- If you have multiple lengths of bike chains, label them for easy identification when you need different sizes.
Personalization Ideas
Your DIY pipe wrench can be customized in several ways to enhance its effectiveness and appearance.
Color the Chain
Consider painting your bike chain with rust-resistant spray paint. This not only makes it more visually appealing but also increases its durability.
Adding Comfort
If you find the chain uncomfortable to hold, wrap sections of it with duct tape for a more secure grip. You can also use fabric for a softer touch.
Combination with Other Tools
Think about how you can integrate this tool with other DIY projects. For example, you might attach small hooks to the chain for added functionality when working with pipes around the house.
Common Mistakes
While creating your DIY pipe wrench, avoid these common mistakes:
- Not measuring the chain length precisely, leading to ineffective grip.
- Using a chain that’s too rusty or worn, which may not provide the needed grip strength.
- Failing to secure the chain tightly, risking slippage during use.
FAQ
Can I use any bike chain for this project?
Yes, almost any bike chain will work, but a thicker chain is advisable for better grip strength.
How do I maintain my DIY pipe wrench?
Simply clean the chain and check for rust after use. Consider applying some lubricant to keep it in good condition.
Is it safe to use this tool for heavy-duty pipes?
While this DIY wrench is strong, it’s best for light to moderate tasks. For heavy-duty work, consider investing in a commercial pipe wrench.
Conclusion
Transforming an old bike chain into a DIY pipe wrench is a resourceful way to recycle and create a useful tool for your home. With just a few materials and simple steps, you can save both time and money. What project will you tackle next with your newfound skills?