8 Quick Tips for Fast Orchid Propagation Using Floral Foam
Fast Orchid Propagation: 8 Quick Tips for Success Using Floral Foam
- Introduction
- Benefits of Floral Foam for Propagation
- Preparing the Floral Foam
- Best Techniques for Propagation
- Common Mistakes to Avoid
- FAQ
- Conclusion
Introduction
If you’ve ever found joy in nurturing your orchids, you may have been intrigued by the idea of propagating them. However, even small setbacks can lead to frustration when you’re unsure of the best methods. One effective way to make the process easier is to utilize floral foam. This simple yet beneficial material can streamline your efforts and provide the support orchids need as they take root. Continue reading to find out how you can enhance your propagation experience with floral foam.
Benefits of Floral Foam for Propagation
When it comes to fast orchid propagation, floral foam offers numerous advantages that can enhance your gardening journey.
1. Moisture Retention
Floral foam is designed to retain moisture, which is crucial for orchids during their initial growth phase. This feature helps keep your orchid cuttings hydrated without the risk of waterlogging.
2. Easy Handling
Floral foam is lightweight and easy to manipulate, making it simple to create various shapes and sizes tailored to your propagation needs.
3. Airtight and Stable
The fabric structure of floral foam provides a stable environment for orchids, ensuring they remain upright and secure as they root.
Preparing the Floral Foam
Before diving into propagation, it’s essential to prepare your floral foam correctly to maximize its benefits.
1. Cutting the Foam
- Use a sharp knife to cut the floral foam into blocks or wedges, depending on how you plan to plant your orchids.
- Soak the foam in water for about 30 minutes to allow it to absorb moisture completely.
- Remove the phone and gently squeeze out any excess water before using it for your orchids.
2. Adding Nutrients
To enhance your propagation success:
- Mix a diluted orchid fertilizer with the soaking water to provide essential nutrients.
- Apply a layer of moistened orchid bark on top of the foam for added aeration and nutrition.
Best Techniques for Propagation
Once your foam is ready, you can explore various techniques to propagate your orchids effectively.
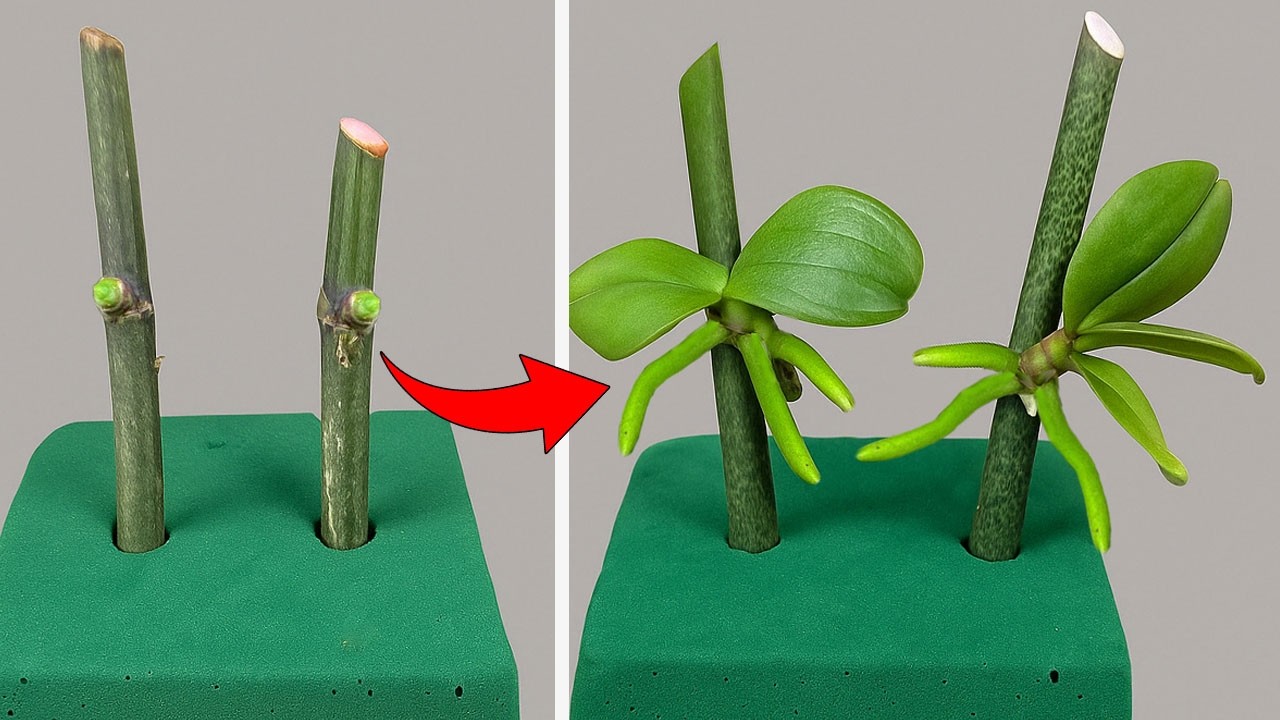
1. Stem Cuttings
- Select a healthy orchid stem, ensuring it has several nodes.
- Cut the stem at a diagonal angle just below a node.
- Insert the cut end into the floral foam, ensuring the node is well-covered to promote root growth.
2. Air Layering
This technique allows for root development while still attached to the parent plant:
- Identify a section of the stem that is at least 12 inches long.
- Gently scrape a small area of bark to expose the green layer beneath.
- Wrap the exposed area with wet floral foam and cover it with plastic wrap.
- Secure with twine or tape, keeping it moist until roots appear.
Common Mistakes to Avoid
When using floral foam for orchid propagation, being aware of common mistakes can save you time and effort.
1. Overwatering
Floral foam retains moisture; excess water can lead to root rot. Always monitor moisture levels carefully.
2. Using Non-Orchid Fertilizers
Not all fertilizers are suitable for orchids. Always opt for specific orchid fertilizers to avoid damaging your plants.
3. Neglecting Light Needs
Orchids require bright, indirect light. Place your propagation setup in an appropriate location for optimal growth.
FAQ
What type of floral foam should I use for orchids?
It’s best to use wet floral foam, as it retains moisture and provides stability during the rooting process.
How long does it take for orchids to root in floral foam?
Orchid cuttings may take anywhere from two weeks to several months to root, depending on the species and conditions.
Can I reuse floral foam for other plants?
While you can reuse floral foam, it’s advisable to use fresh foam for optimal results, especially for sensitive plant species like orchids.
Conclusion
Utilizing floral foam can significantly enhance your fast orchid propagation efforts by providing the support and moisture your plants need. Understanding these techniques and avoiding common pitfalls will put you on the right path toward healthy orchids. What challenges have you faced while propagating orchids? Share your experiences in the comments below!