Transform kitchen scraps into stunning pumpkins… discover the secret with recycled bins!
Transform Kitchen Scraps into Stunning Pumpkins… Discover the Secret with Recycled Bins!
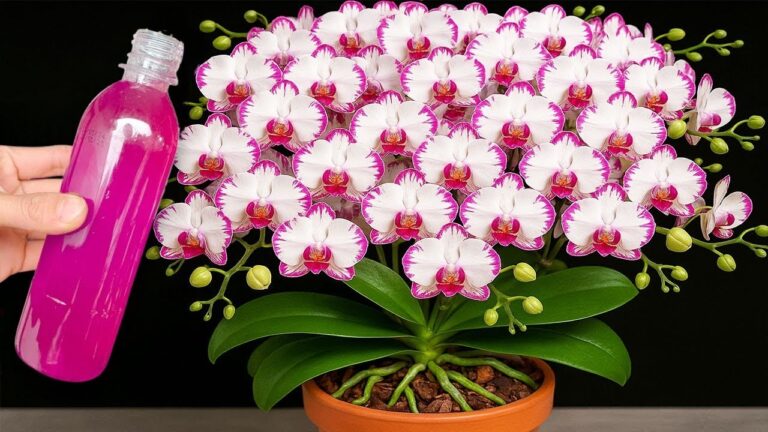
Are you ready to turn your kitchen scraps into **gorgeous pumpkins**? With a bit of creativity and some recycled bins, you can create stunning decorations for your home or garden. Not only will this project help you reduce waste, but it also brings a touch of autumn charm to your surroundings. Let’s dive into the steps and tips to make this magical transformation!
Step-by-Step Guide to Creating Pumpkins from Kitchen Scraps
1. Gather Your Materials
Start by collecting kitchen scraps that are often overlooked. Here’s what you’ll need:
- **Vegetable scraps** (like leftover squash or carrots)
- **Recycled bins** (old containers, pots, or cardboard)
- **Soil** (your garden soil or potting mix)
- **Water** (to keep your creations hydrated)
2. Prepare Your Bins
Choosing the right container is essential. Clean your recycled bins thoroughly to ensure they’re ready for planting. If you’re using cardboard, reinforce it with extra layers to prevent sagging.
3. Create a Base Layer
Add a layer of soil to each bin. This layer should be around 3-4 inches deep, providing a solid foundation for your pumpkin scraps.
4. Add Kitchen Scraps
Now for the fun part! Layer your kitchen scraps over the soil. For the best results, choose a mix of scraps to create texture and nutrients:
- **Fruits and vegetable peels**
- **Coffee grounds**
- **Eggshells**
5. Water and Maintain
Water your setup gently. Keep the soil moist but not soggy. Regularly check your bins to ensure your scraps are breaking down properly.
Practical Tips for Success
- **Choose vibrant scraps**: The more colorful your scraps, the more visually appealing your pumpkins will be!
- **Rotate the scraps**: Mixing them up helps in even decomposition and prevents bad odors.
- **Add fertilizer**: Consider a natural fertilizer for an extra nutrient boost.
Common Mistakes to Avoid
- **Overwatering**: Too much water can lead to mold and unpleasant smells. Aim for a balanced moisture level.
- **Neglecting sunlight**: Place your bins in a location that receives adequate sunlight for optimal growth.
- **Using non-biodegradable materials**: Stick to organic scraps as plastic or other materials won’t break down.
Conclusion: Your Pumpkin Adventure Awaits!
Now you know how to turn your **kitchen scraps** into **amazing pumpkins** using recycled bins! This creative gardening project not only helps in reducing waste but also adds beauty to your home. Why not start today? Gather your scraps, find some recycled containers, and set off on your pumpkin-making adventure! Share your creations and inspire others to join the eco-friendly movement!