7 Easy Steps to Create a DIY Watering Bottle for Your Garden
How to Create a DIY Watering Bottle for Your Garden
Introduction
Picture yourself in the garden, noticing your plants looking a bit thirsty after a hot summer day. You want to ensure they receive the moisture they need without wasting precious water or time. Crafting a DIY watering bottle can be a practical solution. This project is not only easy but also allows you to personalize the bottle according to your garden’s unique needs. Keep reading to discover how to bring this idea to life.
Required Materials
Before you dive into crafting your DIY watering bottle, gather the following materials:
- One empty plastic beverage bottle (1-2 liters)
- A small drill or a sharp knife
- Waterproof paint (optional for decoration)
- A sponge or fabric (for the nozzle)
- Scissors
DIY Steps
Creating your own watering bottle is simple and rewarding. Follow these steps for a functional and personalized addition to your gardening tools:
Step 1: Preparing the Bottle
- Clean the empty beverage bottle thoroughly to remove any residue.
- Remove the label for a cleaner look.
Step 2: Creating the Nozzle
For effective watering, you’ll need to create a nozzle:
- Use a drill or sharp knife to make small holes in the bottle cap. Aim for about 5-10 holes, depending on the desired water flow.
- Cut a piece of sponge or fabric to fit snugly into the cap, which will help control the water release at the nozzle.
Step 3: Personalizing Your Bottle
If you want to add a personal touch, consider decorating your bottle. You can:
- Paint the exterior with waterproof paint in vibrant colors.
- Attach stickers or labels to indicate which plants prefer this water.
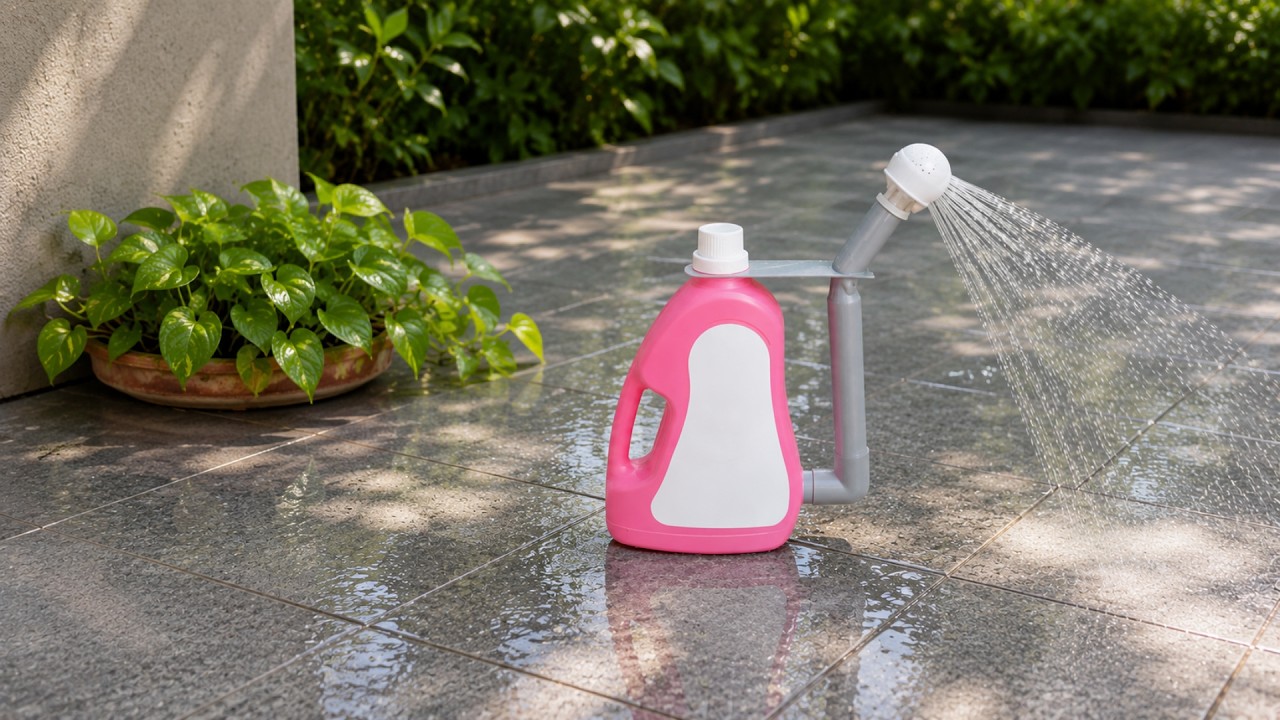
Step 4: Filling and Using Your Watering Bottle
- Fill your newly created bottle with water.
- Secure the cap tightly to prevent leaks.
- Tilt the bottle slightly and the water will come out through the nozzle when needed.
Step 5: Ideal Placement
Consider where you’ll use your watering bottle:
- Designate a spot in your garden for easy access.
- Keep it near your plants that need daily watering.
Mistakes to Avoid
While crafting your DIY watering bottle, be cautious of these common pitfalls:
- Making holes that are too large can cause water to flow too quickly, overwhelming your plants.
- Neglecting to clean the bottle properly can lead to contamination of the water.
- Overusing decorative features without considering functionality may obstruct the water flow.
FAQ
What types of bottles work best for a DIY watering bottle?
Any sturdy plastic beverage bottle will work great, but larger bottles (1-2 liters) provide more water without needing constant refilling.
Can I use a glass bottle instead?
While you can use a glass bottle, it’s important to be cautious as they can break easily. Plastic is typically safer for a watering bottle.
How often should I water my plants with the DIY bottle?
Watering frequency depends on the type of plants and weather conditions. Regularly check your plants and adjust the watering schedule as needed.
Conclusion
Creating a DIY watering bottle is an effective way to ensure your garden thrives. By personalizing it, you can efficiently hydrate your plants while adding a touch of creativity. What features would you include in your own watering bottle? Share your thoughts in the comments below!