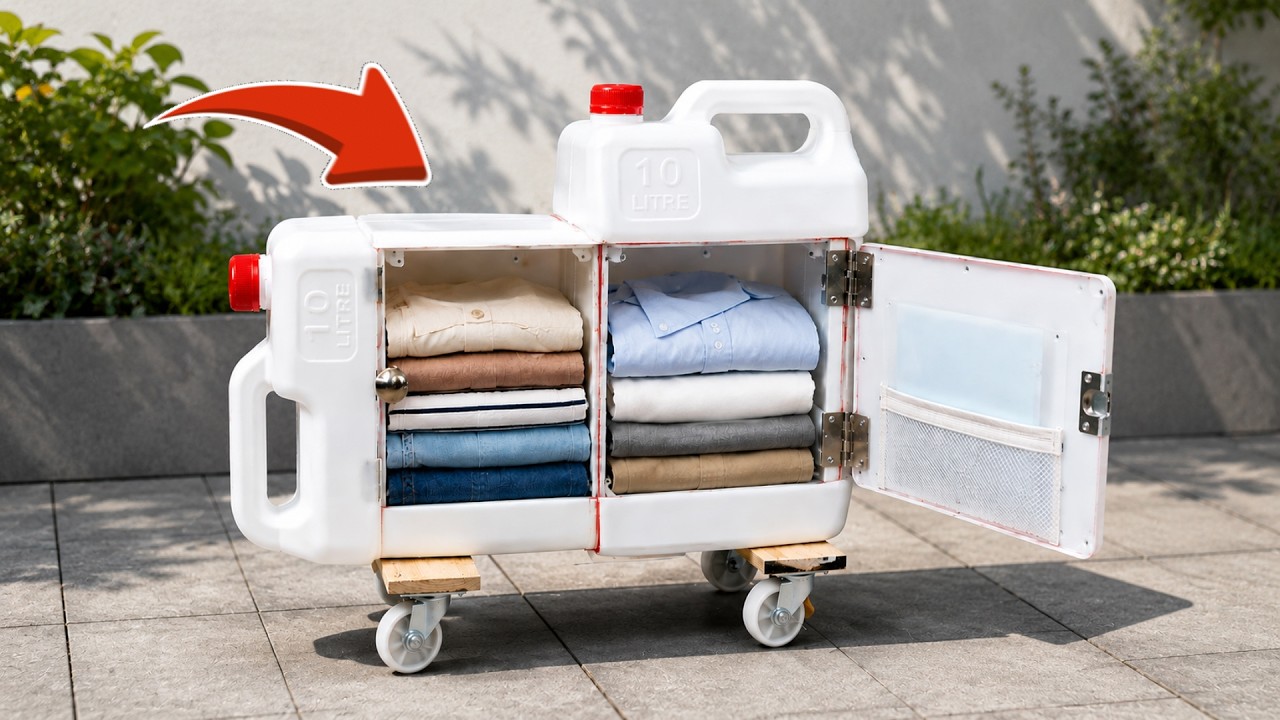
Transform 5 Plastic Cans into a Stylish Travel Case Organizer!
Transform Plastic Cans into a Stylish Travel Case Organizer
- Introduction
- Required Materials
- Step-by-Step Guide
- Creative Personalizations
- Common Mistakes to Avoid
- FAQ
- Conclusion
Introduction
Picture this: you’ve planned a weekend getaway, and the excitement is palpable. Yet, as you rummage through your travel essentials, you realize that staying organized is proving to be a challenge. All those little items seem to blend into chaos, making it difficult to find what you need. Thoughts of messy bags and lost items linger, but there’s a simple solution to creating an organized travel case that will keep your belongings neat and tidy. Continue reading to discover how you can make this practical transformation!
Required Materials
To transform plastic cans into a useful travel case organizer, gather the following materials:
- 5 clean plastic cans (like those from food products such as coffee or snacks)
- Permanent adhesive for assembling the cans
- Decorative paper or fabric to customize your organizer
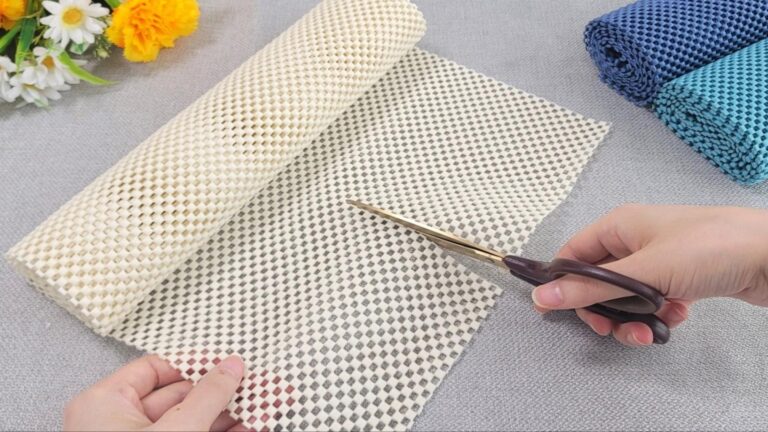
- Scissors for trimming materials
- Measuring tape to ensure accuracy
- Markers for labeling each can
Step-by-Step Guide
Follow these steps to create your travel case organizer:
- Clean the plastic cans thoroughly to remove any residue. Allow them to dry completely.
- Arrange the cans in the order you prefer; consider how you’ll access items during your travels.
- Glue the cans together using the permanent adhesive. Hold them in place until the glue sets.
- Measure and cut your decorative paper or fabric to fit the outside of each can. Leave a small overhang for a seamless look.
- Wrap the cans with the decorative material, securing it with glue or tape. Be sure to smooth out any wrinkles.
- Label each can with markers based on the items you plan to store—think “Toiletries,” “Tech Gear,” or “Snacks.”
Tips for Effective Organizing
- Consider categorizing your items based on frequency of use.
- Use smaller cans for tiny items like chargers or cosmetics.
- Label both the inside and outside for easy identification.
Creative Personalizations
You can add a personal touch to your travel case organizer with a few creative tweaks:
Decorative Techniques
- Use patterned duct tape closures for a trendy finish.
- Paint the cans with your favorite hues for a coordinated look.
- Incorporate washi tape for an extra pop of color and design.
Functional Variations
- Mix and match can sizes for a unique appearance.
- Attach a handle to the top can for easy carrying.
- Create a detachable separator within a can for more organization.
Common Mistakes to Avoid
When transforming plastic cans into a travel organizer, keep these mistakes in mind:
- Neglecting to clean the cans properly can result in residue affecting the adhesive.
- Overfilling the cans may lead to difficulty when accessing items.
- Using incompatible materials for decorating might look appealing but may not adhere well.
- Ignoring the size of the cans can result in mismatched items or wasted space.
- Skipping the labeling step could lead to confusion when searching for items.
FAQ
Can any type of plastic can be used for this project?
While most clean plastic cans can work, it’s best to use those with sturdy designs to ensure durability.
How long will my travel organizer last?
If maintained well, especially in a travel setting, your organizer can last for several trips.
Can I use this method for organizing other items?
Absolutely! This method is versatile and can be adapted for organizing supplies in your home, office, or even in a craft area.
Conclusion
Transforming plastic cans into a stylish travel case organizer is a fun and practical way to keep your belongings in order. With a little creativity and the right materials, you can make your travels smoother. What unique ways do you plan to personalize your organizer? Share your ideas in the comments below!