Transform 1 PVC Pipe into a DIY Tissue Box in 5 Simple Steps!
Transform a PVC Pipe into a DIY Tissue Box in 5 Simple Steps
Introduction
Have you ever found yourself in need of a stylish yet functional tissue box that doesn’t break the bank? A standard tissue box can easily get lost in the clutter of your home decor, and store-bought options often don’t fit your aesthetic. Transforming a simple PVC pipe into a chic tissue box is an accessible and creative solution. By getting a little crafty, you can create a unique piece that adds a personal touch to your space. Keep reading to discover how to make your very own DIY tissue box from PVC pipe.
Required Materials
Before diving into the fun of crafting, gather the following materials. Having everything on hand will make the process smoother.
- 1 PVC pipe (12 inches long, 4 inches in diameter)
- Acrylic paint or spray paint
- Craft glue or strong adhesive
- Felt or fabric (for lining, optional)
- Utility knife or saw
- Sandpaper
- Measuring tape
- Paintbrush or spray applicator
Step-by-Step Guide
Now that you have your materials ready, let’s get creative! Follow these 5 simple steps to craft your DIY tissue box.
1. Measure and Cut the PVC Pipe
- Measure about 5 inches down from one end of the PVC pipe. Mark this point clearly.
- Use a utility knife or saw to cut across the marked line, creating an opening for the tissues.
Make sure the cut is clean and smooth by using sandpaper to remove any rough edges. This will give your tissue box a polished look.
2. Paint the Pipe
- Choose your preferred color of acrylic paint or spray paint.
- Apply a coat of paint inside and outside the PVC pipe. Make sure to cover the area around the cut well.
Let the first coat dry completely before adding a second layer for a vibrant finish. Depending on the paint type, this may take a few hours.
3. Add a Lining
If you want a softer look, consider lining the inside of your tissue box and covering any rough edges:
- Cut a piece of felt or fabric that matches the interior measurements.
- Glue the lining inside the pipe, allowing it to adhere firmly.
This adds a touch of warmth and can also help absorb any moisture from the tissues.
4. Final Touches
Once the paint is dry, it’s time to add any decorative elements to personalize your tissue box:
- Consider adding stickers or decals that reflect your style.
- You can also wrap twine or ribbon around the pipe for a rustic touch.
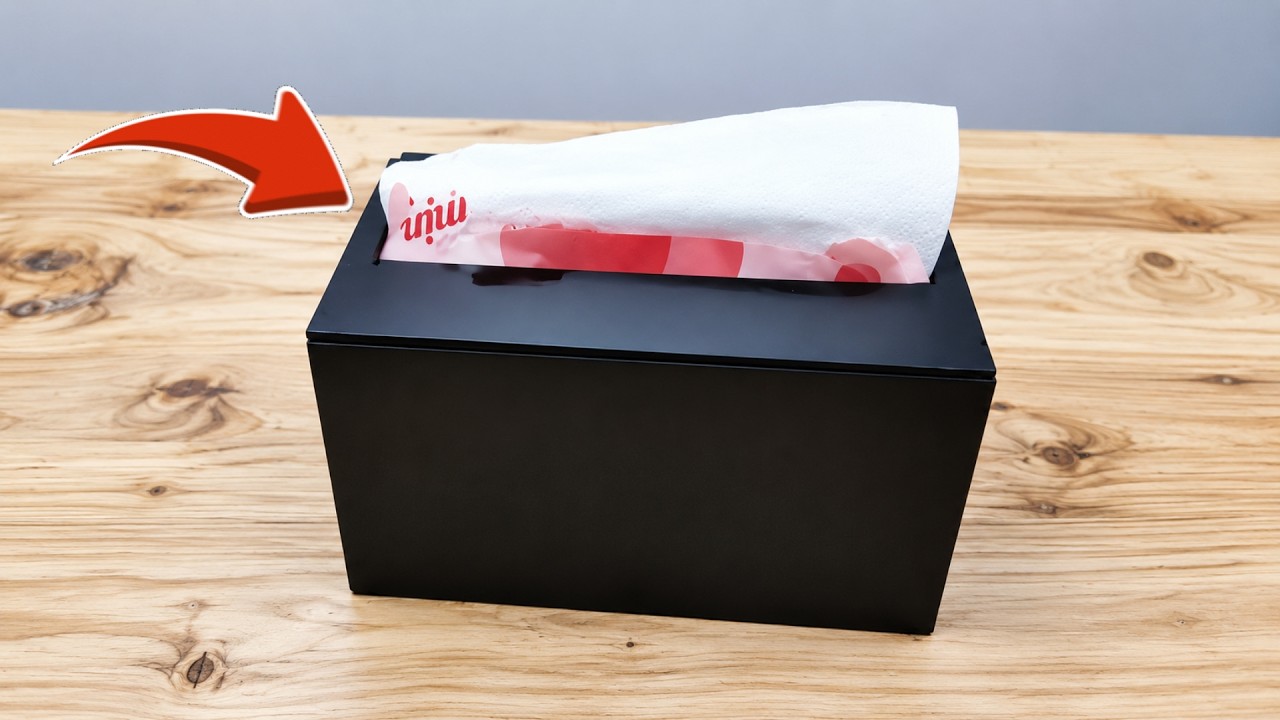
5. Insert the Tissues
Your DIY tissue box is almost complete! Just…
- Place a stack of tissues inside the pipe, ensuring they are easy to remove from the cut opening.
Now you have a functional and stylish accessory for your home!
Common Mistakes to Avoid
As you embark on your DIY journey, keep these common pitfalls in mind:
- Not preparing the surface: Failing to sand the edges can result in rough appearances.
- Using low-quality paint: Cheap paint may not adhere well or could chip easily.
- Skipping the lining: This can lead to frayed edges that detract from your craft.
- Cutting with improper tools: Using the wrong knife can result in uneven cuts and damage.
FAQ
How do I choose the right PVC pipe size?
A 4-inch diameter pipe usually offers enough space to fit standard tissue boxes. Adjust the length based on your desired height.
Can I make this tissue box with other materials?
Yes! You can use cardboard or wooden boxes as alternatives. Just follow similar steps to customize them.
How do I clean my PVC tissue box?
You can wipe it down with a damp cloth. If necessary, use mild soap for stubborn stains.
Conclusion
Transforming a PVC pipe into a DIY tissue box is a simple and effective project that enhances your home decor while being practical. It also allows you to express your creativity and personal style. What custom touches would you add to your tissue box? Share your thoughts in the comments!