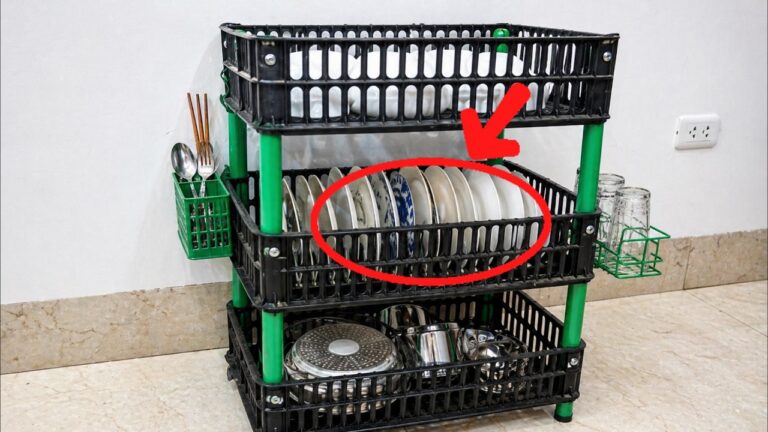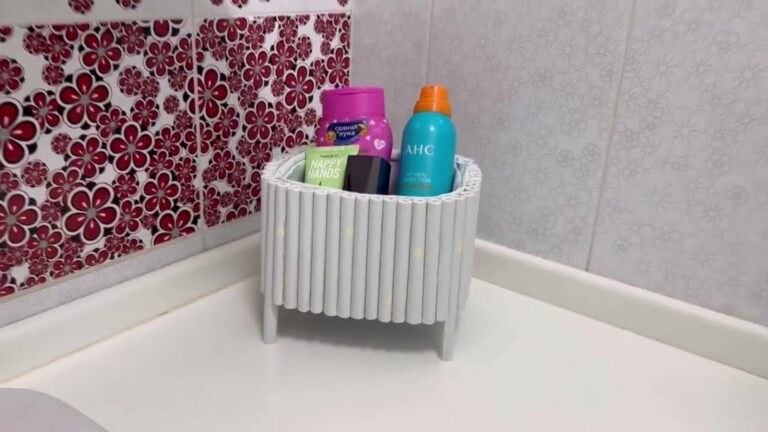
7 Easy Steps to Create a Simple Storage Rack for Your Space
7 Easy Steps to Create a Simple Storage Rack for Your Space
Introduction
Have you ever struggled with clutter in your home, wondering where to put all your belongings? It can be frustrating when every surface is piled high with items that need a proper home. Creating a simple storage rack can help you reclaim your space and organize your life. This practical project not only reduces mess but also adds a personal touch to your decor. Keep reading to discover how you can easily create a storage solution tailored to your needs.
Required Materials
Before you begin, gather the materials needed to build your storage rack. Having everything at hand will make the process smoother and more enjoyable. Here’s what you will need:
- Wood boards (size depending on your storage needs)
- Wood screws (1.5 inches recommended)
- Drill with a wood drill bit
- Sandpaper
- Paint or wood stain (optional, for finishing touches)
- Measuring tape
- Level
Step-by-Step Guide
This section will guide you through the process of creating your storage rack in seven easy steps. Follow each step carefully to ensure a successful project.
- Measure your space: Determine where you want to place your storage rack, taking note of the dimensions available.
- Cut the wood: Based on your measurements, cut your wood boards to the appropriate lengths for the shelves and support structure.
- Sand the edges: Use sandpaper to smooth the edges of your wood boards, preventing splinters and ensuring a finished look.
- Assemble the base: Create the support framework by securing the boards together using wood screws. Make sure everything is square.
- Attach the shelves: Install the cut wood pieces horizontally as shelves, fixing them firmly with screws.
- Level the rack: Use your level to ensure that the shelves are perfectly horizontal before securing them permanently.
- Finish your rack: Optionally, apply paint or wood stain to enhance the appearance of your new storage solution.
Personalizing Your Rack
Make your storage rack unique by adding personal touches. Consider:
- Using different colors for paint or wood stain.
- Adding decorative hardware or unique shelf supports.
- Using natural wood for a rustic look, or sleek painted boards for a modern feel.
Maximizing Storage Efficiency
To optimize your storage rack, think about the items you plan to store:
- Use baskets or bins on the shelves to keep smaller items organized.
- Label each shelf or bin for easy identification.
- Incorporate hooks on the sides for hanging tools or accessories.
Common Mistakes
While creating a storage rack can be straightforward, there are several common pitfalls to avoid:
- Skipping precise measurements: This can lead to an unstable or poorly fitting rack.
- Using inadequate materials: Ensure the wood is sturdy enough to hold your items.
- Neglecting to sand edges: Rough edges can be dangerous and detract from the look of your rack.
- Overloading shelves: Stick to weight limits to prevent sagging or collapse.
- Ignoring levels: Making sure everything is level is crucial for a professional look and function.
FAQ
What type of wood should I use for my storage rack?
Pine or plywood is commonly used for DIY storage racks because they are affordable and easy to work with.
Can I use my storage rack outdoors?
If you plan to use the rack outside, opt for weather-treated wood or consider sealing it to protect against moisture.
How can I secure my storage rack to the wall?
For added safety, you can use brackets or straps to anchor your storage rack to the wall, particularly in areas where it may be prone to tipping.
Conclusion
Building a simple storage rack is a practical project that can help organize your space effectively. By following these steps and avoiding common mistakes, you can create a beautiful and functional piece in your home. What storage challenges do you face in your home? Share your thoughts in the comments below!