Transform Orchid Leaves: 5 Simple Steps to Self-Rooting Success in Days!
Transform Orchid Leaves: Your Guide to Self-Rooting Success
- Understanding Orchid Leaves
- Required Materials
- Step-by-Step Process for Rooting
- Tips for Success
- Common Mistakes to Avoid
- FAQ
Understanding Orchid Leaves
Have you ever found yourself staring at your beautiful orchid, wondering what to do with its excess leaves? Unlike some plants, orchids have unique leaves that can root and grow into new plants under the right conditions. This process can feel daunting, but it holds the promise of expanding your garden or sharing a new green friend. If you’re curious about how to harness the potential of these leaves, keep reading to discover the process.
Required Materials
Before diving into the self-rooting process, gather the necessary supplies to ensure you have everything on hand. Here’s what you’ll need:
- Healthy orchid leaves: Look for robust and vibrant leaves.
- Clean, sharp scissors: To make precise cuts without damaging any plant material.
- Moisture-retaining medium: Consider using a mix of peat moss and perlite or a sphagnum moss mix.
- A small container: To hold the leaves and the rooting medium.
- Water: To keep the medium moist but not soggy.
Step-by-Step Process for Rooting
Now that you have your materials ready, let’s delve into the step-by-step process that will lead to self-rooting success.
1. Prepare the Orchid Leaves
Start by preparing the leaves. Follow these simple steps:
- Choose the right leaves: Ensure they are healthy and free from spots or discoloration.
- Make your cuts: Use your scissors to cut the leaves into sections, ideally 3 to 5 inches long.
2. Create the Right Environment
Your leaf sections need the right conditions to thrive. Here’s how to create them:
- Fill your container with the moisture-retaining medium.
- Water the medium gently to ensure it’s damp.
3. Planting the Leaves
It’s time to plant your leaf sections.
- Insert the leaf sections: Place the cut end of each leaf section into the moist medium.
- Space them appropriately: Ensure there’s enough distance between each section for airflow.
4. Maintain Moisture
Now, take care to maintain a suitable moisture level.
- Check the medium daily to ensure it remains moist.
- Lightly mist the leaves to encourage humidity.
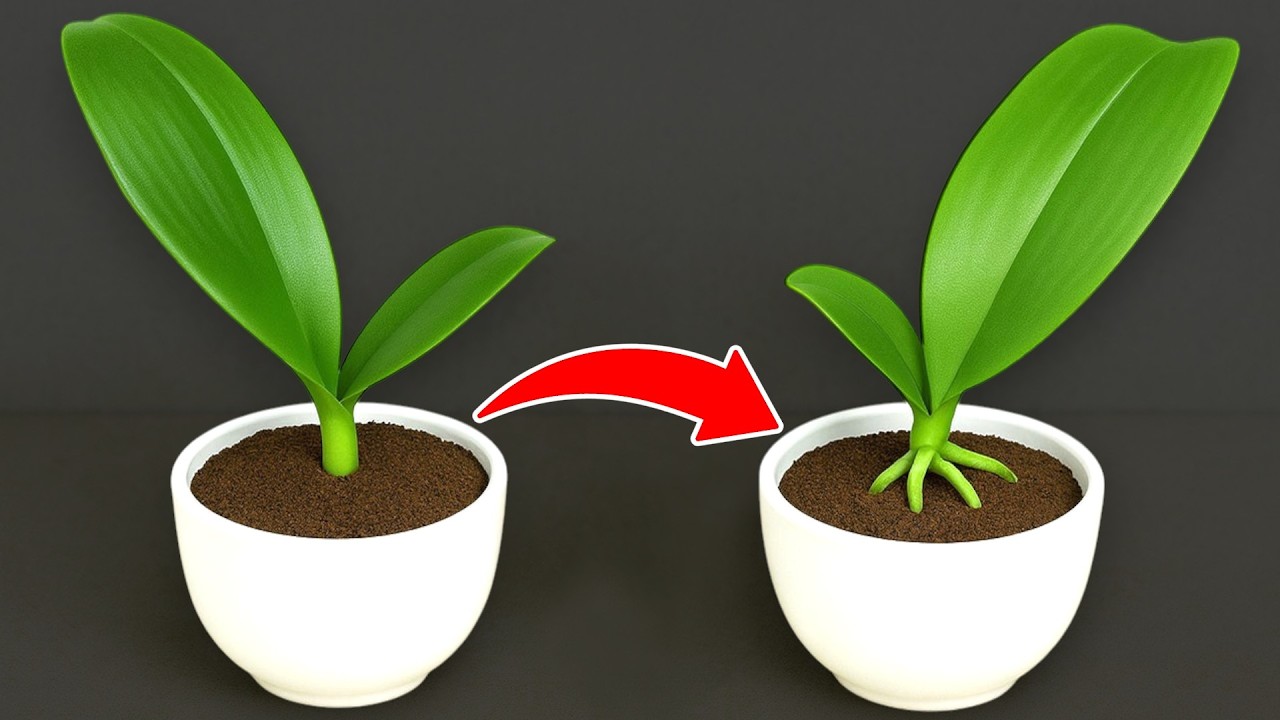
5. Wait for Roots to Develop
Patience is key. Here’s what to watch for:
- In a few weeks, you should see small roots emerging from the cut ends.
- Continue caring for the leaves until roots are 2-3 inches long before transferring to a new pot.
Tips for Success
To enhance your success rate, consider the following tips:
- Choose the right season: Spring is ideal since plants are actively growing.
- Avoid direct sunlight: Place your container in indirect light to prevent leaf burn.
- Use sterilized tools: This minimizes the risk of disease affecting your orchid leaves.
- Be patient: Successful rooting may take anywhere from a few weeks to a couple of months.
Common Mistakes to Avoid
Even seasoned gardeners can make mistakes during the rooting process. Here are some common pitfalls to watch out for:
- Overwatering: This can lead to mold or rot, preventing roots from developing.
- Using unhealthy leaves: Starting with damaged or dying leaves decreases the chance of success.
- Neglecting humidity: Low humidity can dry out leaf sections too quickly.
- Insufficient light: While avoiding direct sunlight, ensure the leaves receive enough indirect light.
FAQ
How long does it take for orchid leaves to root?
Typically, it takes between 4 to 8 weeks for orchid leaves to develop roots, depending on the environment and care provided.
Can I root any type of orchid leaf?
Not all types of orchid leaves root successfully. Phalaenopsis orchids are among the best candidates for this method.
What should I do if the leaves start to turn yellow?
Yellowing leaves may indicate overwatering or insufficient light. Check both factors and adjust your care accordingly.
Conclusion
Transforming orchid leaves into new plants can be an enriching experience, offering both beauty and joy in your garden. By following the steps outlined and avoiding common mistakes, you’ll be well on your way to enjoying successful self-rooting. Have you ever tried rooting orchid leaves? Share your experiences in the comments!