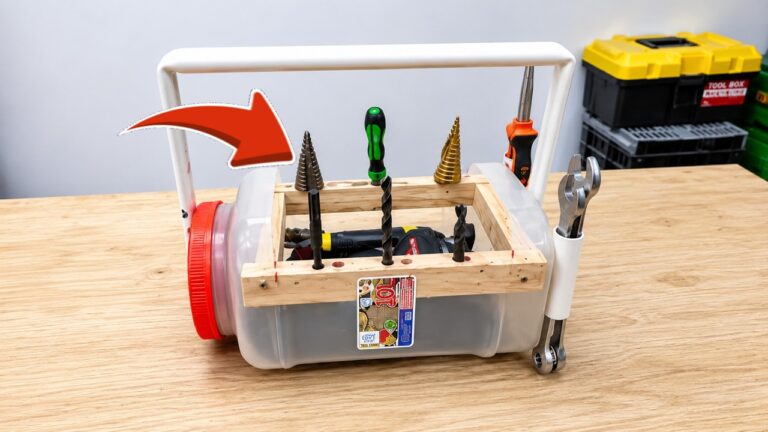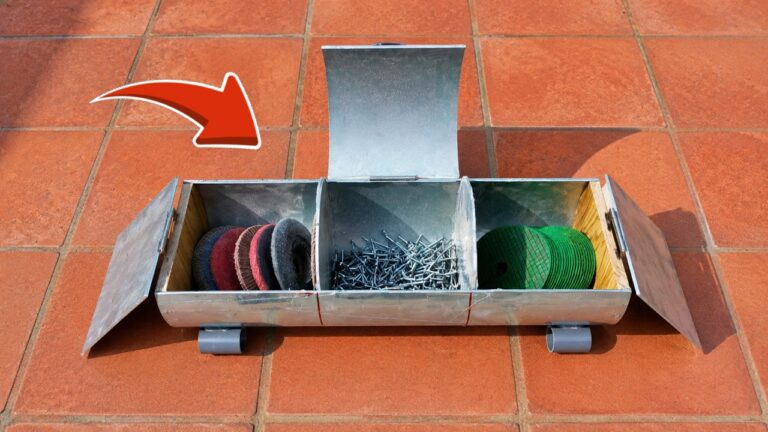
Transform 5 Plastic Bottles into a Handy DIY Tool Box Today!
Transform Plastic Bottles into a Handy DIY Tool Box
- Introduction
- Required Materials
- Step-by-Step Guide
- Personalization Options
- Common Mistakes
- FAQ
- Conclusion
Introduction
Have you ever felt overwhelmed by the clutter in your garage or shed, with tools scattered everywhere? This common scenario can make locating a specific item frustrating and time-consuming. Fortunately, instead of purchasing a new tool box, you can creatively recycle your empty plastic bottles. This project not only helps the environment but also provides you with a functional solution for organizing your tools. Keep reading to discover how you can easily transform those plastic bottles into a handy DIY tool box.
Required Materials
Before you begin, gather the necessary materials to ensure a smooth crafting experience. Here’s what you’ll need:
- Five empty plastic bottles (preferably 1-2 liter size)
- Scissors or a sharp craft knife
- Strong adhesive or a hot glue gun
- Paint or decorative paper for personalization
- Optional: dividers for organization (such as cardboard or small containers)
Having these materials ready will streamline your crafting process, making it easier to focus on creating your new tool box.
Step-by-Step Guide
Now that you have your materials, let’s dive into the steps to create your DIY tool box:
1. Prepare the Bottles
- Clean the bottles thoroughly to remove any residue.
- Remove the labels carefully so you have a smooth surface.
- Cut the bottles in half horizontally, creating two parts: the bottom half will serve as the main storage, while the neck can be used for smaller items.
2. Assemble the Tool Box
- Arrange the bottom halves together: you can position them side by side or stack them for different vertical arrangements.
- Glue the bottles together using your adhesive or hot glue gun to create a sturdy base.
- Attach the necks of the bottles to one side for a compact, accessible storage option for small tools.
3. Personalize Your Tool Box
Once your DIY tool box is assembled, it’s time to give it some personality:
- Paint the exterior with your favorite colors for a vibrant look.
- Wrap decorative paper around the bottles for a unique touch.
- Consider labeling sections for easy identification of the tools stored inside.
Personalization Options
There are many ways to make your tool box even more functional and stylish:
1. Add Dividers
If you have a variety of small tools, consider adding dividers:
- Use thin cardboard pieces to create compartments.
- Small containers can also work well to keep items organized.
2. Modify Size and Structure
Depending on your needs, you can modify the design:
- Use fewer bottles for a more compact box.
- Stack additional layers if you require extra storage.
3. Incorporate Additional Features
Make your tool box even more useful by adding:
- Hooks on the side for hanging tools.
- A handle for easy carrying.
Common Mistakes
While creating your DIY tool box, be mindful of these common mistakes:
- Not securing the bottles well, which can lead to a wobbly structure.
- Using bottles that are not cleaned properly, which can cause odors or attract pests.
- Overloading the boxes without considering weight balance, leading to damage.
FAQ
Can I use smaller bottles for this project?
Yes, smaller bottles can also be used, but they may limit the amount of storage space available in your tool box.
What types of tools can be stored in this DIY box?
Your DIY tool box can store small hand tools, paintbrushes, gardening accessories, or craft supplies, making it versatile for various needs.
How can I ensure my tool box lasts long?
Ensure to use strong adhesive and avoid overloading it with heavy tools to prolong its lifespan.
Conclusion
Transforming plastic bottles into a handy DIY tool box is a simple and rewarding project that helps clear clutter while promoting recycling. By following these steps and advice, you can create an organized space tailored to your needs. What tools will you store in your new box? Share your thoughts in the comments below!