5 Clever Ways to Transform an Old Plastic Can into a Smart Tool Organizer!
5 Clever Ways to Transform an Old Plastic Can into a Smart Tool Organizer
- Introduction
- Practical Uses for Your Tool Organizer
- Step-by-Step Organization Process
- Design Ideas to Personalize Your Organizer
- Common Mistakes to Avoid
- FAQ
- Conclusion
Introduction
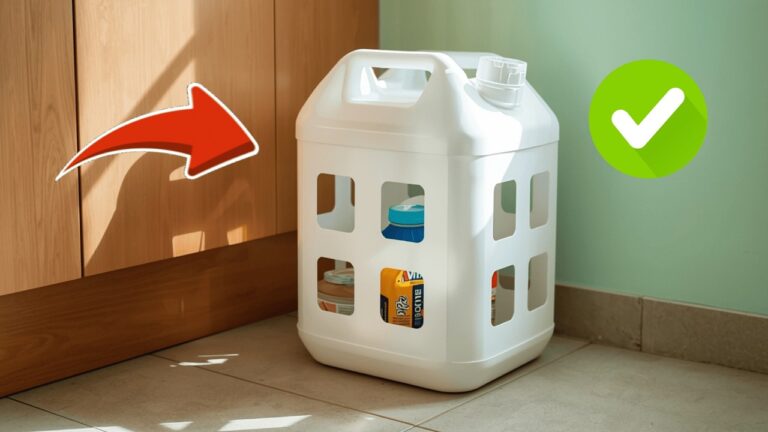
Have you ever dealt with the frustration of a cluttered workspace filled with tools that seem to disappear into thin air? Searching for the right tool often turns into a scavenger hunt. Repurposing old plastic cans can be a practical and creative solution to transform this chaos into organization.
Continue reading to discover how to make your very own smart tool organizer from something you might otherwise toss out.
Practical Uses for Your Tool Organizer
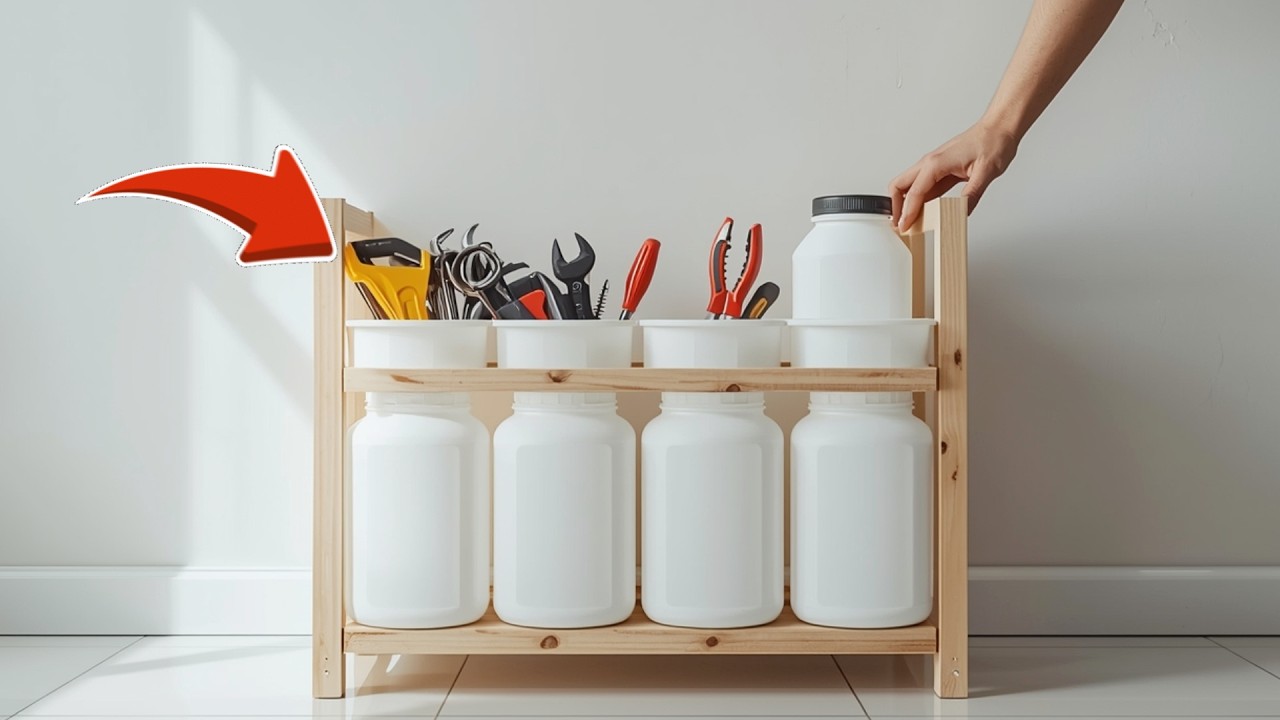
Old plastic cans can serve a multitude of purposes when it comes to organizing tools around your home or garage. Here are some practical ways you can utilize your new tool organizer:
- Garden tool storage – Keep small hand tools like trowels, pruners, and weeding forks neatly organized.
- Paintbrush holder – Store paintbrushes and small painting supplies for easy access during your DIY projects.
- Craft supplies organizer – Use it to hold markers, scissors, and other crafty essentials.
- Home maintenance kit – Keep nails, screws, and small hardware items in one spot.
- Small parts storage – Perfect for organizing screws, nuts, and bolts by size or type.
Step-by-Step Organization Process
Creating your tool organizer from an old plastic can is simpler than you might think. Follow these steps for effective organization:
Materials Needed
- Old plastic can
- Scissors or a utility knife
- Paint or adhesive vinyl for decorating
- Labels (optional)
Detailed Steps
- Prepare the can – Clean your plastic can thoroughly and remove any labels.
- Cut the can – Depending on your needs, cut the can to your desired height for easy access to the tools.
- Decorate – Use paint or adhesive vinyl to give your organizer a personal touch. You can paint it in a color that matches your workspace.
- Label (optional) – Consider labeling sections for even better organization, especially if you have multiple types of tools.
- Fill the can – Organize your tools by type, making sure to keep similar items together for easy findability.
Practical Tips
To maximize the efficiency of your tool organizer, consider the following tips:
- Use small containers inside the can for tiny items.
- Group tools by their function, such as gardening, crafting, or repair.
- Keep your most-used tools at the top for easy access.
Design Ideas to Personalize Your Organizer
Your plastic can organizer can reflect your personality and style. Here are some creative design ideas to add flair:
Color Combinations
- Use complementary colors to make your organizer stand out.
- Choose a single color with different shades for a unique, layered look.
Functional Accessories
Consider adding functional accessories to enhance usability:
- Attach hooks to the outside for hanging tools.
- Add wheels to the bottom for mobility.
Creative Patterns
Go beyond solid colors by using these patterns:
- Stencils to create geometric designs.
- Washi tape for a colorful border.
Common Mistakes to Avoid
While creating your tool organizer, it’s important to avoid common pitfalls that may hinder its effectiveness. Here are some mistakes to watch out for:
- Not measuring tools before cutting the can to ensure proper fit.
- Using heavy paint that can make the can unstable.
- Ignoring the need for ventilation if storing tools that may rust.
- Neglecting to consider the weight of the tools when choosing the can size.
- Failing to make a plan for organization before starting to fill the can.
FAQ
What tools can I store in a plastic can organizer?
You can store small hand tools, paint supplies, craft materials, and even small hardware items. Customize the size and layout based on your specific needs.
Can I decorate the plastic can with just paint?
Yes, you can. However, using adhesive vinyl or stickers can offer more design options and durability.
How do I clean the plastic can before using it?
Wash the can with warm, soapy water, and allow it to dry completely before proceeding with any decorating or organizing.
Conclusion
Transforming an old plastic can into a smart tool organizer is not only easy but also enhances your workspace’s efficiency and aesthetic. By following the above ideas and tips, you’ll have an attractive and functional storage solution. What creative uses have you found for repurposing plastic cans? Share your thoughts in the comments below!