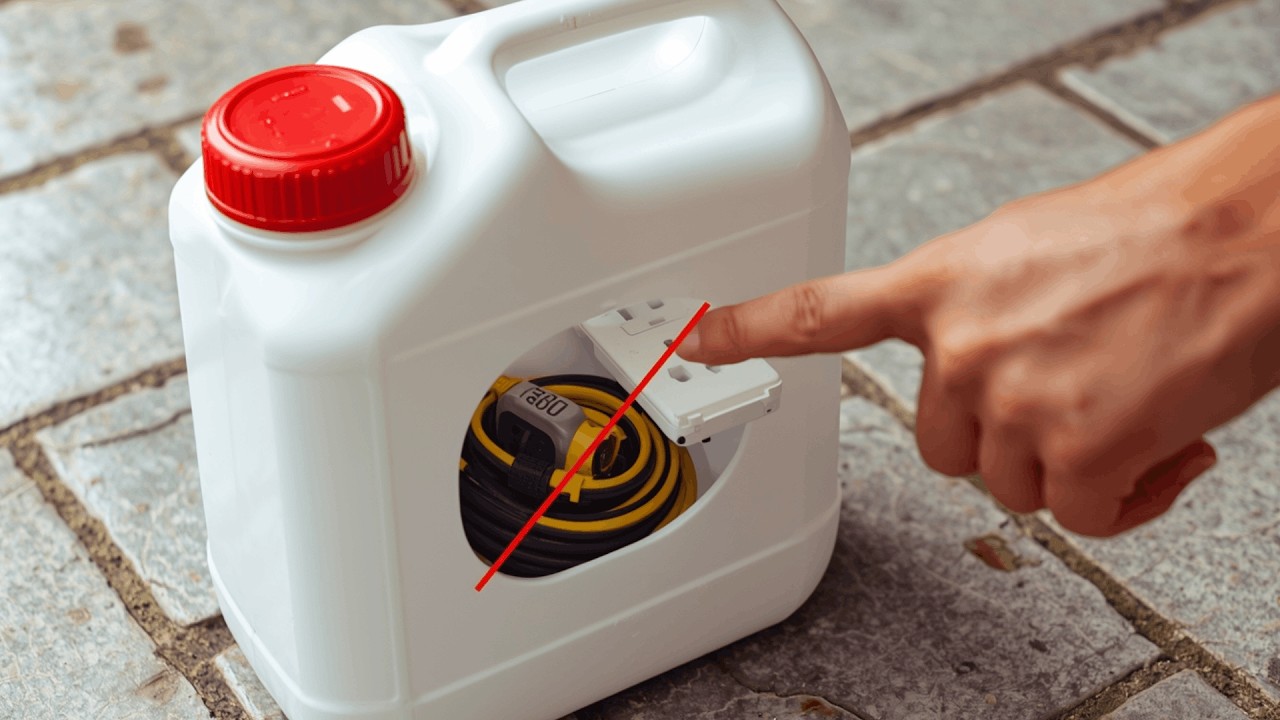
10 Creative Ways to Transform Plastic Cans into a Smart Cable Organizer
10 Creative Ways to Transform Plastic Cans into a Smart Cable Organizer
- Useful Materials for Your Project
- Creative Ideas for Organization
- Step-by-Step Craft Instructions
- Common Mistakes to Avoid
- FAQs
Useful Materials for Your Project
Gathering the right materials can make your cable organizing project smoother and more enjoyable. You likely have many of these items around your home already. Consider using:
- Empty plastic cans (like those used for coffee or large snacks)
- Scissors or a box cutter
- A ruler and pencil for measurements
- Paint or decorative paper for personalizing the cans
- Adhesive or double-sided tape
- Screwdriver and screws if you prefer mounting options
Creative Ideas for Organization
Transforming plastic cans into cable organizers allows for personalization and creativity. Here are some creative ideas to inspire your project:
1. Painted Cans
Transform plain cans into colorful decor by painting them with your favorite hues or patterns. Choose colors that match your home or workspace.
2. Fabric Covered Cans
Wrap your cans in fabric for a soft touch. Simply cut fabric to size, use a glue gun to secure it, and enjoy the cozy look.
3. Stacked Organizers
Consider stacking multiple cans vertically for a compact solution. Use screws to attach them securely to a wall or solid backing, maximizing your space.
4. Decorative Labels
Add labels to clearly identify each can’s contents. You can use stickers, washi tape, or printable labels for a uniform look.
Step-by-Step Craft Instructions
Ready to create a cable organizer from your plastic cans? Follow these simple steps for effective results:
- Collect your empty plastic cans and rinse them thoroughly.
- Remove labels and any residue, allowing them to dry completely.
- Cut the cans to your desired height. This will depend on the length of the cables you want to store.
- Paint or cover the outside with fabric, allowing it to dry entirely before proceeding.
- Attach your cans to a surface using adhesive or screws, depending on whether you want them mounted or free-standing.
- Organize your cables inside the cans, ensuring a neat and tidy finish.
Common Mistakes to Avoid
As you embark on this project, here are several common pitfalls to avoid for the best results:
- Not cleaning the cans thoroughly: Residue may cause adhesion issues.
- Ignoring measurements: Ensure that cables fit comfortably without being crammed.
- Forgetting drainage holes: If using for longer cables, add holes in the bottom to prevent moisture build-up.
FAQs
Can I use any type of plastic can? Yes, but larger cans provide more space for multiple cables and organization.
What type of paint works best? Acrylic paint is ideal as it adheres well to plastic and dries quickly.
Is there a way to make this project kid-friendly? Absolutely! Involve children in decorating the cans with non-toxic supplies and safe tools.
Conclusion
Using plastic cans as cable organizers not only declutters your space but also promotes creative recycling. Have you tried this project before, or do you have your own unique ideas? Share in the comments below!