10 Creative PVC Pipe Drill Bit Organizer Ideas for Your DIY Workshop
10 Creative PVC Pipe Drill Bit Organizer Ideas for Your DIY Workshop
- Introduction
- Why Organize Your Drill Bits?
- Creative PVC Pipe Ideas
- Construction Tips for Your Organizer
- Common Mistakes to Avoid
- FAQ
- Conclusion
Introduction
Have you ever rummaged through your toolbox, searching for the right drill bit? Perhaps you’ve experienced the frustration of finding a mismatched set or discovering you don’t have the bit you need at all. With so many sizes and types of drill bits, keeping them organized can be a real challenge. This is where creative storage solutions can make a big difference. Explore how PVC pipes can transform your DIY workspace into a well-organized haven.
Why Organize Your Drill Bits?
Taking the time to organize your drill bits not only saves you time but also enhances your efficiency when working on projects. Here are some reasons to consider:
- Improved efficiency: Quickly access the right bit without the hassle.
- Space-saving organization: Use vertical space or create compact storage solutions.
- Prolonged bit lifespan: Protect your bits from damage by storing them properly.
Creative PVC Pipe Ideas
Using PVC pipes for drill bit organization opens up a world of possibilities. Here are some innovative ideas to inspire your next DIY project:
1. Vertical PVC Rack
Create a vertical rack using various diameters of PVC pipes. Cut the pipes into sections of different heights to hold bits securely. Attach them to a wooden board for stability.
2. Wall-Mounted Organizer
Attach segments of PVC to a pegboard or wall. This allows you to see all of your drill bits at a glance while keeping them easily accessible.
3. Toolbox Insert
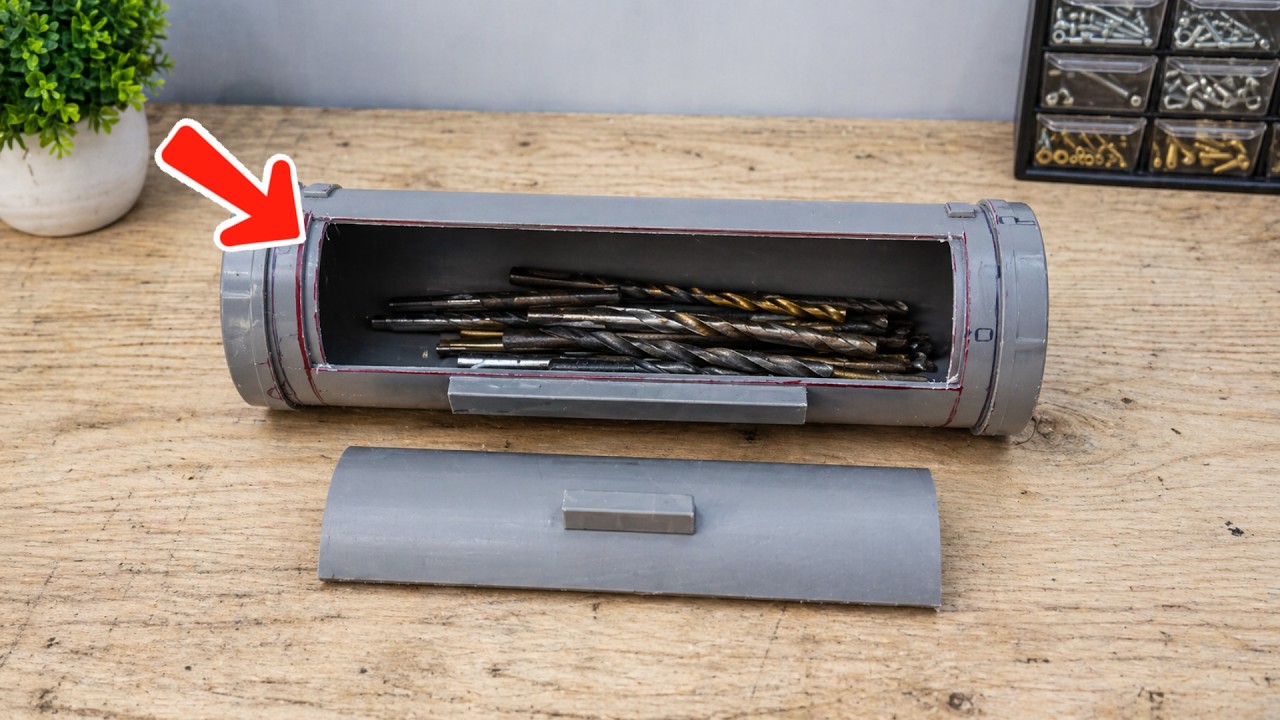
Cut PVC pipe segments to fit inside your toolbox. This helps keep bits organized and prevents them from rolling around during transport.
4. Drawer Divider
Create a simple divider by cutting pipes to fit in drawers. This method not only keeps bits separated but also utilizes otherwise wasted space.
5. Adjustable Bit Holder
Build an adjustable holder where you can change the height of each section. This adds flexibility for different sizes of bits and can accommodate future additions.
Construction Tips for Your Organizer
When tackling your DIY project, here are several tips to keep in mind:
1. Select the Right PVC Size
Choose a pipe diameter that fits your drill bits snugly but allows for easy insertion and removal. Typically, a 1-inch or 1.5-inch pipe works well for most standard bits.
2. Use Strong Adhesives
To ensure your organizer remains sturdy, use strong adhesives or screws to attach the PVC segments to your base. This will prevent sections from coming apart with regular use.
3. Incorporate Labels
Label each section for quick identification. You can use a label maker or simple masking tape and a marker to denote sizes or bit types.
Common Mistakes to Avoid
While creating your drill bit organizer, be aware of these common pitfalls:
- Not measuring: Failing to measure your drill bits can lead to improperly sized holes.
- Length ignored: Cutting the PVC too short can compromise your storage space.
- Overcomplicating design: Keep your organizer simple. A cluttered design defeats the purpose of organization.
FAQ
What tools do I need to build a PVC drill bit organizer? You typically need a saw for cutting PVC, strong adhesive or screws, and a measuring tape for accuracy.
Can I customize the size of my organizer? Yes, tailoring the size of your organizer to fit your specific bits is a great way to maximize space and efficiency.
Are there alternative materials besides PVC? While PVC is cost-effective, wood or metal can also be used for added durability and aesthetic value.
Conclusion
Creating a PVC pipe drill bit organizer can greatly enhance the functionality of your workspace. This simple project can save you time and frustration, making your DIY tasks more enjoyable. How do you organize your tools at home? Share your tips in the comments below!