5 Simple Steps to Make Organic Rice Fertilizer for Thriving Orchid Plants
DIY Organic Rice Fertilizer for Thriving Orchids
- Introduction
- Benefits of Organic Rice Fertilizer
- Materials Needed
- Step-by-Step Guide
- Common Mistakes to Avoid
- FAQ
Introduction
Orchids can be a beautiful yet challenging addition to your home garden. You might find that your lovely orchids aren’t thriving as you hoped, leaving you puzzled about how to nurture them back to health. While commercial fertilizers are available, creating your own organic solution can be both rewarding and beneficial for the environment. This article will guide you through the process of making organic rice fertilizer specifically designed for orchids, helping you cultivate a vibrant space. Read on to discover how you can improve your orchids’ well-being!
Benefits of Organic Rice Fertilizer
Using organic rice fertilizer for your orchids comes with a variety of advantages. Here are a few reasons to consider this natural solution:
- Nutrient-Rich: Organic rice fertilizer is packed with essential nutrients that help promote healthy growth.
- Soil Health: This organic option boosts beneficial microorganisms, improving overall soil health.
- Environmentally Friendly: Using household waste reduces your carbon footprint while enhancing your plants’ well-being.
Materials Needed
Before you begin, gather the following materials to make your organic rice fertilizer:
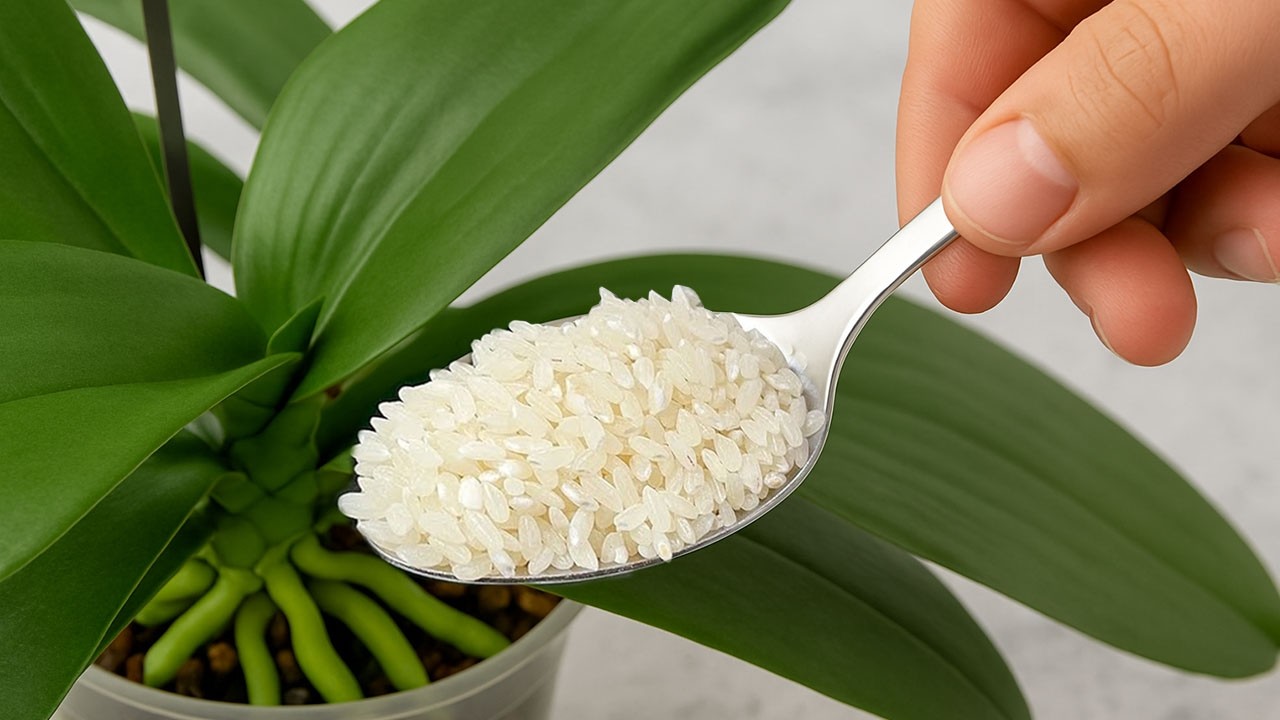
- 1 cup of leftover rice (white or brown)
- 4 cups of water
- 1 tablespoon of Epsom salt (optional)
- Strainer
- Container for storage
- Mixing utensil
These simple materials make this process straightforward and accessible.
Step-by-Step Guide
Follow these steps to create your organic rice fertilizer:
- Rinse the rice: Start by rinsing the leftover rice thoroughly to remove excess starch.
- Combine rice and water: In a pot, mix the rinsed rice with 4 cups of water. Let it soak for about 12-24 hours to extract the nutrients.
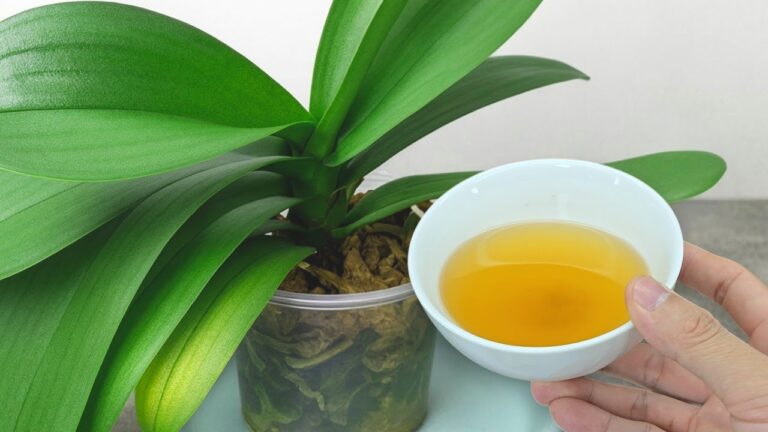
- Strain the mixture: After soaking, use a strainer to separate the rice from the water. The water is your organic fertilizer.
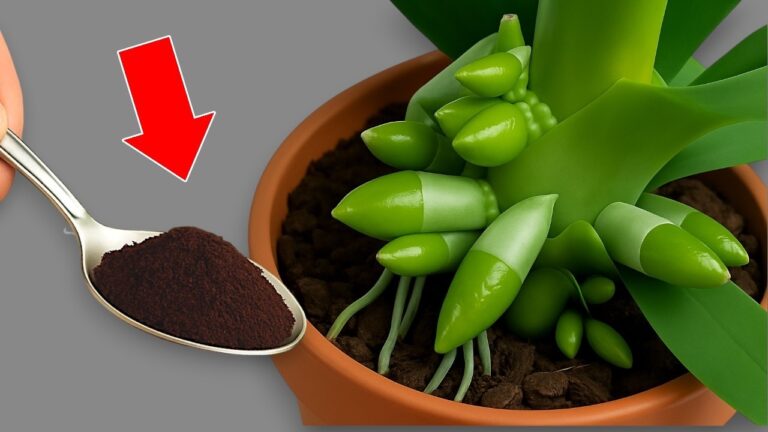
- Add Epsom salt (optional): If you wish, mix in Epsom salt for added magnesium, beneficial for orchid health.
- Store the fertilizer: Pour the liquid fertilizer into a container and seal it. Store it in a cool, dark place to preserve its effectiveness.
Use this organic rice fertilizer every few weeks to keep your orchids thriving!
Common Mistakes to Avoid
As you venture into making your own organic rice fertilizer, be mindful of these common pitfalls:
- Skipping the rinsing step can lead to excess starch, which may negatively affect your plants.
- Using fertilizer too frequently can result in nutrient buildup and harm your orchids.
- Neglecting storage conditions can reduce the effectiveness of your homemade fertilizer.
- Not straining properly may leave rice debris in your fertilizer, which can attract pests.
- Forgetting to dilute before application can shock your orchids due to concentrated nutrients.
FAQ
1. How often should I use organic rice fertilizer on my orchids?
It’s best to apply the fertilizer every 2-4 weeks, depending on your orchids’ needs and growth stage.
2. Can I use this fertilizer on other houseplants?
Yes, this organic rice fertilizer is generally safe for other houseplants, but it’s wise to test it on a small area first.
3. How should I store leftover rice fertilizer?
Store it in a sealed container in a cool, dark place for optimal preservation.
Conclusion
Making your own organic rice fertilizer is a simple and effective way to give your orchids the nourishment they need. By following these steps and avoiding common mistakes, you can enjoy healthier, more vibrant plants. What tips do you have for keeping your orchids thriving? Share in the comments below!