This forgotten trick turns a bathroom mat into a stunning DIY storage basket…
This Forgotten Trick Turns a Bathroom Mat into a Stunning DIY Storage Basket
Transforming everyday items into stunning, functional pieces is a rewarding experience. With just a **bathroom mat**, a **shoe box**, and some creativity, you can create a beautiful DIY storage basket. Let’s dive into this exciting project that not only recycles materials but also adds style to your home.
What You’ll Need
- **Bathroom mat**
- **Shoe box**
- **Fabric** (for added flair)
- **Wooden stick** (for reinforcement)
- **Glue gun**
Step-by-Step Instructions
Step 1: Prepare Your Shoe Box
Start by cutting your shoe box to your desired height. This will be the base of your storage basket. A tall box will give you more storage space, while a shorter one can fit snugly on shelves.
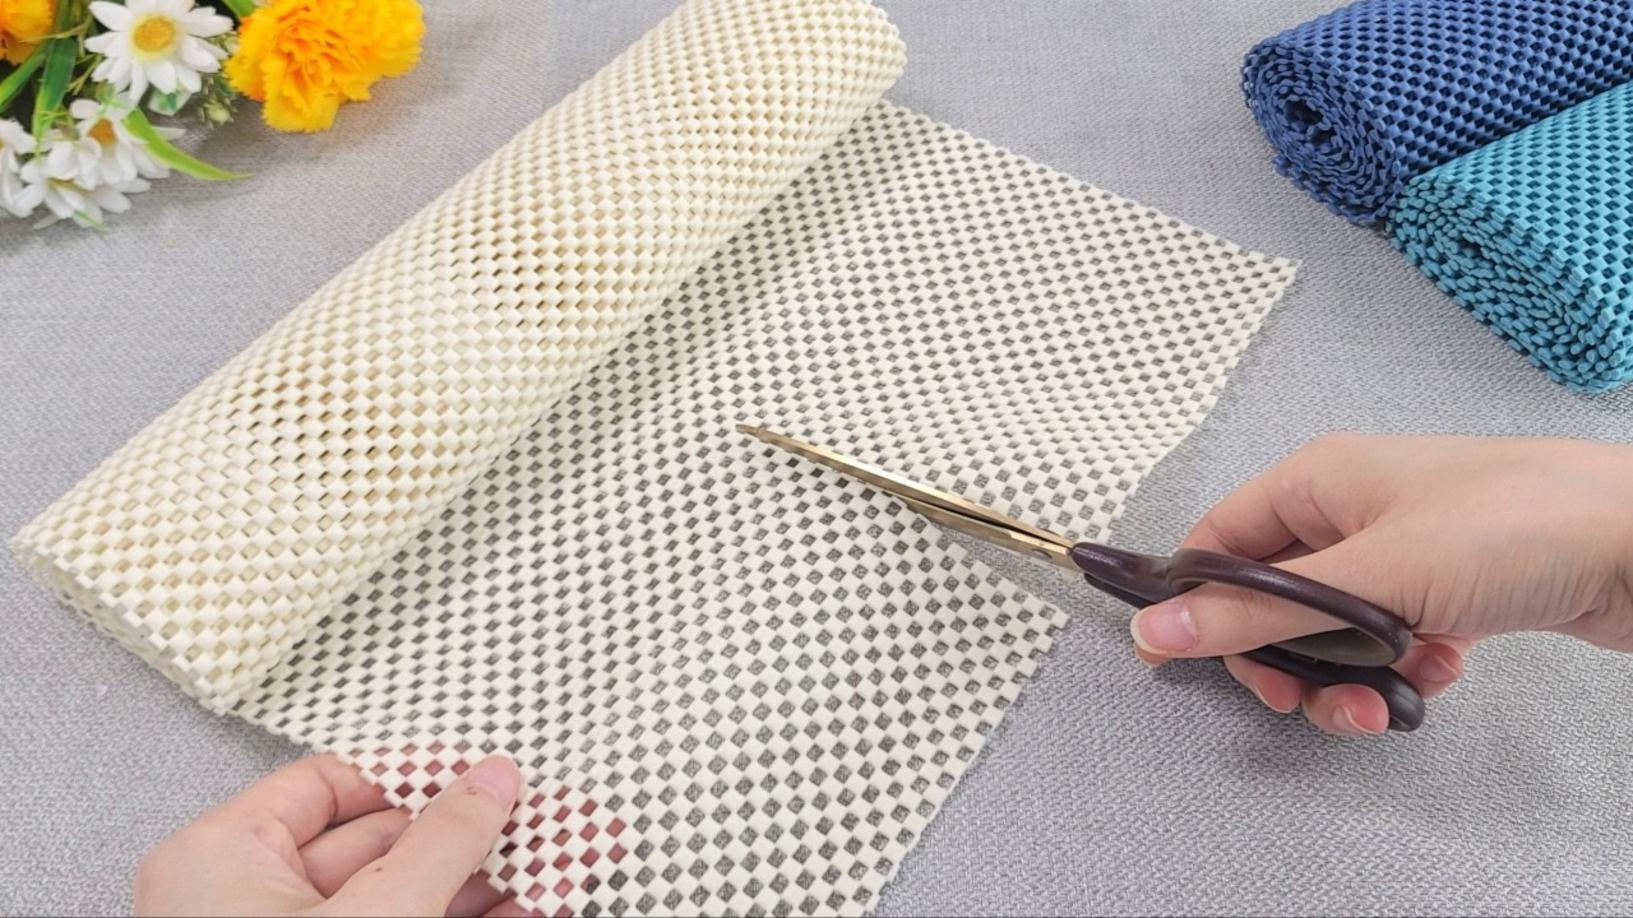
Step 2: Cut the Bathroom Mat
Next, take your bathroom mat and cut it into strips. The thickness of the strips depends on your preference, but aim for a uniform size to keep the basket neat.
Step 3: Attach the Strips to the Shoe Box
Using the **glue gun**, begin attaching the strips of the bathroom mat around the shoe box. Start at the bottom and work your way up, ensuring that the mat covers the entire surface evenly.
Step 4: Reinforce with a Wooden Stick
To add more structure, glue a wooden stick around the top edge of the box. This will not only hold the shape but also give your basket a finished look.
Step 5: Add Fabric for a Personal Touch
If you want to personalize your basket, now’s the time! Cut the fabric to fit around the top edge and glue it in place. This can add a pop of color to your design or match your home decor.
Step 6: Final Touches
Inspect your basket for any loose ends and make sure everything is securely glued. Once dry, your stunning DIY storage basket is ready to use!
Practical Tips Based on Experience
- Choose your materials wisely: Ensure your bathroom mat is durable enough to withstand wear and tear.
- Be patient with the glue: Allow time for each layer to dry completely to ensure a sturdy basket.
- Experiment with sizes: Try different dimensions for various storage needs—small ones for cosmetics and larger ones for toys.
Common Mistakes to Avoid
- Skipping the reinforcement: Always include that wooden stick for durability; without it, your basket may sag over time.
- Using too much glue: A little goes a long way! Excess glue can make the project messy.
- Not measuring properly: Take the time to measure your materials to avoid frustration during assembly.
Conclusion: Time to Get Crafty!
This DIY storage basket not only helps organize your space but also brings a sense of accomplishment. Grab your materials and get crafting today! Remember, every small change can elevate your home. For more DIY ideas and inspirations, don’t forget to subscribe to our channel at Merry Life Happy. Happy crafting!