This simple technique transforms a lavender cutting into a thriving plant…
This Simple Technique Transforms a Lavender Cutting into a Thriving Plant
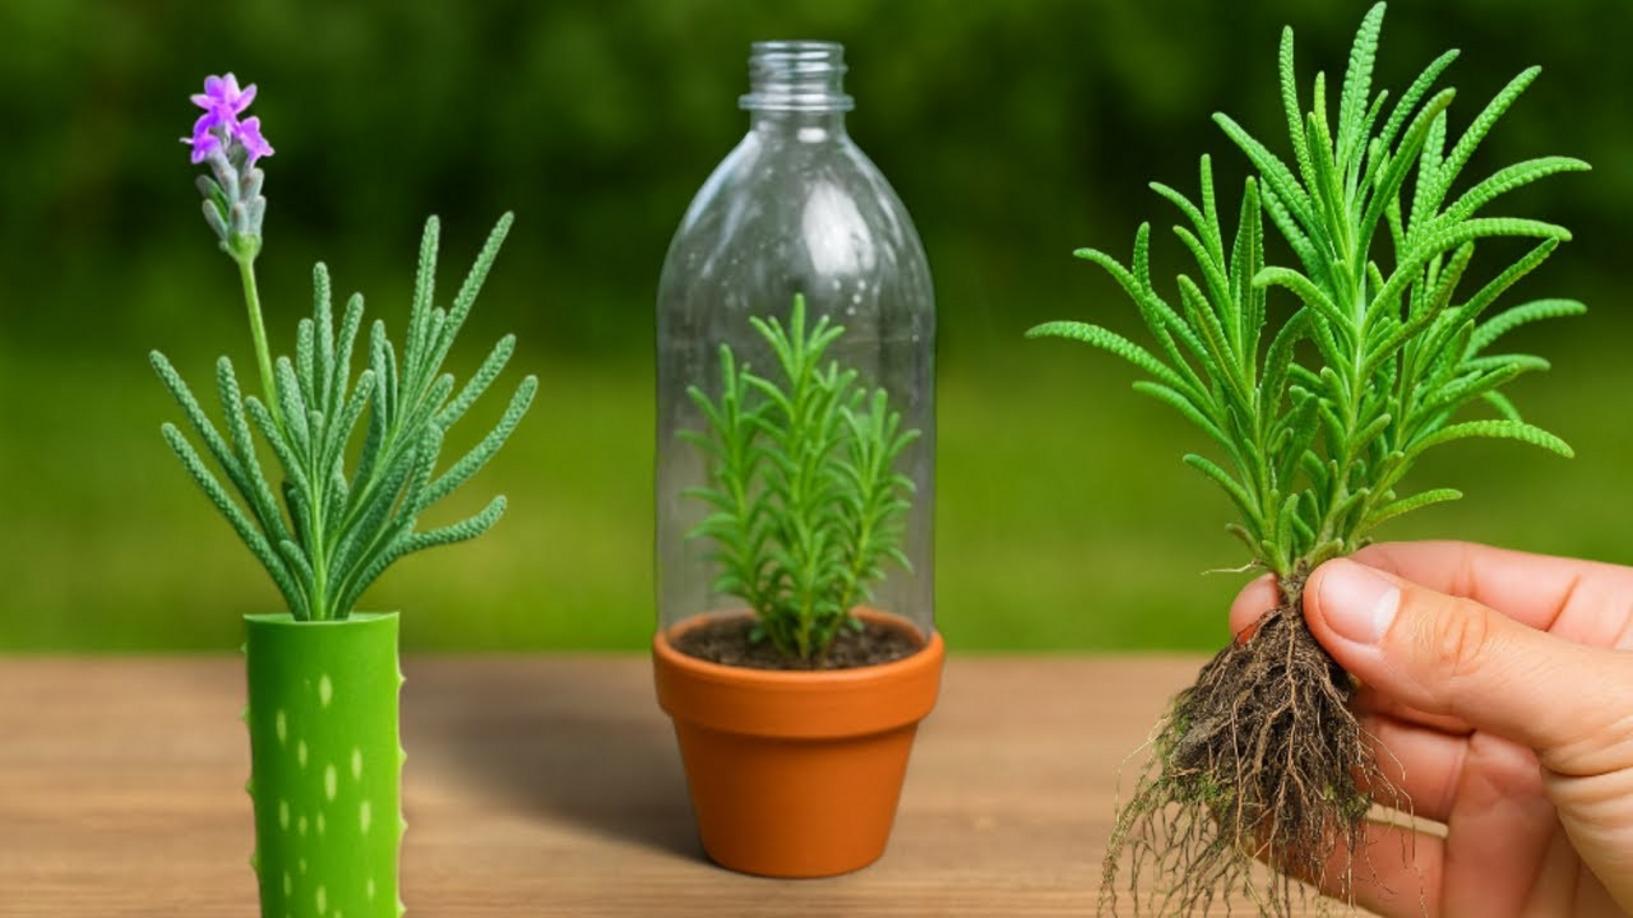
Growing your own lavender plants can be incredibly rewarding. Not only does it rejuvenate your garden, but it also allows you to increase your plant collection inexpensively. This article will guide you through the simple yet effective steps to transform a **lavender cutting** into a healthy plant.
Choosing the Ideal Lavender Stem for Rooting
The first step in this process is to select the right stem. Opt for a **young, green stem**, as this is the most recent growth and contains the best potential for rooting. Look for stems that are about 3-4 inches long with no flowers. Cutting from a healthy plant ensures better success rates.
How to Make the Cut
When preparing your cutting, use a **sharp, clean knife** and make the cut at a slight angle. This technique increases the surface area of the meristematic zone, which is crucial for new root development. Remember, the cleaner your cut, the better chance your lavender will thrive!
Preparing the Soil for Lavender Cuttings
Next, you need to think about the medium in which your cuttings will root. A **well-draining potting mix** is essential. You can create your own by mixing equal parts of perlite and peat moss or using a pre-made succulent mix. This will provide the right environment for your cuttings.
Steps to Prepare the Lavender Cuttings
- Remove the lower leaves from your cutting, leaving only a few at the tip.
- Dip the cut end in **hormone rooting powder** if you have it; this can enhance root production.
- Plant the cutting about 1-2 inches deep into your prepared soil.
Using Natural Rooting Hormones
If you prefer a natural approach, you can use **cinnamon** as a rooting agent. Simply dip the cut end into powdered cinnamon before planting. This not only acts as a rooting agent but also helps prevent fungal infections.
Avoiding Dehydration in Your Lavender Cuttings
One of the biggest mistakes many gardeners make is not keeping cuttings adequately hydrated. After planting, cover the pot with a plastic bag to create a mini greenhouse effect. Ensure it’s well-ventilated to prevent mold, and check frequently to maintain moisture without overwatering.
Can You Use Flowering Stems for Cuttings?
While you may be tempted to use **flowering stems**, it’s not advisable. Flowering stems often lack the necessary strength and energy to root effectively. Stick to non-flowering cuttings for the best results.
Identifying When Your Cuttings Have Rooted
With patience, you will notice small new leaves starting to form after a few weeks, which is a clear indication your **cuttings have rooted**. Gently tug on the cuttings; if you feel resistance, roots have likely developed.
Transplanting Your Lavender Cuttings
When your cuttings have developed strong roots, it’s time to transplant them to individual pots. Choose a pot size that allows room for growth, and continue to provide adequate sunlight and moisture. Your healthy lavender is now on its way to flourishing!
Conclusion
By following these steps, you can easily transform a simple lavender cutting into a thriving plant. Take this opportunity to rejuvenate your garden and expand your plant collection. Don’t hesitate to share your experiences or ask questions. Happy gardening, and let’s grow some lavender together!