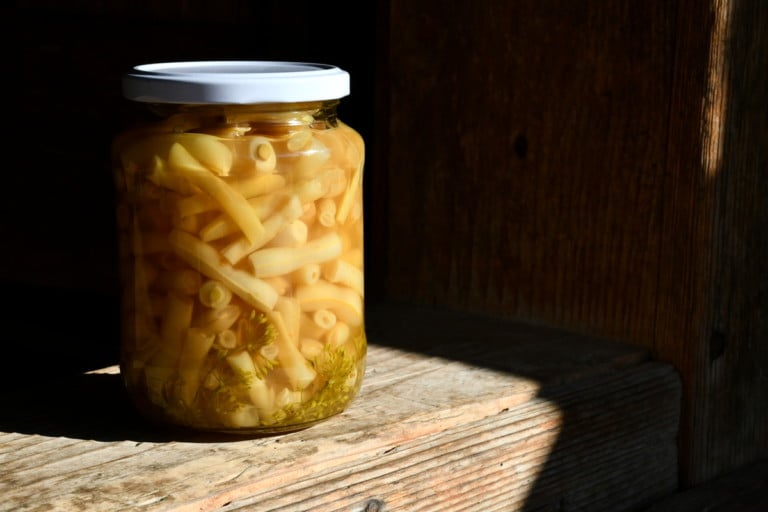
Crisp and Tangy Dilly-Garlic Pickled Beans You Can Make at Home
Crisp and Tangy Dilly-Garlic Pickled Beans You Can Make at Home
Dill, garlic, and beans make for a delightful summer trio that will tantalize your taste buds. But you don’t need to limit yourself to enjoying them only in the warm sun. By learning how to preserve food through canning, you can savor pickled beans even on the snowiest of picnics. So, why not take advantage of the current bean harvest and take your taste experience to a whole new level?
Harvest Time: Choosing Your Beans
Now is the ideal time to harvest beans, around 50-60 days post-sprouting. If you cultivate bush or pole beans in your garden, you can sample them as they ripen to find the perfect crunch. In case your backyard yield is low, don’t hesitate to source fresh beans from your local farmers’ market or a CSA.
When it comes to canning, both green and yellow (wax) beans work well. If your beans are a bit crooked, cut them into bite-sized chunks for easy use in casseroles during the colder months. Remember, you should work with what you have!
Gather Your Ingredients
Making delicious dilly beans is a straightforward process. With some fresh ingredients, you can create crunchy, flavorful pickled beans that are fun for everyone to enjoy. If you love spice, consider adding a small dried red chili to each jar or a sprinkle of red pepper flakes.
- 6 pounds of yellow wax beans or green beans (no discrimination here!)
- A head of fresh dill flowers for each jar (or dill seeds if fresh dill is not available)
- 3 heads of garlic (adjust based on your garlic preference)
- 7 cups of apple cider vinegar (preferably organic)
- 7 cups of water
- 7 tablespoons of pickling salt
Step-by-Step Guide to Pickled Beans
Step 1: Prepare Your Jars
Start by washing and sanitizing your jars. Let them dry out while you prep the other ingredients.
Step 2: Wash the Beans
Whether you harvested your beans from your garden or bought them from the market, rinse them well under running water.
Step 3: Cut the Beans
Don’t worry about having perfectly straight beans. Cut them into roughly even, bite-sized chunks, about 1 inch long. This is how your great-grandparents preserved food—no waste!
Step 4: Create the Brine
The brine is crucial for flavor. Mix equal parts vinegar and water (1:1 ratio). Don’t forget to add salt to make the beans crunchy. Heat the brine on medium until it reaches a boil, ensuring proper ventilation in your kitchen.
Step 5: Add Garlic and Beans
Once your brine reaches a gentle boil, add whole cloves of garlic and let them simmer for about 10 minutes. Then, include the beans in handfuls to minimize splashing, stirring well.
Step 6: Jar Your Beans
Begin ladling the beans and garlic into your prepared jars. Press down gently to maximize space. Fill each jar, leaving about ½ inch of headspace for expansion. Make sure every jar gets its share of garlic!
Step 7: Water Bath Canning
You can choose to use a water bath canner or not; either way, processing your jars in a hot water bath for 10 minutes will keep those pickles crunchy.
Step 8: Label and Store
Allow your jars to cool to room temperature before labeling them. You can store them in your pantry for up to two years, though I bet you’ll consume them much sooner. For short-term storage, keep them in the fridge for a couple of months.
When to Enjoy Your Pickled Beans
For the best flavor experience, allow your pickled beans to sit for about 6 weeks. Enjoy them as a side with burgers, mixed into casseroles, or included in a cheese and sausage platter. Just remember to save some for sharing because one jar is never enough!
Conclusion
With just a few ingredients and some straightforward steps, you can savor the vibrant taste of summer long after the season has passed. So gather your beans, invite friends over, and share the joy of homemade delishes! Happy canning!