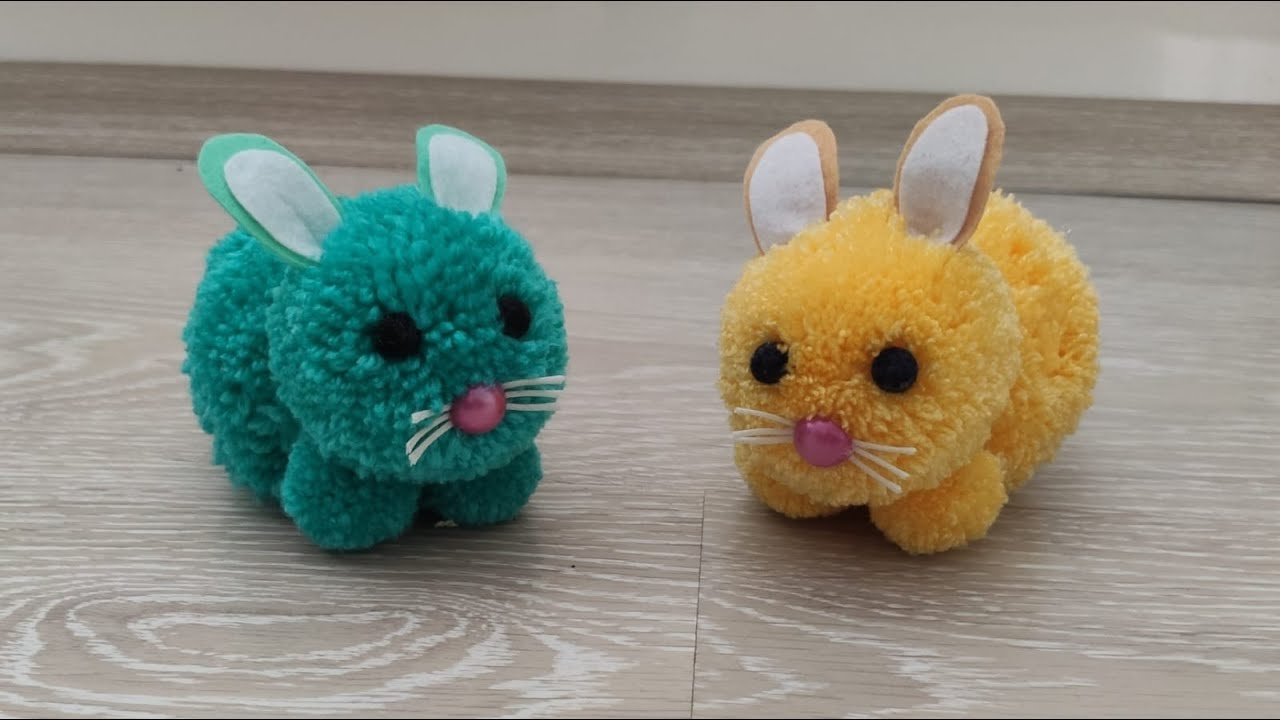
5 Easy Steps to Create Your Own Cute Pompon Rabbit
Create Your Own Cute Pompon Rabbit: A Step-by-Step Guide
Have you ever felt the urge to bring a touch of whimsy into your home or garden? Perhaps you love crafting but are unsure where to start. Creating your own cute pompon rabbit can be a delightful way to express your creativity. This charming project not only adds a playful element to your decor but also makes for a wonderful family activity. Let’s dive in and explore how you can create your very own pompon rabbit.
Required Materials
Before you start, gather the essential materials for your pompon rabbit project. Here’s what you’ll need:
- Yarn: Choose a soft yarn in your desired colors.
- Scissors: A good pair of scissors for cutting yarn pieces.
- Pompom maker: Optional but helps in creating even yarn poms.
- Cardboard: For making the rabbit’s body.
- Glue: Strong craft glue to assemble the project.
- Googly eyes: For added personality.
- Felt: Optional for creating ears and other details.
Step-by-Step Instructions
Now that you have your materials ready, let’s go through the steps to create your lovely pompon rabbit.
- Make your pompoms: Using your pompom maker or your hands, wrap yarn around the tool or your fingers multiple times. The more you wrap, the fluffier the pompom will be. If using hands, make sure to leave enough length to tie off.
- Secure the center: Carefully tie a piece of yarn around the center of the wrapped yarn, ensuring it’s tight. Cut the loops on either side to create the fluffy pompom. Fluff it up to give it a rounded shape.
- Repeat: Make a few more pompoms to form the body, head, and tail of the rabbit. A larger one for the body, a smaller one for the head, and a tiny one for the tail.
- Assemble the rabbit: Glue the head on top of the body, then add the tail at the back. Make sure everything is secure.
- Add details: Attach googly eyes and felt ears to your rabbit. You can get creative with different details to give it a unique personality.
Creative Variations
Once you’re comfortable with the basic pompon rabbit, consider these creative variations:
- Color combinations: Use multiple colors for a vibrant look. Try pastel shades for a more subtle aesthetic.
- Size differences: Create a family of rabbits in various sizes for a delightful display.
- Accessories: Add tiny hats, bows, or a mini basket to your rabbit for an added charm.
Common Mistakes
To help you along the way, here are some common mistakes to avoid:
- Not wrapping enough yarn: Skimping on the yarn when wrapping can result in a flat pompom.
- Cutting too close: Be mindful not to cut the yarn too close to the secure tie. This could lead to unraveling.
- Skipping the fluffing step: Fluffing the pompom is essential for that cute, rounded shape.
FAQ
What type of yarn is best for making pompons? Any soft yarn works well, but acrylic or cotton yarn is recommended as it holds its shape nicely.
Can I use other materials instead of yarn? Yes, you can use shredded fabric, ribbons, or even paper to create unique textures.
How do I store my pompon rabbit? Keep it in a cool, dry place and avoid direct sunlight to prevent fading.
Creating your own cute pompon rabbit is a rewarding and fun project that you can personalize in countless ways. With a few simple materials and steps, you can fill your space with joy. What creative twist will you add to your pompon rabbit? Feel free to share your ideas in the comments!