5 Easy Steps to Fix a Burned Out LED Light at Home Today!
How to Fix a Burned Out LED Light at Home
Understanding LED Lights
When you walk into a room and flip the switch, the expectation is a bright, welcoming light. Sometimes, however, you’re met with a dark, empty space. This scenario can be frustrating, especially when it’s an LED light that has burned out too soon. Understanding how LED lights function and their lifespan can save you from future mishaps. LEDs are designed to be energy-efficient and have a longer life than incandescent bulbs, but they can still encounter issues. To delve deeper into repairing your LED lights, keep reading for actionable insights.
Common Causes of Burnout
Before attempting to fix a burned-out LED light, it’s vital to understand what may have caused the issue. Here are some typical culprits:
- Overheating: Excessive heat can cause an LED to fail prematurely. This can happen if the light is covered or surrounded by insulation.
- Electrical Issues: Voltage fluctuations or poor-quality fixtures can lead to actual damage in your LED lights.
- Age: Even the best LEDs have a finite lifespan, generally ranging between 15,000 to 50,000 hours.
Identifying these causes can help you address the issue effectively and prevent future occurrences.
Steps to Fix LED Lights
If you’ve identified that your LED light isn’t functioning, follow these steps to diagnose and resolve the issue:
- Turn Off Power: Always cut the electricity to the fixture at the breaker box before beginning any repairs.
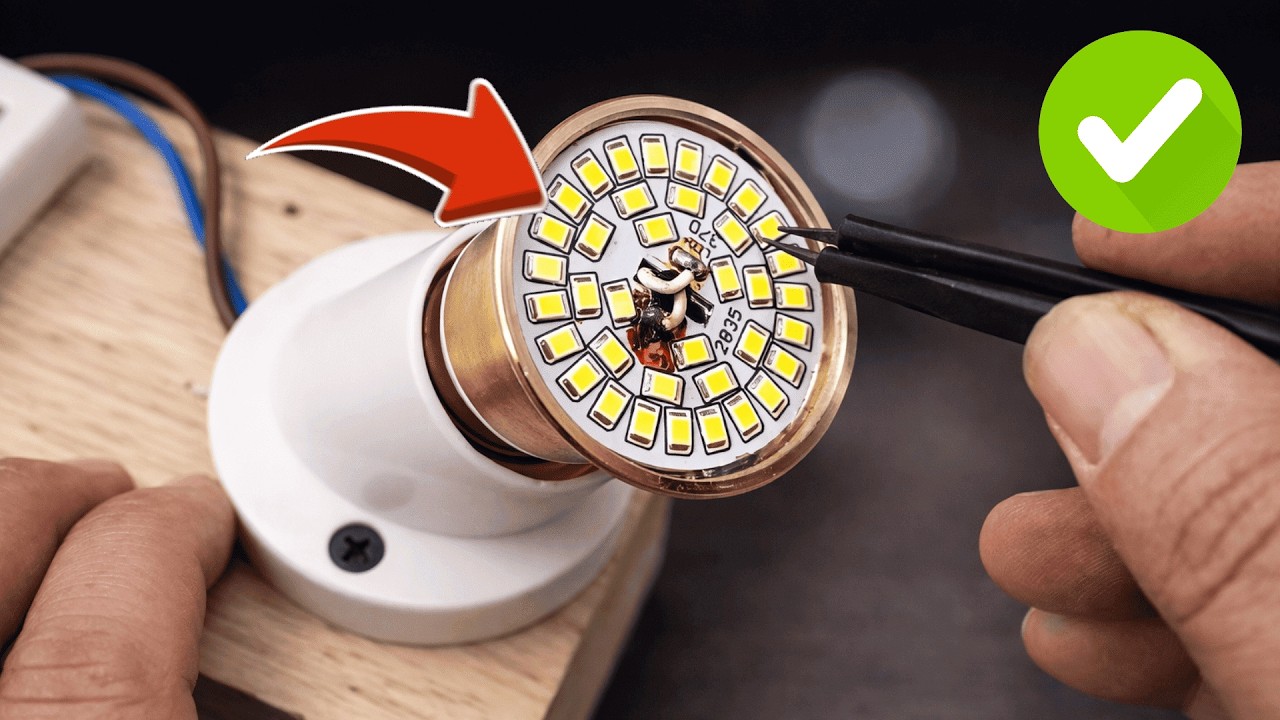
- Inspect the Fixture: Remove the bulb and examine the socket for any visible damage or burnt connections.
- Check the Bulb: If your LED light is removable, try replacing it with another working bulb to see if the issue persists.
- Test the Circuit: Check if other lights on the same circuit are working. If not, the problem might be with the circuit itself.
- Consider Professional Help: If none of these steps resolve the issue, a licensed electrician may need to assess your wiring or the fixture.
By following these steps, you’ll either fix the light or know when to call in a professional.
Mistakes to Avoid
While fixing a burned-out LED light can seem straightforward, there are common pitfalls to avoid:
- Skipping the Safety Check: Always ensure the power is off to prevent electric shocks. Never overlook this critical step.
- Using Incompatible Bulbs: Make sure to use bulbs compatible with your fixture, as not all LEDs are created equal.
- Ignoring Signs of Damage: If the socket or wiring is visibly damaged, don’t attempt to fix it yourself but rather seek help.
FAQs
What should I do if my LED light flickers? Flickering can indicate a loose connection or poor-quality bulb. Check the connections and try a different bulb.
Can I use a regular bulb instead of an LED? While you can, it’s advisable to stick to compatible LED solutions for energy efficiency and longevity.
How do I properly dispose of burned-out LED lights? Dispose of them at a recycling center that accepts electronic waste to minimize environmental impact.
Conclusion
Fixing a burned-out LED light can be a simple yet vital task in maintaining a well-lit home. By understanding the common causes and techniques for repair, you can save time and energy. What challenges have you faced with your lighting at home? Share your experiences in the comments below.