Unlock 5 Genius Hacks to Fix Broken Pliers Most Users Miss!
5 Genius Hacks to Fix Broken Pliers Most Users Miss
- Introduction
- Common Issues with Pliers
- Handyman Tips for Quick Fixes
- Creative Solutions for Broken Pliers
- Mistakes to Avoid When Fixing Pliers
- FAQ
- Conclusion
Introduction
Have you ever reached for your trusty pliers only to discover they’re not functioning as they should? A broken tool can be incredibly frustrating, especially when you’re in the middle of a project. You might think it’s time to toss them out and buy a new pair, but before you do, consider that there are simple hacks that many people overlook. These clever techniques can breathe new life into your favorite tools and save you money. Keep reading to learn some easy fixes that you might not have thought of.
Common Issues with Pliers
Before diving into the solutions, let’s identify some common issues you may face with your pliers:
- Rusty jaws: Over time, moisture can lead to rust, making it difficult for the pliers to grip.
- Misalignment: Worn-out pivot points can cause the handles to be out of sync.
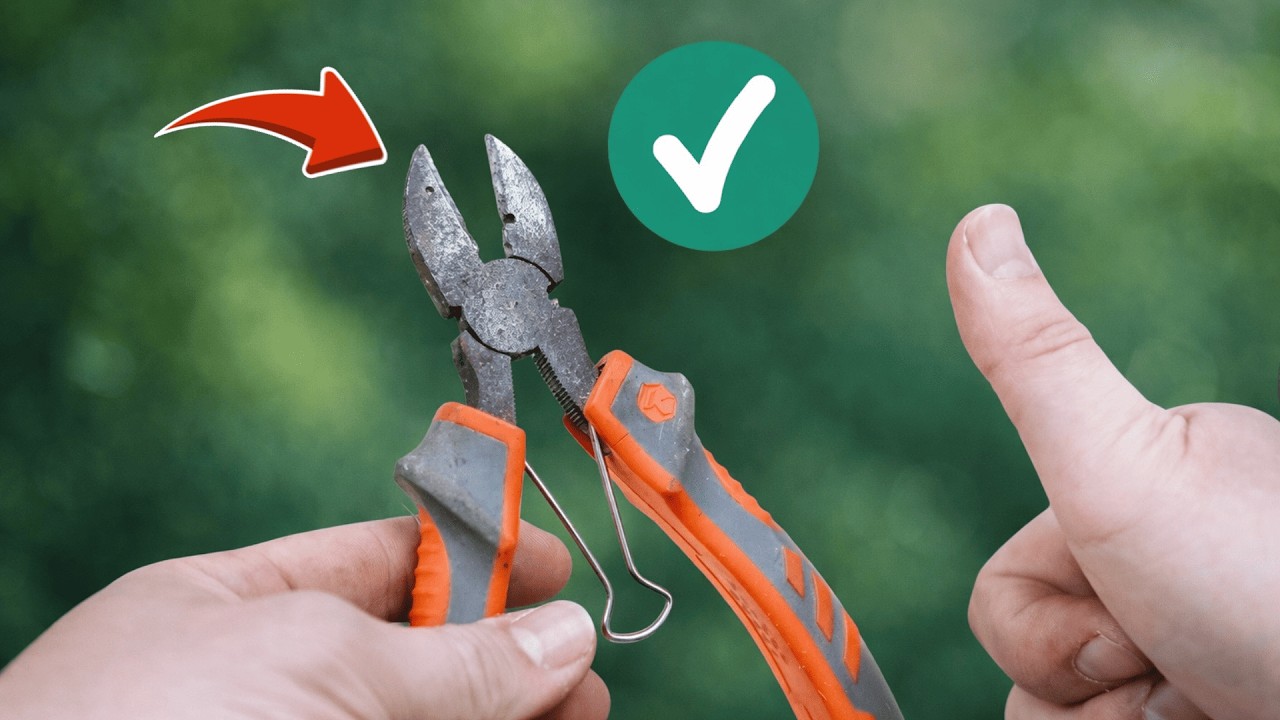
- Loose springs: A weakened spring can hinder your pliers’ ability to operate smoothly.
Understanding the Problem
Knowing the issue is the first step in fixing your pliers. If they’re rusty, they might simply need some TLC in the form of cleaning. Misalignment requires a bit more effort, while a loose spring can often be adjusted easily.
Tools You Might Need
Keep a few essential tools handy when you’re tackling plier repairs. These include:
- WD-40 or penetrating oil for rust removal
- Cleaning cloths
- Small screwdriver set for alignment adjustments
- Replacement springs if needed
Handyman Tips for Quick Fixes
Here are some straightforward techniques to fix your pliers:
- Apply Rust Remover: Spray some WD-40 on the rusty parts and let it sit for a few minutes. Wipe off with a cloth, and your jaws should move freely again.
- Tighten the Pivot Point: If you notice misalignment, locate the pivot screw and use a screwdriver to tighten it. This will bring the handles back into sync.
- Replace the Spring: If the spring isn’t working, remove the old one by taking apart the handles. Replace it with a new spring of the same size for a quick fix.
Prevention Tips
To keep your pliers in good shape, consider these tips:
- Always clean and dry your tools after use.
- Store them in a dry place to prevent rusting.
- Periodically check screws and springs to catch issues early.
Creative Solutions for Broken Pliers
If you’re dealing with a more serious issue where traditional fixes won’t work, here are some innovative ideas:
Repurposing Old Pliers
Instead of tossing away completely broken pliers, think about how they can serve new purposes. Broken jaws may make great handles for:
- Garden stakes for supporting plants
- Creative garden art when adorned with paint
- Jewelry holders to display crafts
Using Alternate Materials
Sometimes you can create temporary tools from household items:
- Use a strong rubber band to make gripping easier.
- Attach pliers tips to a stronger handle using duct tape for a makeshift tool.
Mistakes to Avoid When Fixing Pliers
While making repairs, it’s important to recognize common blunders that can worsen the situation:
- Neglecting to clean before applying rust remover can retain gunk.
- Using the wrong type of spring can mess with functionality.
- Over-tightening screws may lead to breakage or further misalignment.
FAQ
Can I use vinegar to remove rust from pliers? Yes, vinegar is an effective rust remover. Soak rusty parts and scrub gently to clean.
How often should I check my pliers for issues? It’s a good idea to inspect your tools every few months, especially if used regularly.
What type of lubricant is best for pliers? WD-40 is commonly used, but any penetrating oil can work if applied correctly.
Conclusion
Fixing broken pliers can be straightforward if you know what to look for and how to proceed. With these practical hacks, you can extend the life of your tools and save money. Have you tried any of these fixes before, or do you have a unique tip to share? Your thoughts in the comments are welcome!