Transform 5 Old Plastics into a Smart DIY Toolbox – Organize Your Space!
Transform Old Plastics into a Smart DIY Toolbox
- Introduction
- Required Materials
- Creative Ideas for Your Toolbox
- Step-by-Step Guide
- Common Mistakes
- FAQ
- Conclusion
Introduction
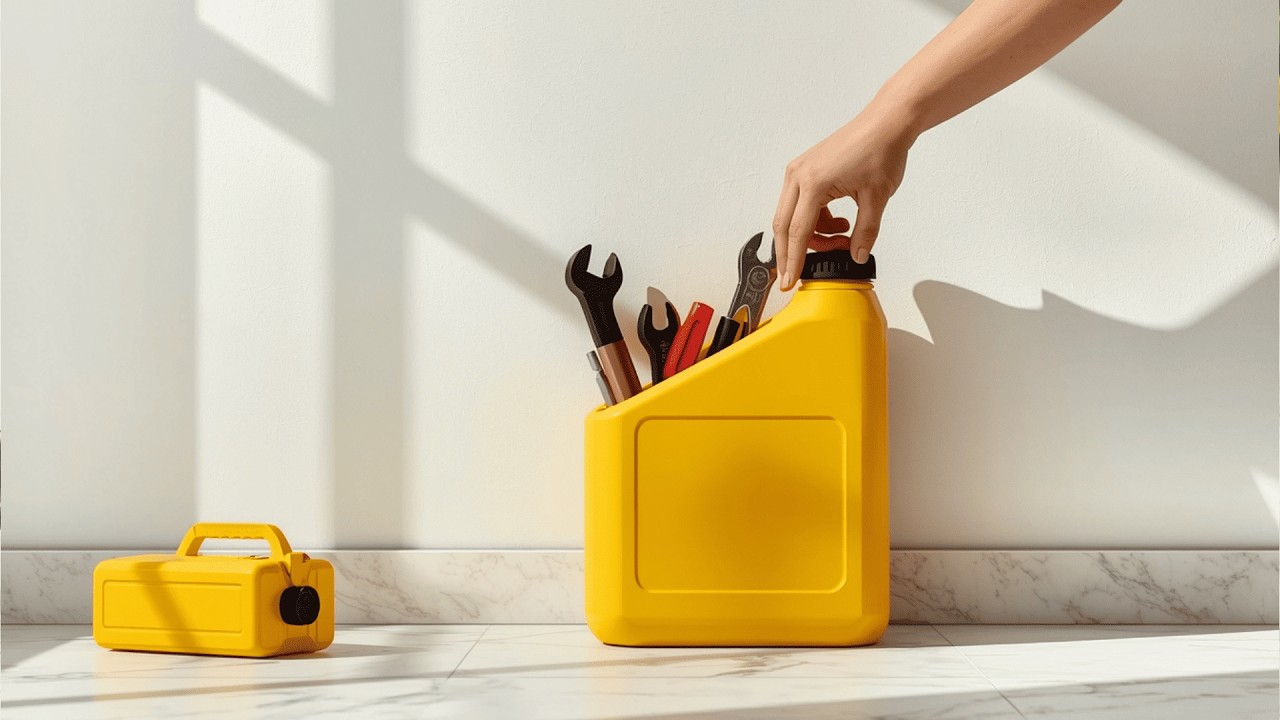
Are you constantly searching for tools buried beneath piles of clutter? Maybe you’ve thought about how to organize the space in your garage or shed, but finding a solution feels overwhelming. Using old plastics you have around the house could be the perfect way to create a customized toolbox that suits your needs. With a little creativity and effort, you can transform trash into treasures that help keep your workspace tidy. Let’s explore how you can turn these old containers into a smart DIY toolbox!
Required Materials
To embark on your DIY toolbox project, gather up some common materials you likely already have. Here’s a list to help you get started:
- Old plastic containers or bins
- Scissors or a box cutter
- Marker for labeling
- Tape or glue for securing parts
- Paint or decorative paper (optional)
Creative Ideas for Your Toolbox
Repurposing old plastics allows you to personalize your toolbox according to your preferences and needs. Here are some inspiration ideas to consider:
- Stackable Containers: Use small bins that fit into larger ones for a tiered approach. This saves space while keeping similar items together.
- Color Coding: Paint or decorate each container differently for easy identification. Assign colors based on categories like gardening, DIY, or home maintenance.
- Drawer Dividers: Cut containers to create dividers in larger boxes. This will keep small items like screws and nails organized.
Step-by-Step Guide
Follow these simple steps to create your customized DIY toolbox:
- Gather your old plastic containers. Look for various sizes suitable for different tools and materials.
- Clean each container thoroughly to remove any dirt or residues.
- Cut larger containers if you wish to make smaller bins or dividers. Use scissors or a box cutter to ensure smooth edges.
- Label your containers for easy identification. Use a marker or printed labels for a more polished look.
- Assemble your toolbox by arranging the containers in a way that makes sense visually and functionally. Ensure easy access to frequently used items.
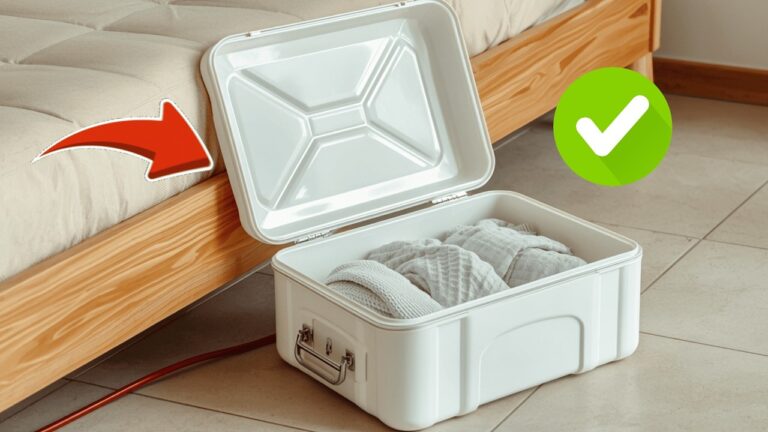
For added flair, consider decorating the toolbox with paint or decorative paper. You can also hang a small bin on the wall for even easier access to essential tools.
Common Mistakes
When creating your DIY toolbox, avoid these common pitfalls:
- Not cleaning the containers beforehand can lead to lingering odors or dirt getting mixed with your tools.
- Overcomplicating the design can make the toolbox less functional. Keep it simple for ease of use.
- Neglecting to size your materials can result in a toolbox that doesn’t fit your tools properly, making it inefficient.
- Forgetting to label items may cause frustrating searches when you need a specific tool in a hurry.
FAQ
What types of plastic containers are best for a DIY toolbox? Any sturdy plastic containers or bins will work well, especially those with lids or built-in handles.
Can I customize my DIY toolbox? Absolutely! Feel free to paint, decorate, or modify the containers to suit your style and needs.
How can I ensure my toolbox stays organized? Regularly sort through the containers and update them as necessary. Make it a habit to return items to their designated spots after each use.
Conclusion
Transforming old plastics into a smart DIY toolbox is not only an environmentally friendly choice but also a practical solution to help you stay organized. By using creativity and simple steps, you can create a space that truly works for you. What unique ideas do you have for repurposing materials in your home? Share your thoughts in the comments!