Grow Orchids Year-Round with Just 1 Slice of Potato! Discover How Today
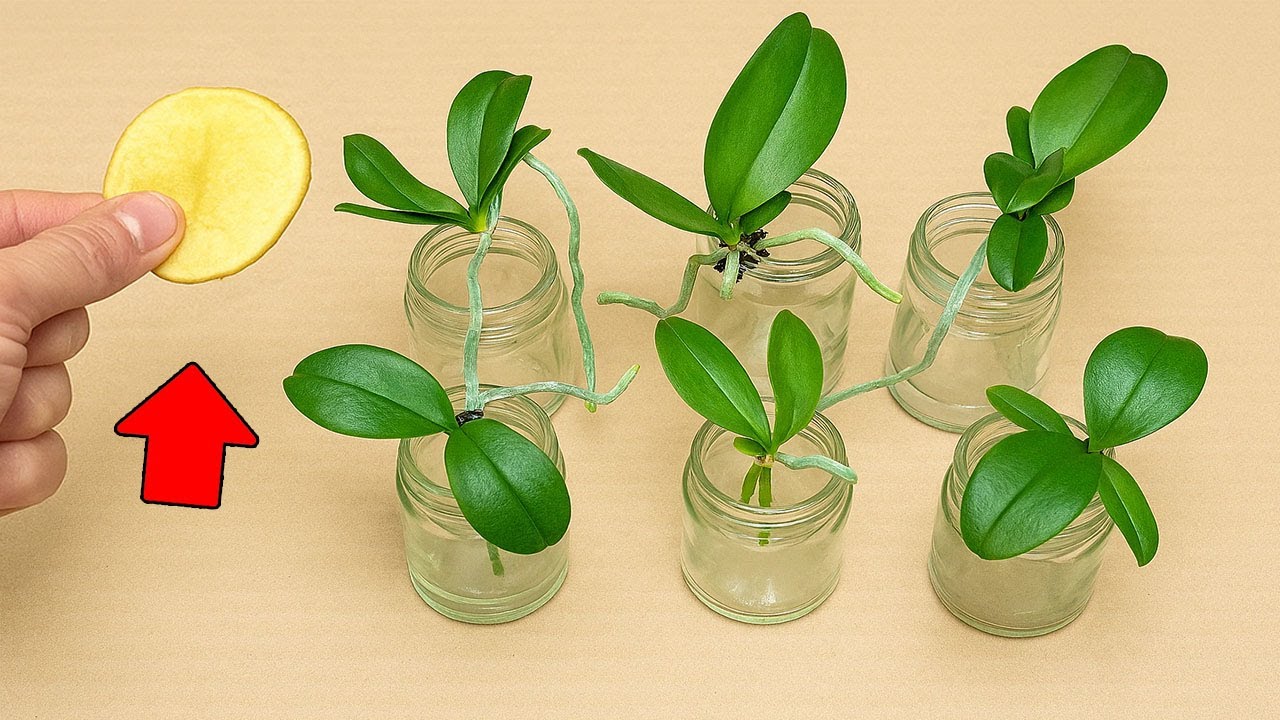
How to Grow Orchids Year-Round with Just 1 Slice of Potato
- Introduction
- Why Use Potatoes for Orchids?
- Step-by-Step Guide to Planting
- Common Mistakes to Avoid
- FAQ
- Conclusion
Introduction
Many plant enthusiasts dream of having vibrant orchids effortlessly bloom in their homes all year round. However, growing these stunning flowers often seems daunting due to their special care requirements. Just picture yourself nurturing beautiful orchids, only to watch them wilt away despite your best efforts. But what if the secret to successful orchid cultivation lies in something as simple as a slice of potato? Read on to explore this intriguing method that may change how you grow orchids.
Why Use Potatoes for Orchids?
The idea of using potatoes for orchids might initially sound unusual, but there are compelling reasons for this approach. Potatoes are not just versatile in the kitchen; they can also aid in plant growth. Here’s why this technique is gaining traction among gardening enthusiasts.
1. Nutrient-Rich Source
Potatoes contain essential nutrients that are beneficial for orchids, including potassium, phosphorus, and vitamin C. These nutrients can promote healthy root development and enhance blooming.
2. Moisture Retention
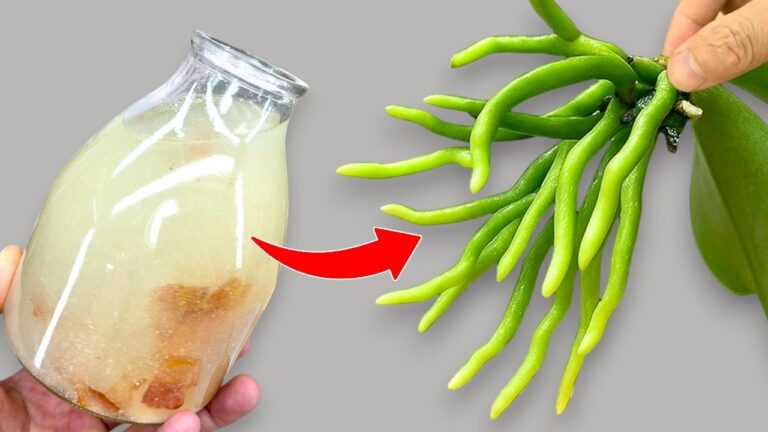
A slice of potato can retain moisture effectively, providing a consistent supply of water to the orchid’s roots. This is particularly useful in dry conditions, where maintaining humidity can be challenging.
3. Cost-Effective Solution
Using potatoes is a budget-friendly alternative compared to commercial fertilizers. This method allows you to nurture your plants without breaking the bank while still achieving remarkable results.
Step-by-Step Guide to Planting
Now that you understand the benefits of using potatoes for growing orchids, here’s a comprehensive guide to get you started.
Required Materials
- Healthy orchid plant
- 1 medium-sized potato
- Sharp knife
- Potting mix suitable for orchids
- Pot with drainage holes
Planting Steps
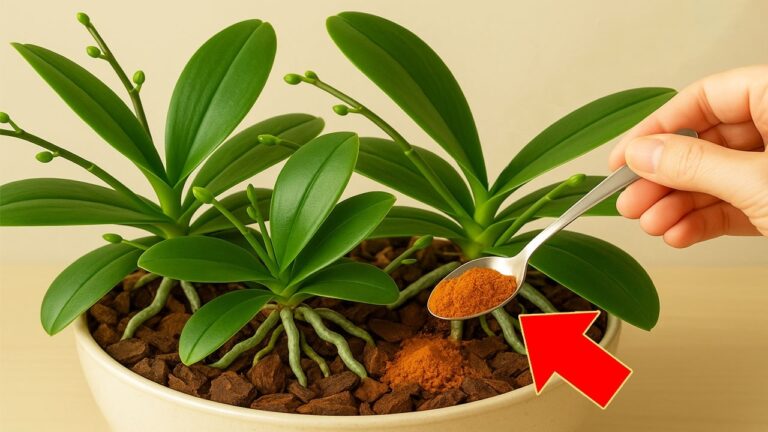
- Select a healthy potato.
- Cut a slice from the potato about 1 inch thick.
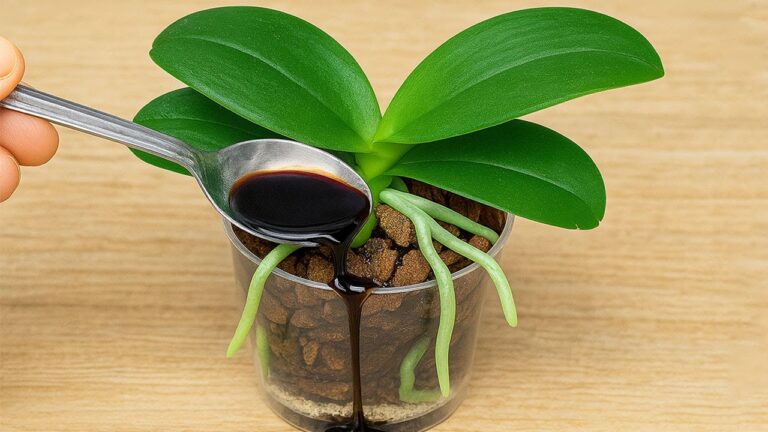
- Prepare the pot by adding a base layer of potting mix.
- Place the potato slice at the bottom of the pot.
- Position your orchid plant on top of the potato, then cover it with more potting mix.
- Water the plant sparingly, ensuring not to over-saturate.
Care Tips
- Water your orchid when the potting mix starts to dry out.
- Ensure your orchid is placed in indirect sunlight to prevent leaf burn.
- Fertilize lightly every 4-6 weeks using a balanced orchid fertilizer.
Common Mistakes to Avoid
Growing orchids with potatoes may seem straightforward, but there are some common pitfalls you should steer clear of.
Lack of Drainage
Using a pot without adequate drainage holes can lead to root rot, which is detrimental to orchids.
Overwatering
It’s easy to assume that because the potato retains moisture, you should keep the soil constantly wet. This could lead to issues, so always check moisture levels before watering.
Ignoring Light Needs
Placing your orchids in direct sunlight can scorch their leaves. Always opt for filtered light instead.
Neglecting Fertilization
While potatoes provide nutrients, they don’t replace regular fertilization needed for optimal growth. Maintain a fertilization schedule to support your orchids properly.
FAQ
Can I use any type of potato?
It’s best to use a regular brown potato, as they contain a balance of nutrients beneficial for orchids.
How often should I change the potato slice?
Replace the potato slice every month or when it starts to show signs of decay to ensure your orchid continues to receive nutrients.
Will this method work for all types of orchids?
Most orchids can benefit from this method, but it’s always wise to research specific care requirements for your particular variety.
Conclusion
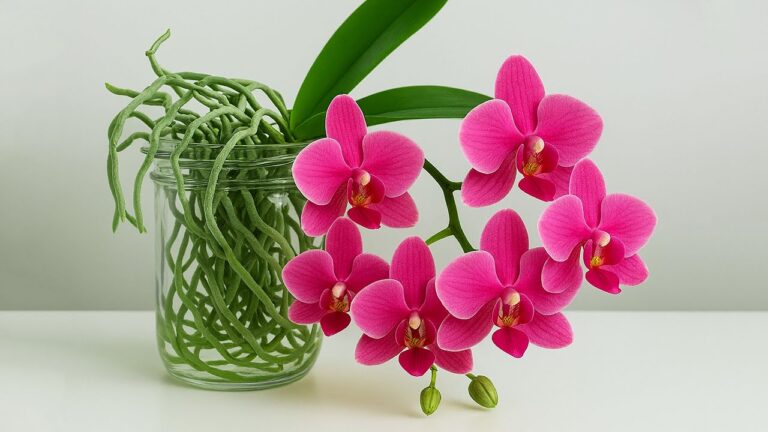
Using a potato slice to grow orchids can be an effective and economical method to enjoy these beautiful plants year-round. By following the guidance provided and avoiding common mistakes, you can achieve thriving orchids. What varieties are you excited to try this method with? Feel free to share your experiences in the comments!