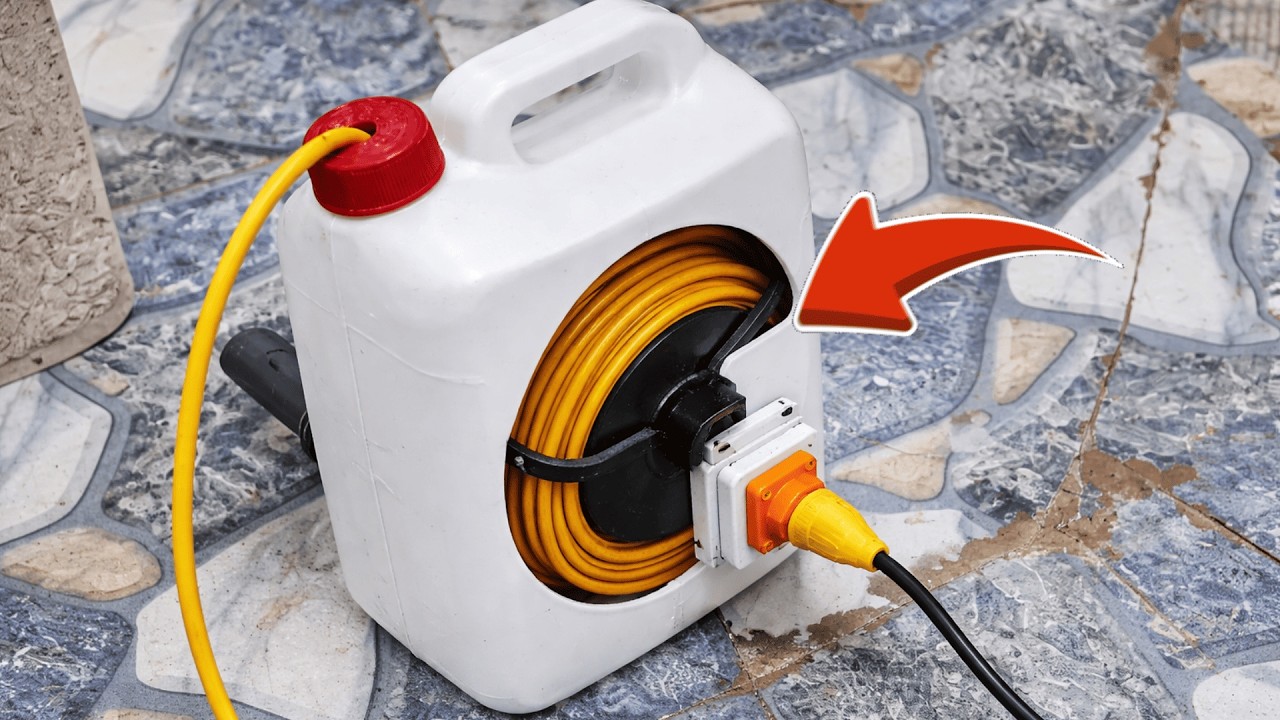
10 Easy Steps to Create a Smart DIY Cable Winder from a Plastic Bottle
Create a Smart DIY Cable Winder from a Plastic Bottle
Introduction
Have you ever found yourself tangled in a mess of charging cables while looking for your phone charger? It can be frustrating to deal with the chaos caused by loose cords cluttering your space. Many of us have experienced this, but there’s an easy and sustainable solution right at your fingertips. Using common items you might already have at home, you can create an effective cable winder and help keep your environment organized. Keep reading to learn how!
Required Materials
Creating your own DIY cable winder doesn’t necessitate a trip to the craft store. Instead, gather these simple materials:
- Plastic bottle (preferably an empty water bottle)
- Scissors
- Marker or pen
- Ruler
- Cable ties or rubber bands
With these basic items, you’re ready to transform a discarded plastic bottle into a functional DIY cable winder!
Step-by-Step Guide
Follow these straightforward steps to create your very own cable winder:
- Clean the plastic bottle thoroughly to remove any residue.
- Measure the height of your bottle and mark a line about one-third of the way down.
- Cut the bottle along the marked line. Keep the top portion as your winder.
- Puncture small holes in the sides of the top portion for the cables to fit through.
- Insert the cables into these holes; this will create designated paths for each cable.
- Wrap your cables around the spiral of the bottle, ensuring they stay secure.
- Use rubber bands or cable ties to secure each wrapped cable in place.
- Customize the outside by painting or decorating it to suit your style.
- Test the functionality by gently pulling each cable to ensure it unwinds easily.
- Store your newly created cable winder in a designated space to keep cables tidy.
By completing these steps, you’ll have a unique and practical solution for managing your cables!
Mistakes to Avoid
Creating your DIY cable winder can be simple, but it’s easy to make a few common mistakes. Here are some to watch out for:
- Not cleaning the bottle well enough, which can lead to sticky cables.
- Failing to measure accurately, causing uneven holes and misaligned cables.
- Using too thick cables, making them difficult to wind around the bottle.
- Not securing cables tightly, leading to unwinding issues.
- Neglecting to customize, which can make your winder blend into the background rather than stand out.
FAQ
What types of cables can I use with this DIY cable winder?
You can use various types of cables, including phone chargers, headphones, and any lightweight charging cords. Just ensure they’re not too thick for easy winding.
Can I use other materials besides a plastic bottle?
Yes! While a plastic bottle is ideal, you can also use cardboard tubes or other recyclable materials you have on hand.
How long does this project take to complete?
The entire process can be completed in about 30 minutes, making it a quick and satisfying DIY project.
Conclusion
Creating a DIY cable winder from a plastic bottle is a quick and eco-friendly solution for organizing your cords. With just a few simple steps, you can tackle the clutter and reclaim your space. Have you tried making your own cable winder, or do you have other creative organization ideas? Let us know in the comments!